
Trainwreck
Investigation 2 Walkthrough (Graveyard)
Below is a guide for the Graveyard Investigation.
If you're having a hard time solving the puzzles and don't think you can work them out by yourself, use this guide as a last-ditch effort to make it through!
SPOILERS BELOW! If you'd still like to try to complete the puzzles yourself, don't scroll down!

.
.
.
.
.
.
.
.
.
.
.
.
.
.
.
.
.
And so the investigation begins.
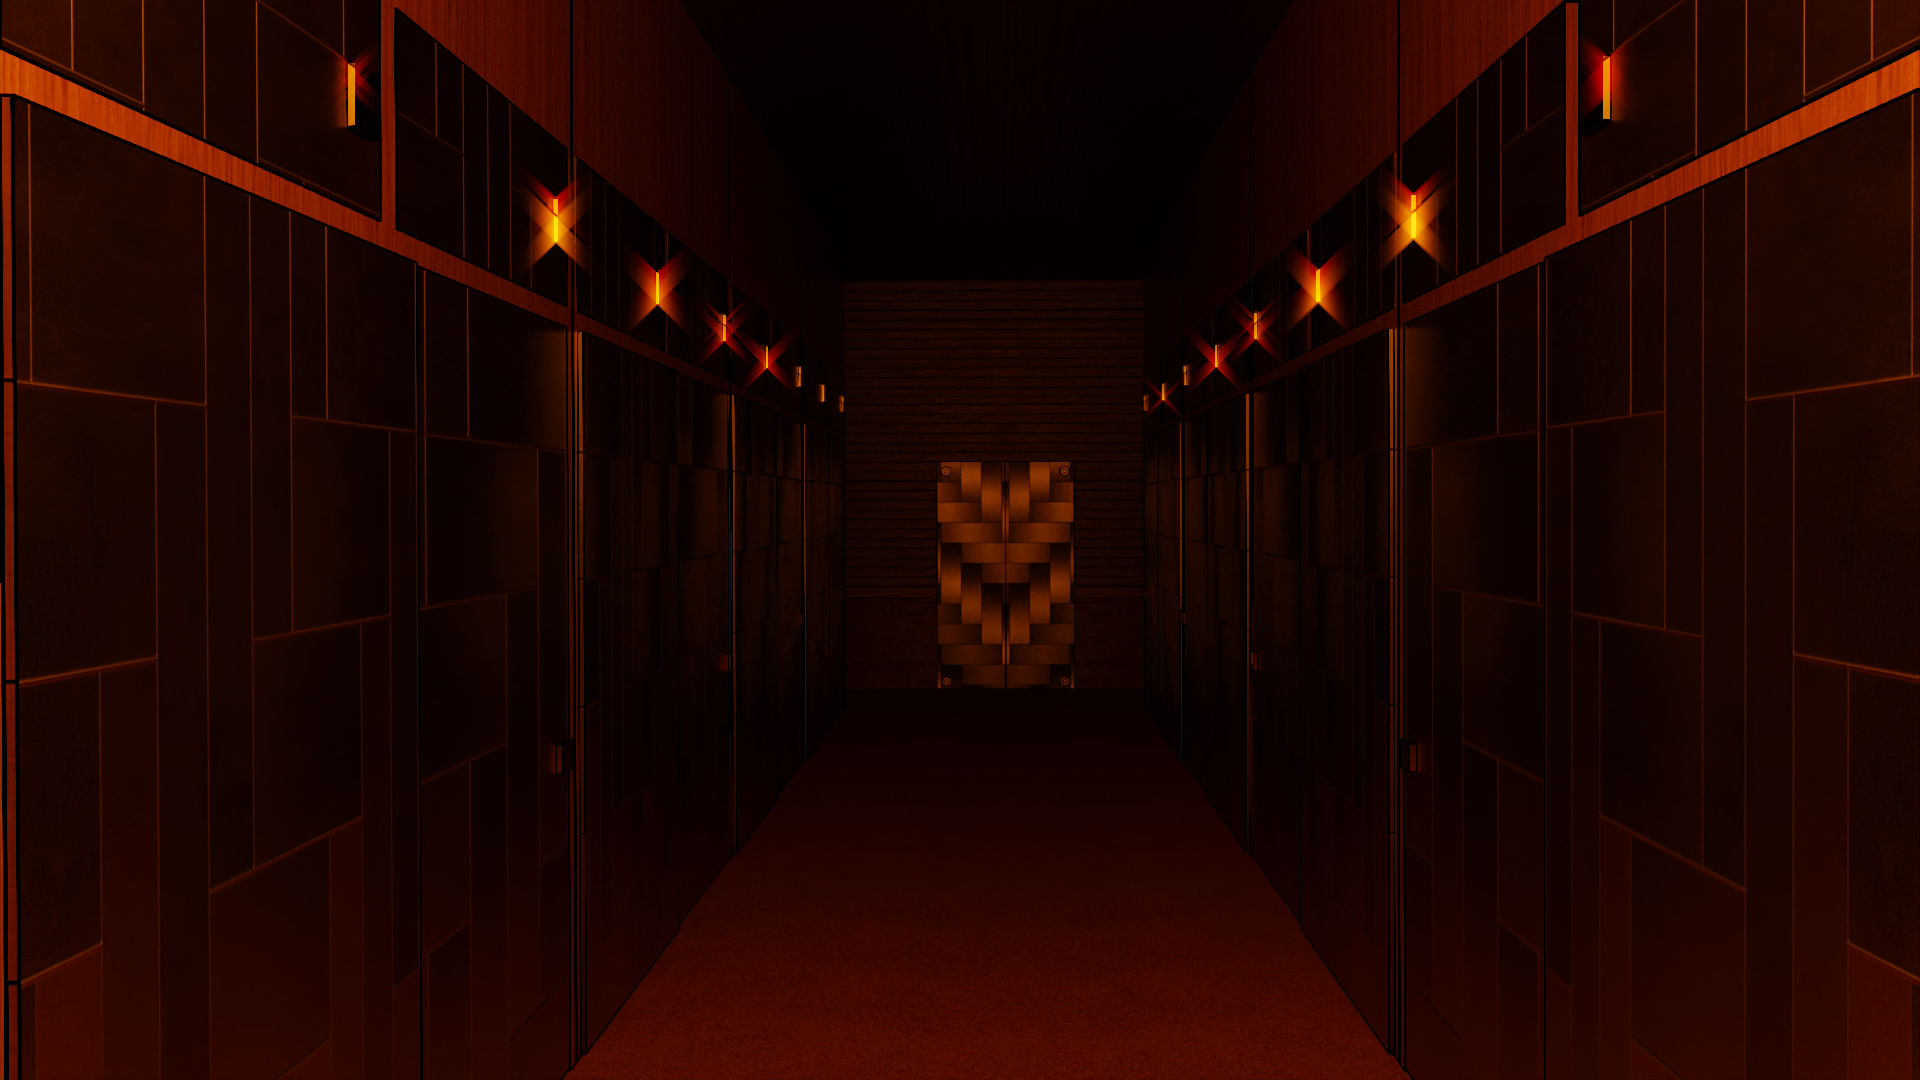
A big challenge of this room is navigation. The room is very dark, and you can't easily turn around like you could for the first investigation.
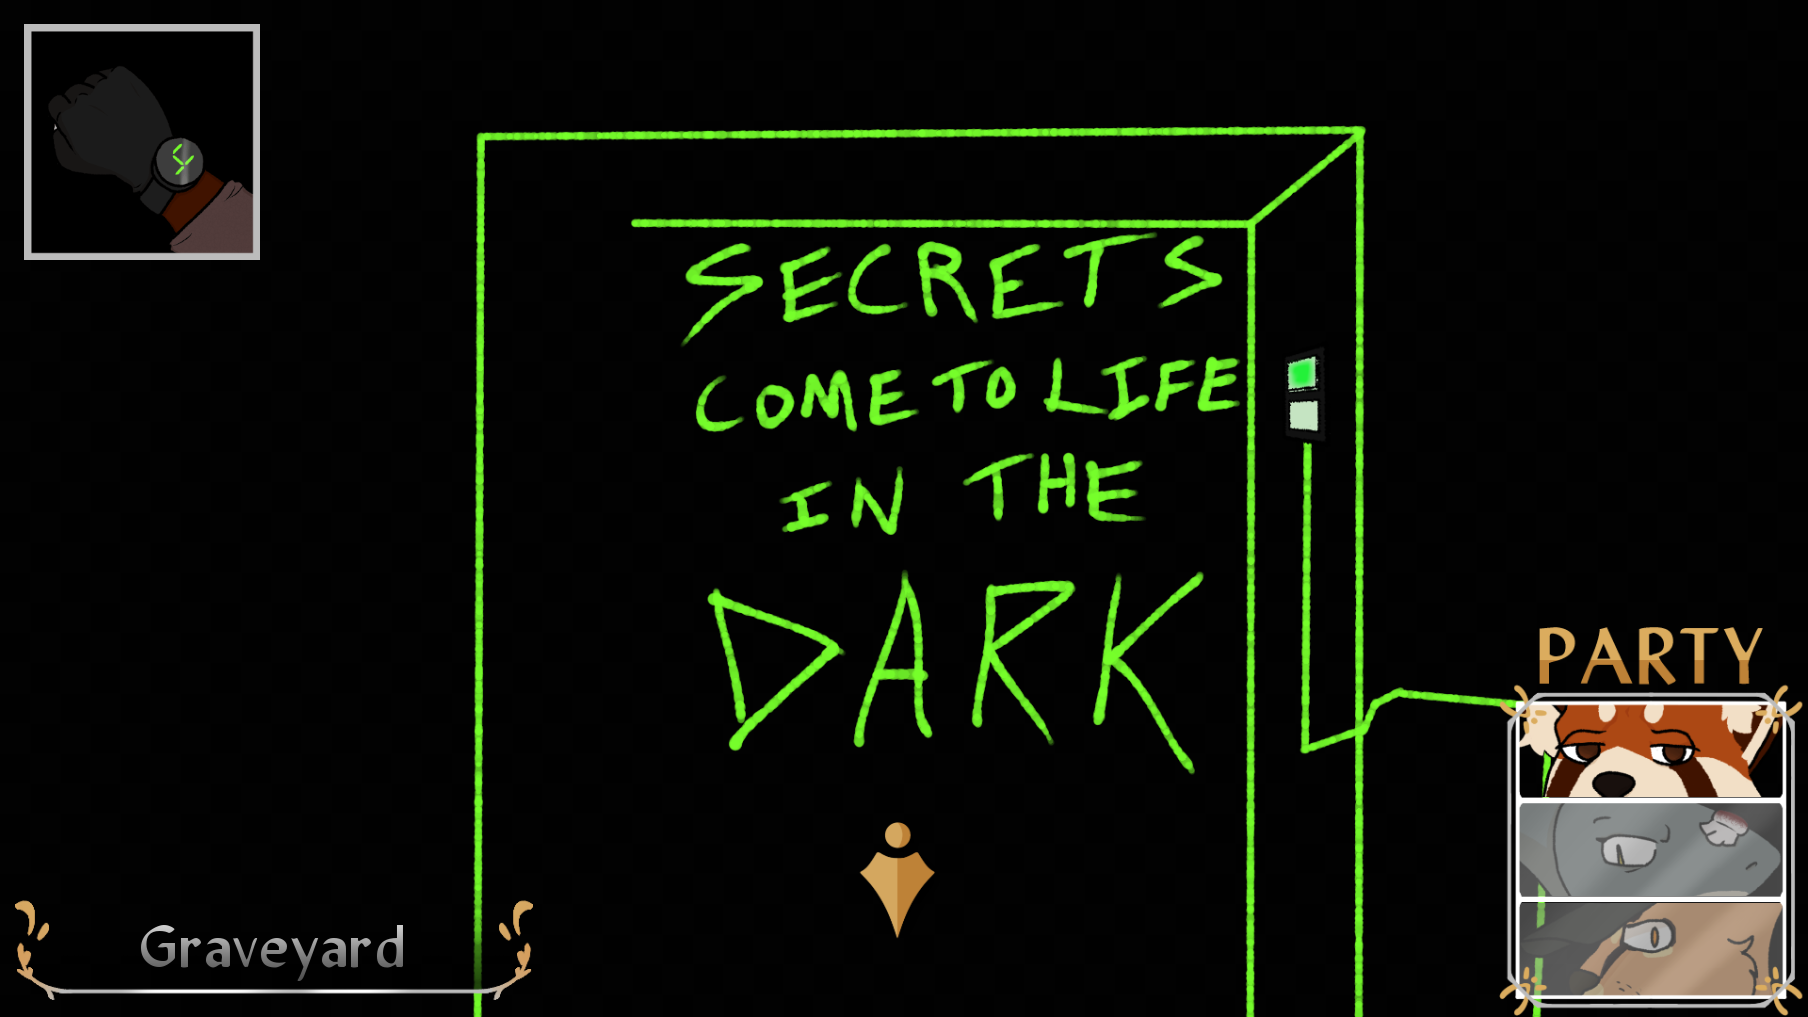
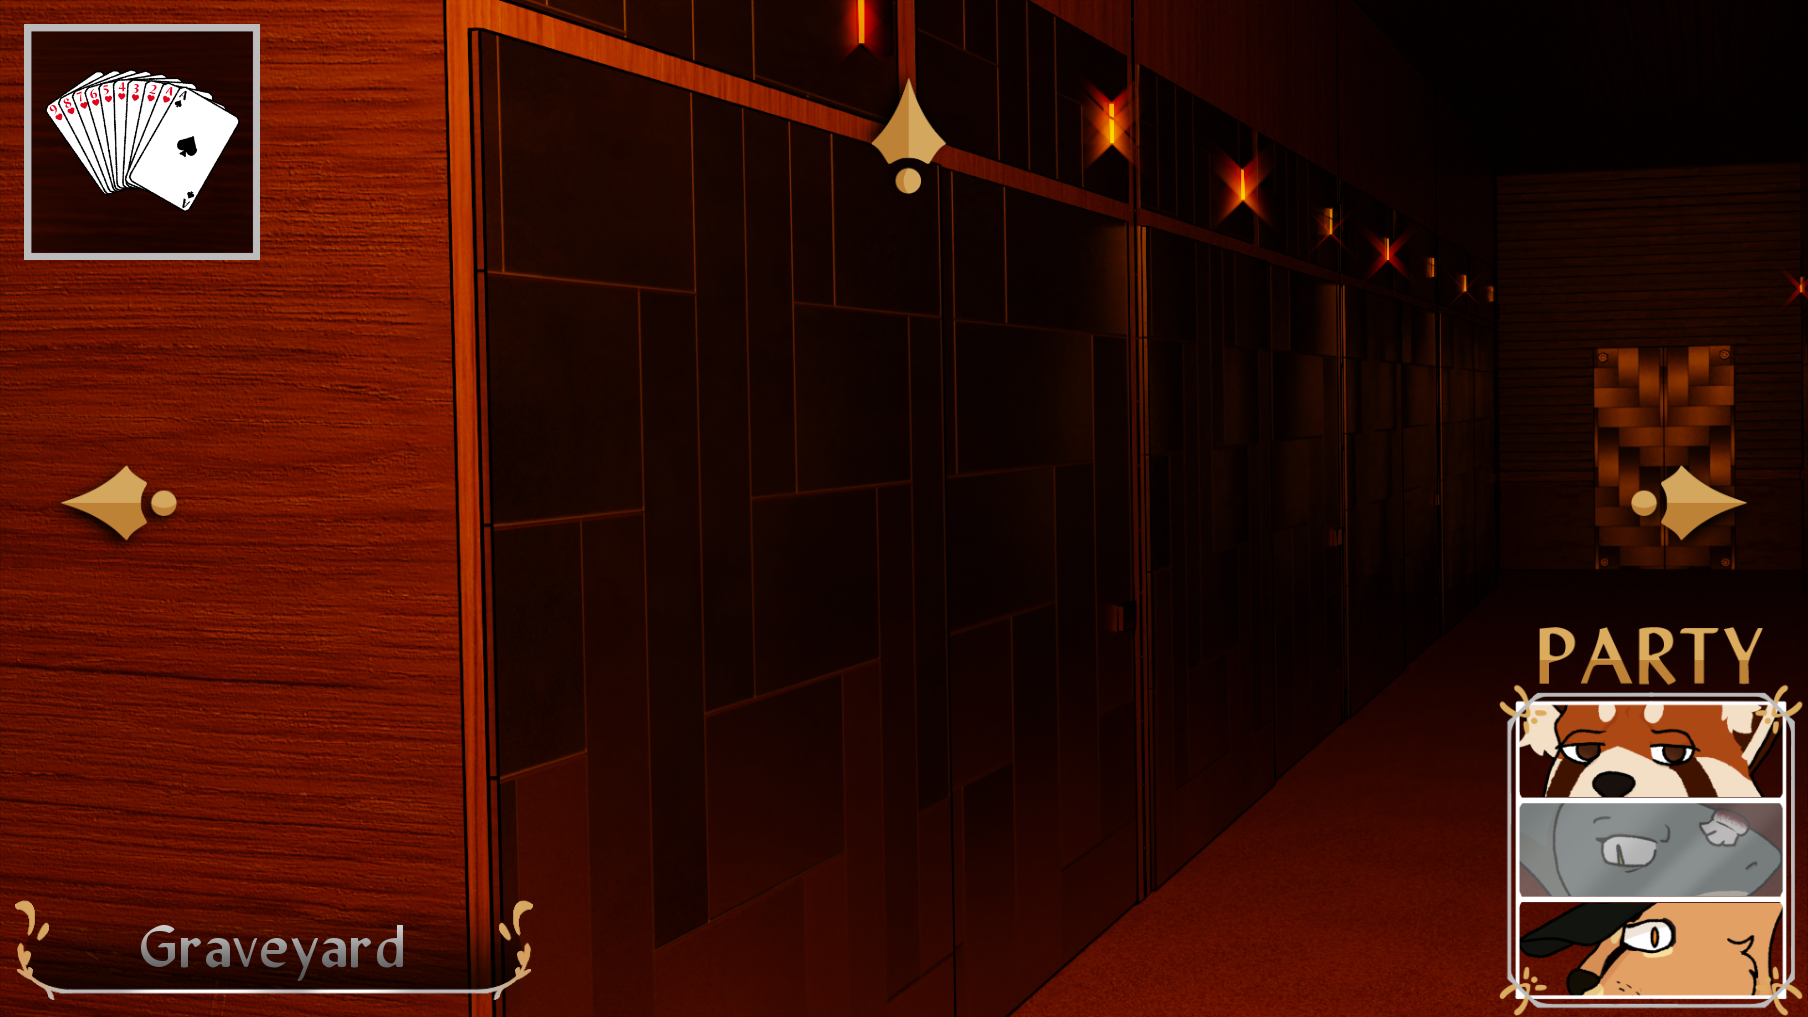
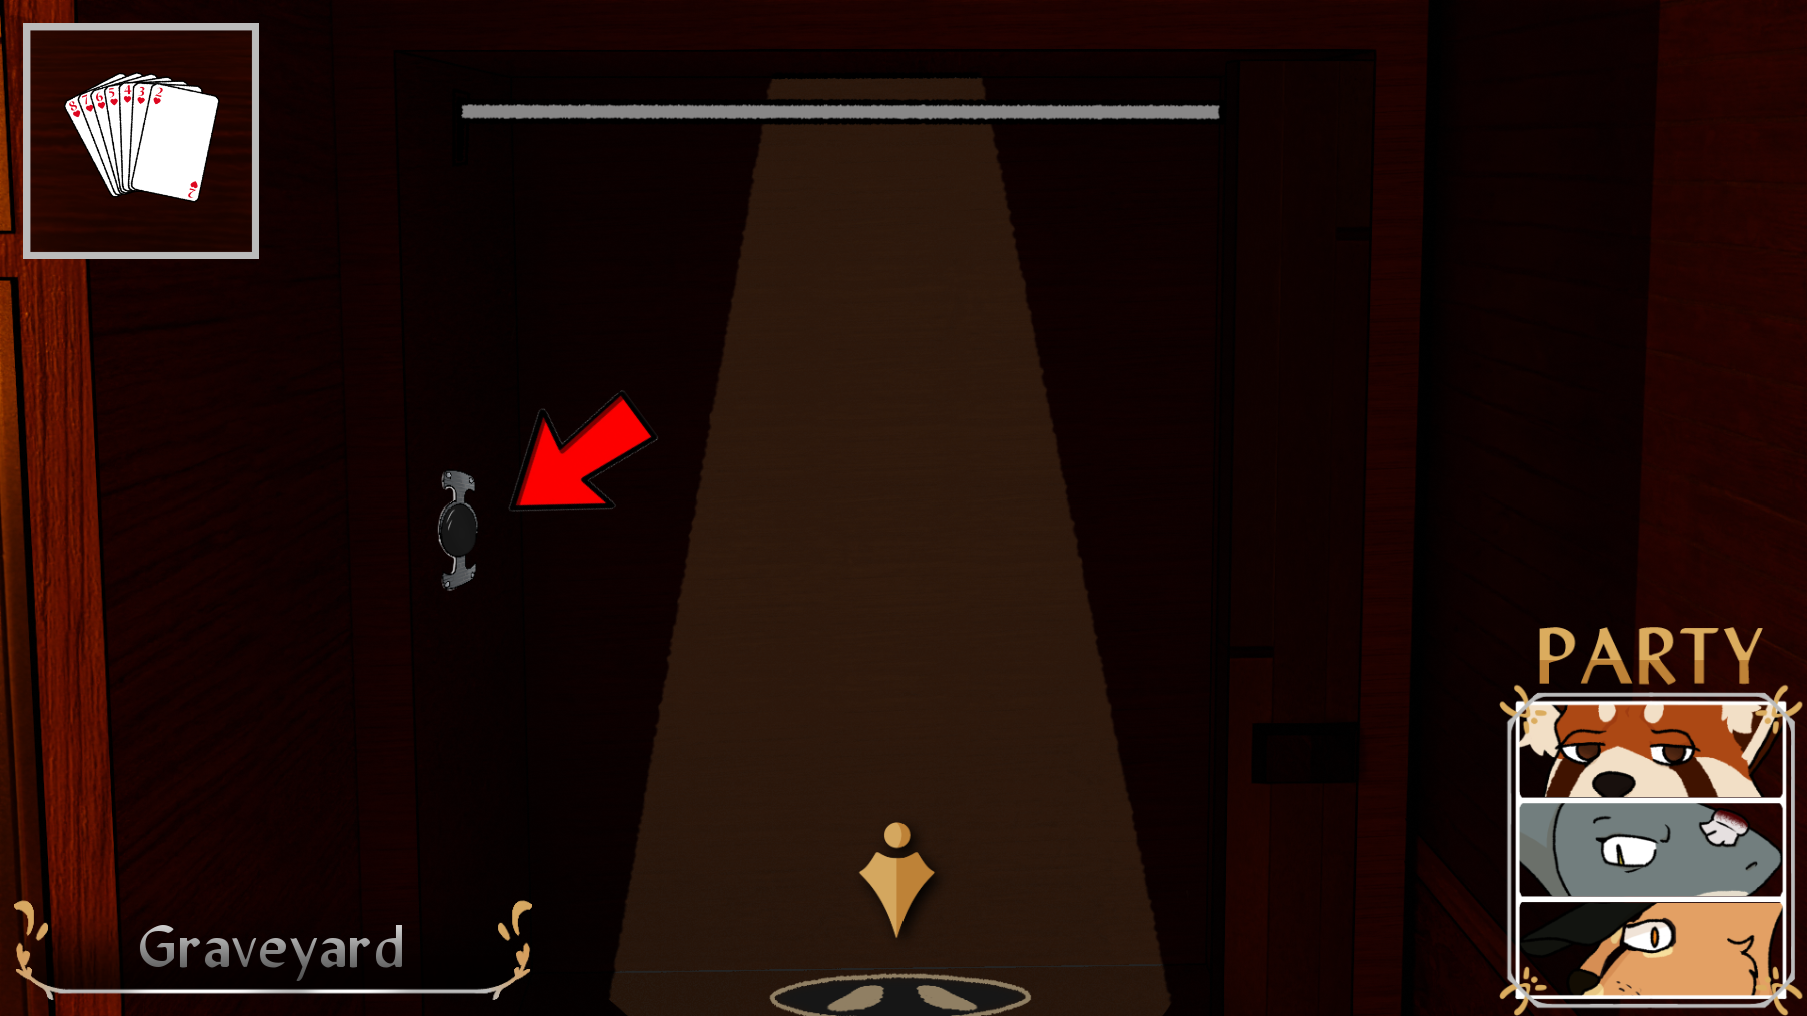
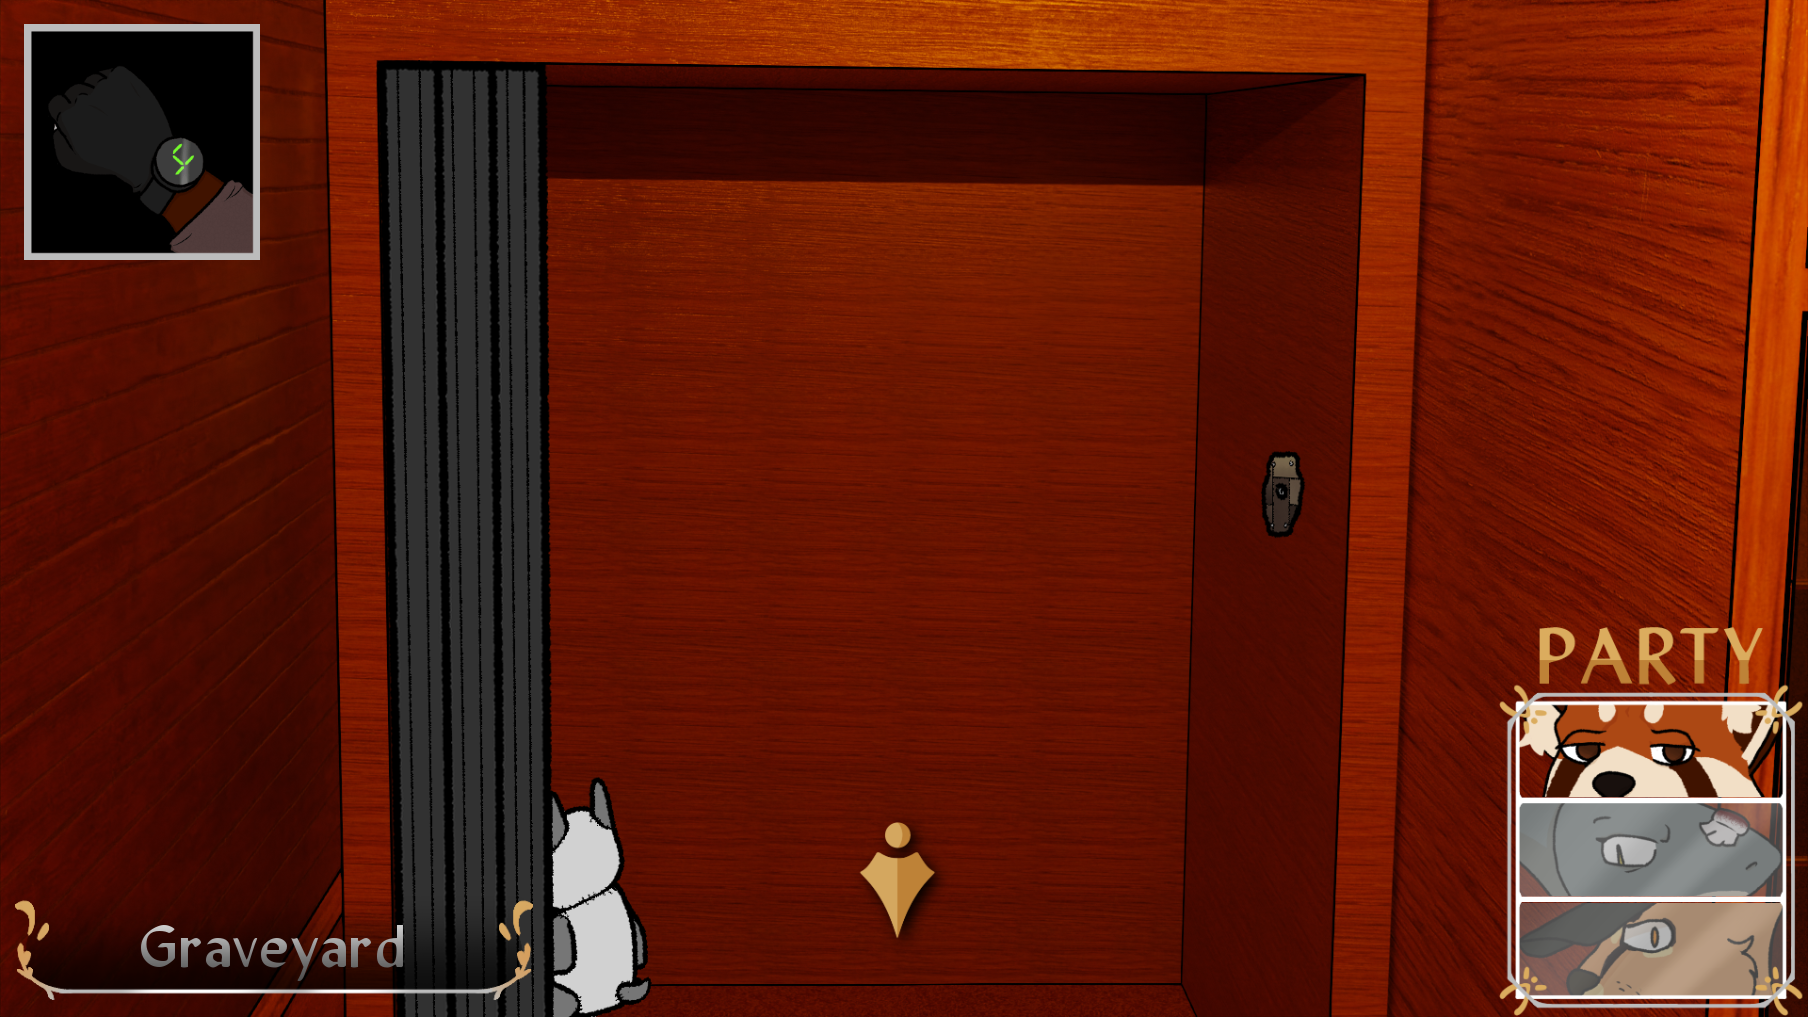
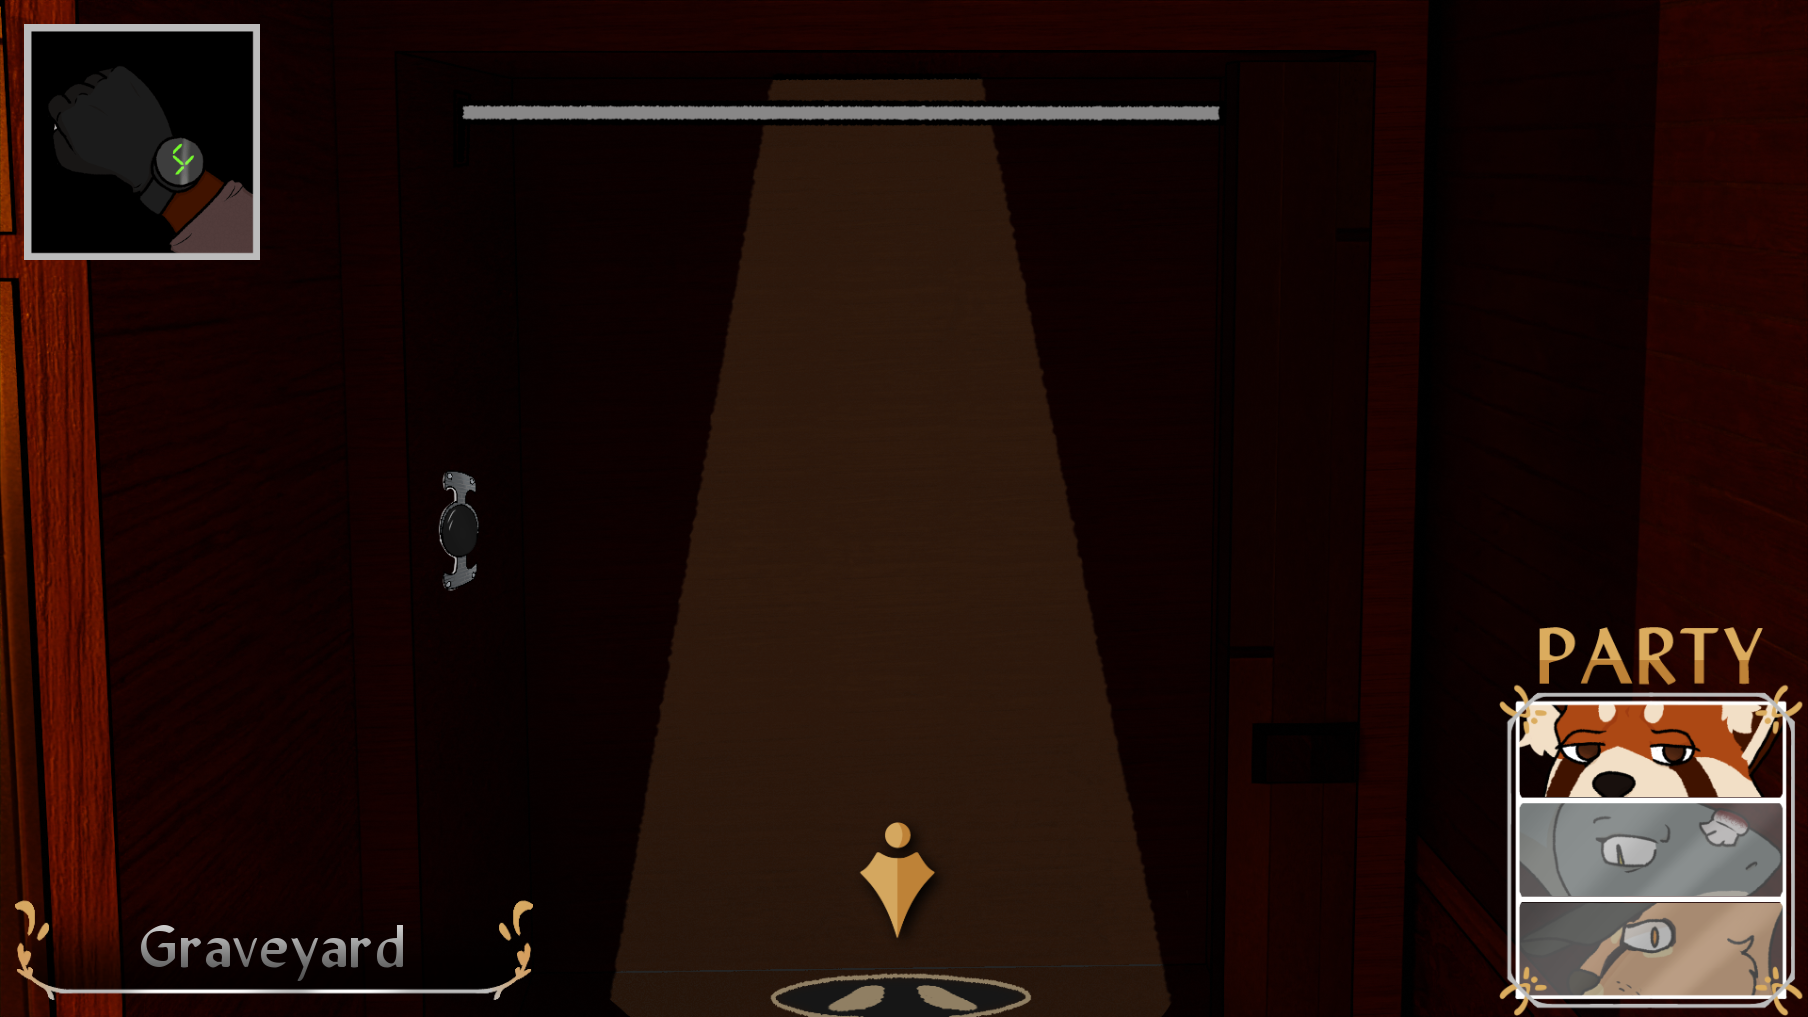
This is the screen you start at.

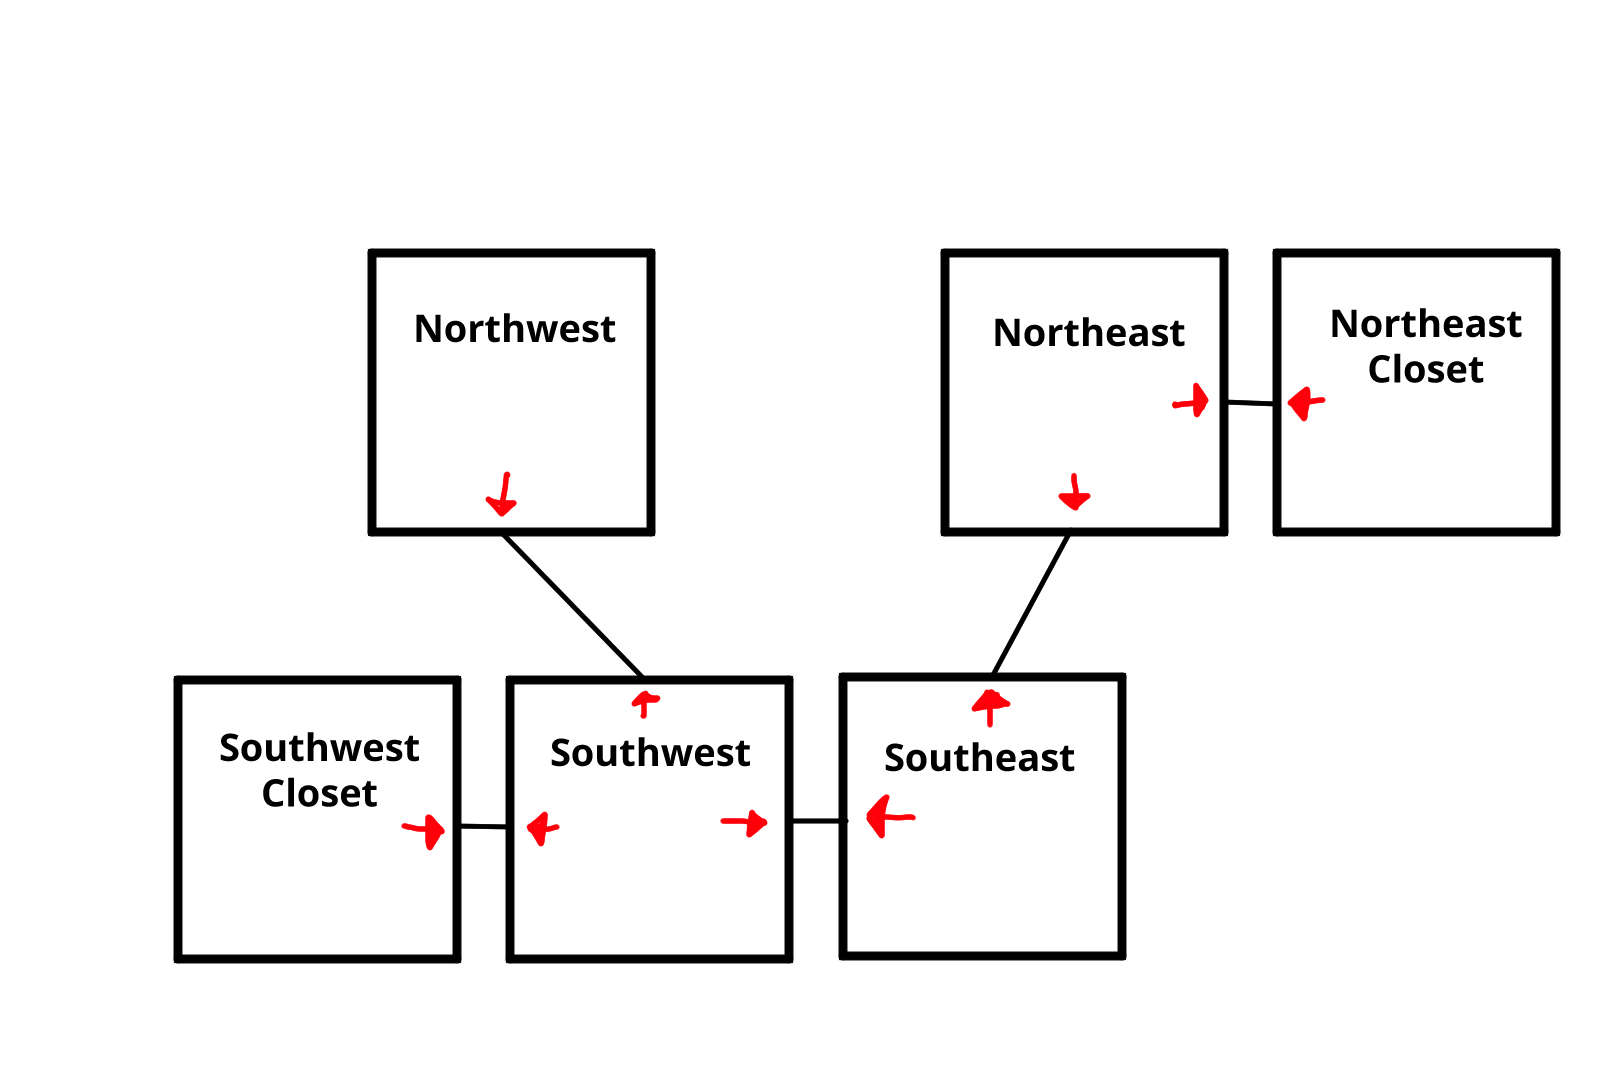
And here's a map of the room's navigation to find your footing. You're currently in the box labeled 'Southeast.'
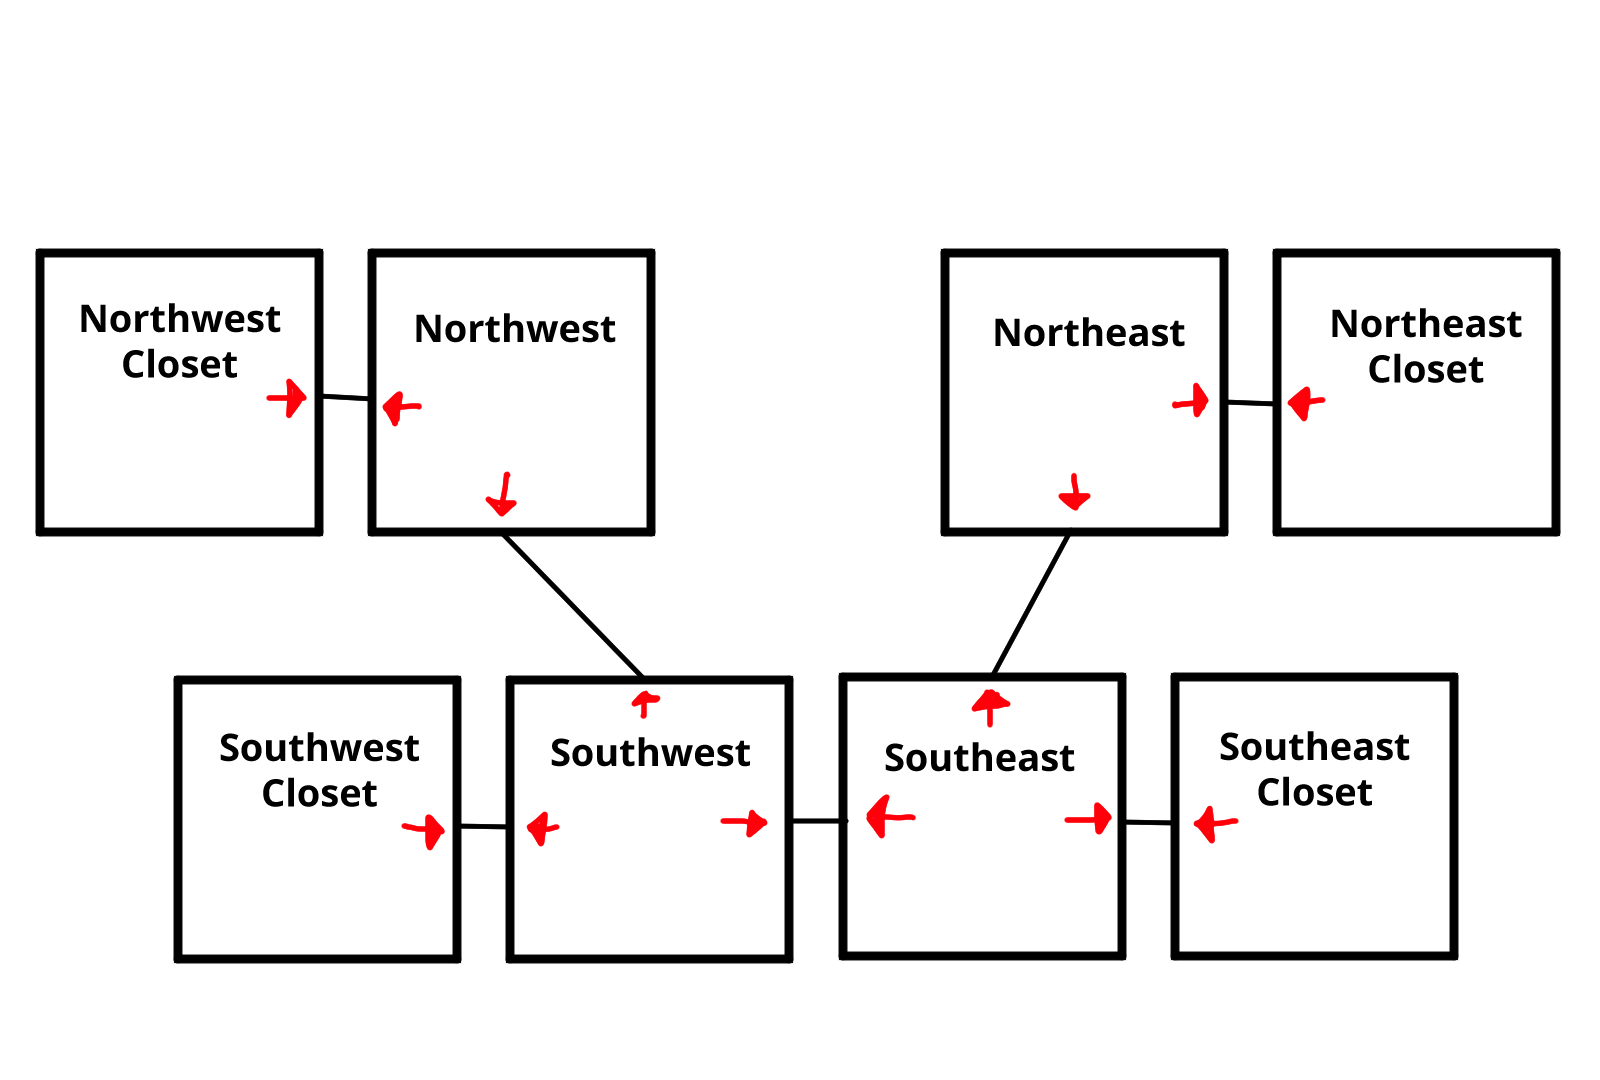
You can see a lot of doors, but you can ignore them for now. Head north by pressing the up arrow.
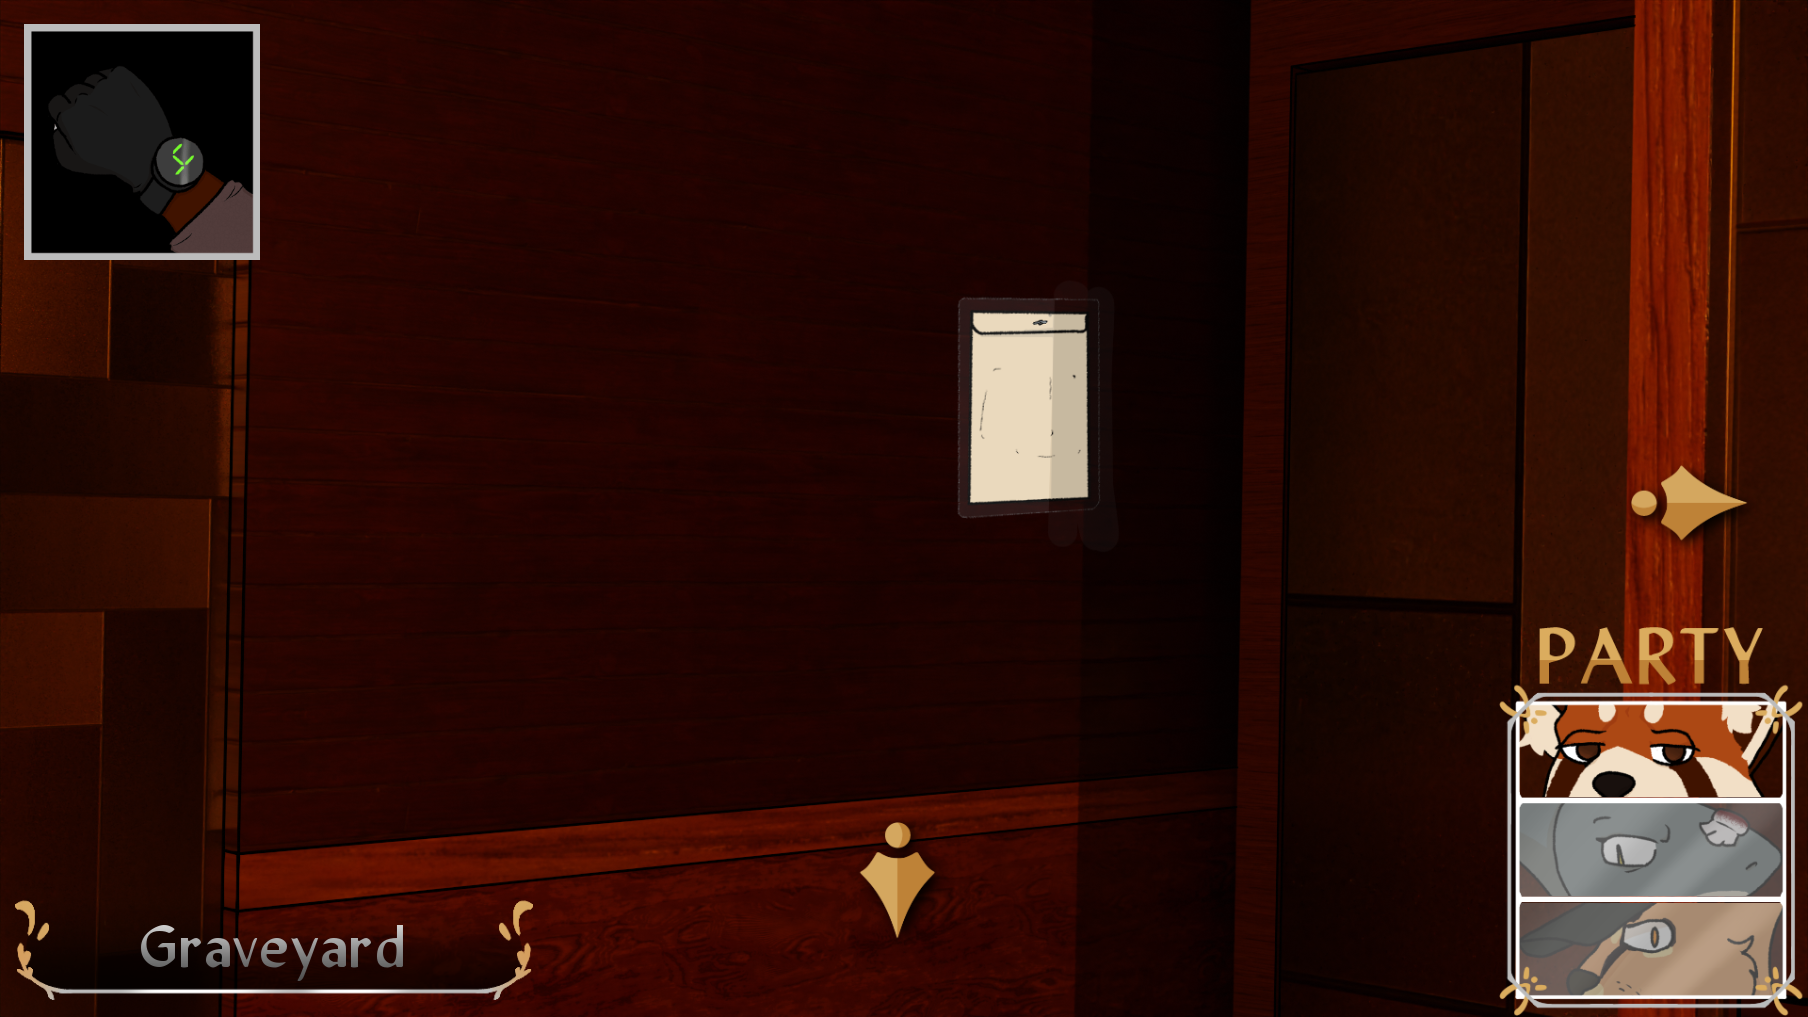
Click the envelope on the wall to add it to your inventory. You can't open it yet, but we'll fix that soon. Feel free to chat with Ikuro about it before continuing, though.

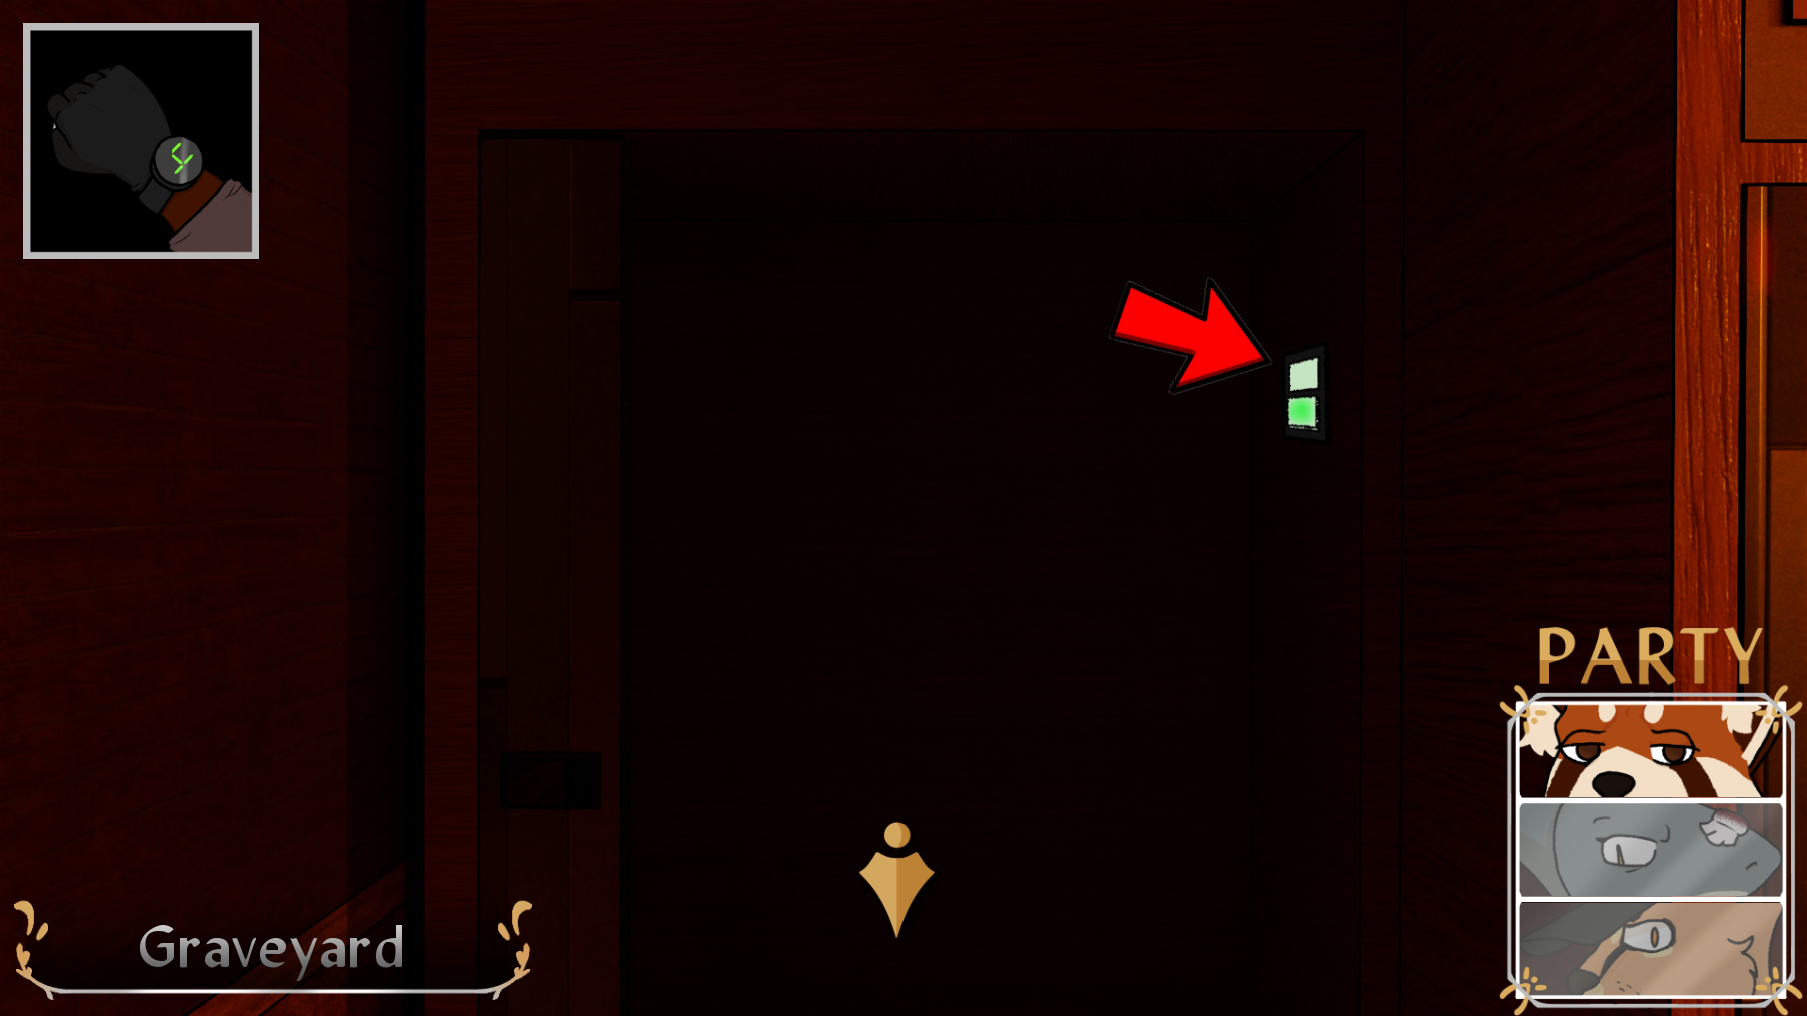
Press the right arrow to peek into the northeast closet. Finally, a door that opens! 
Click the green switch on the right and watch the scene that follows.
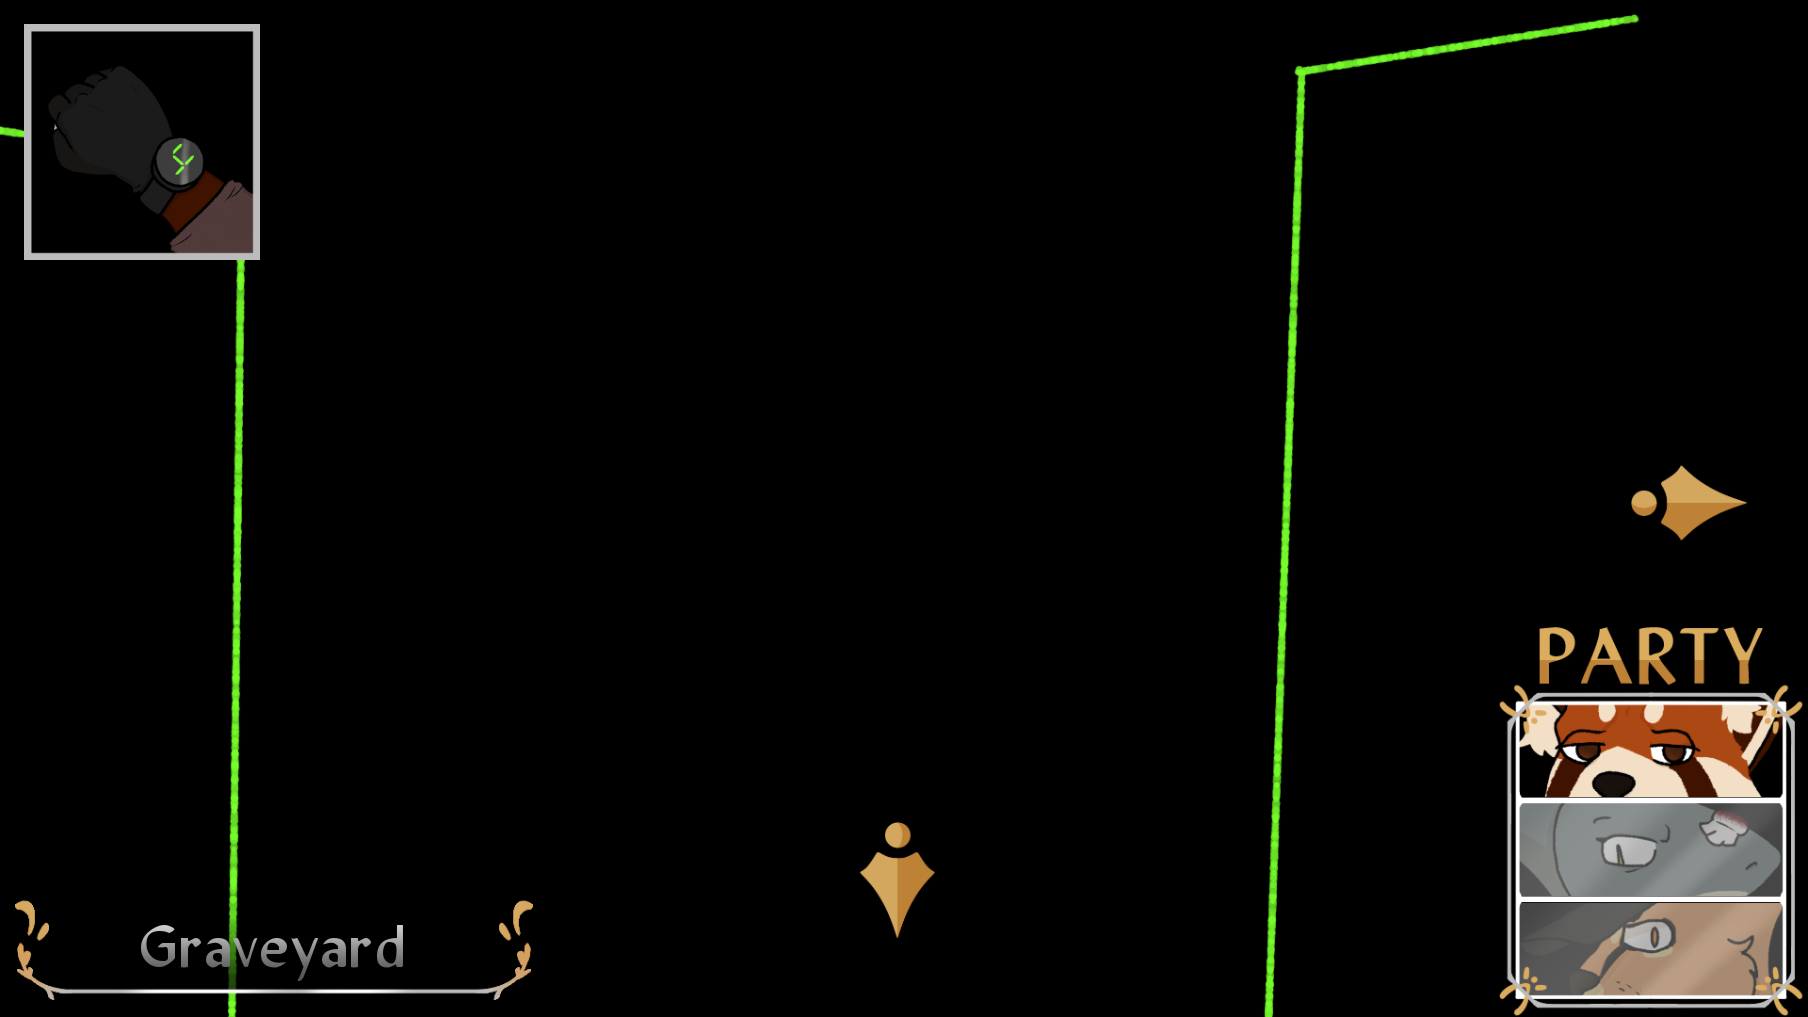
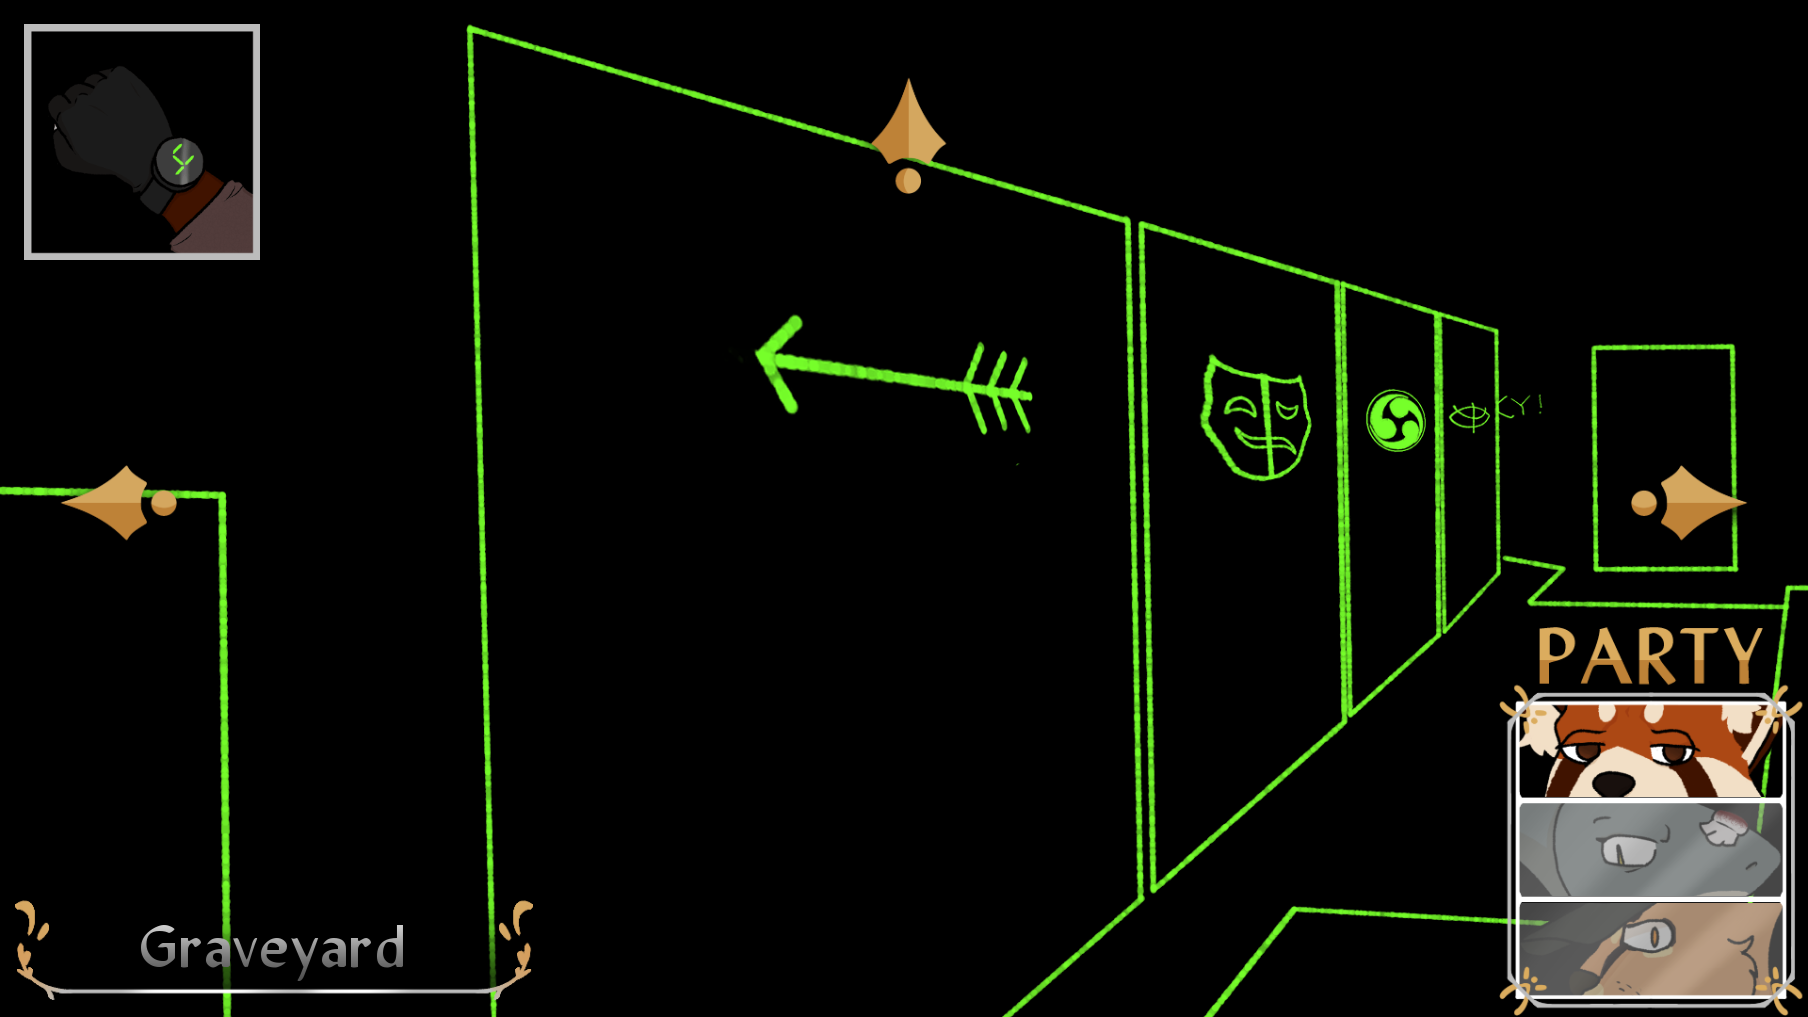
Welcome to the dark graveyard! You're still in the same place, but the room has gone from dark to pitch black! Thankfully, there's a neon green guide running throughout the room. You're still in the northeast closet, of course.
Here's how the map's changed. The guide doesn't extend to the southeast or northwest closets, so you can't look at them while it's dark. Here's an updated map for the dark room. (You're currently in the northeast closet.)
You can also press the lightswitch at any point to swap back to the light version of the room, but keep it dark for now. Press the down arrow to return to the northeast junction.
From here, press down again to reach the southeastern junction.
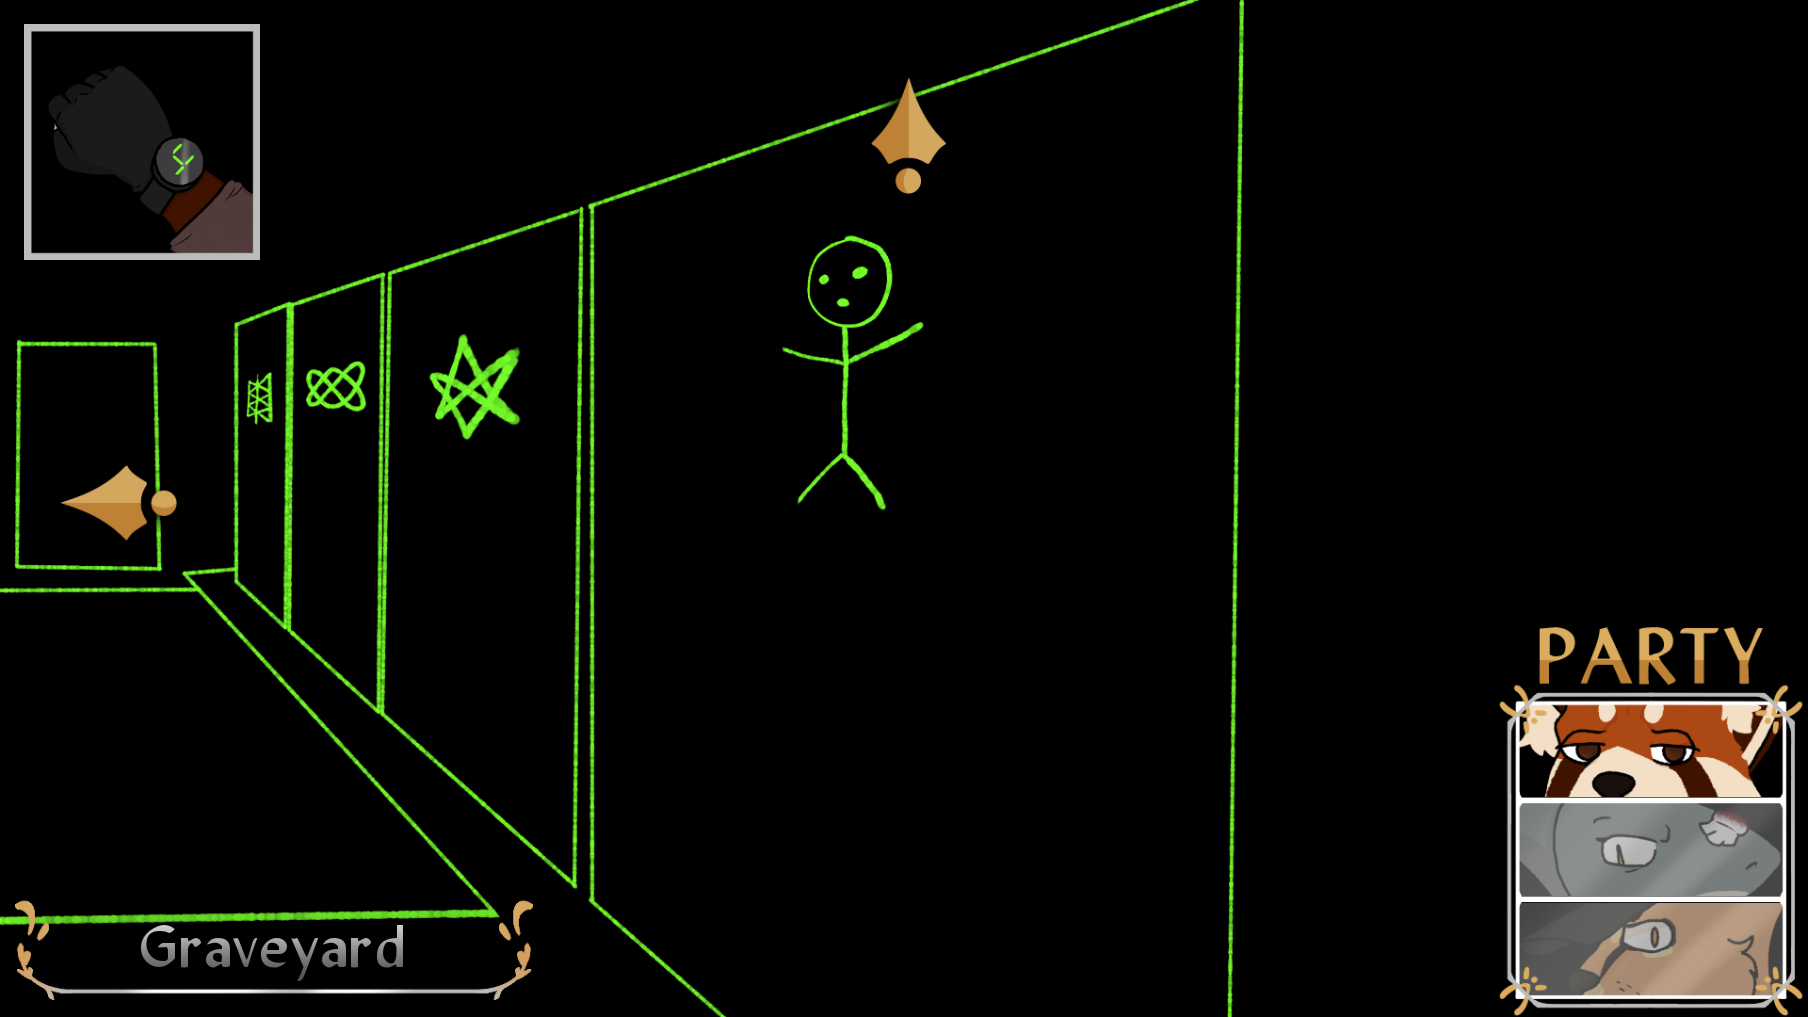
There are symbols on the doors now... What could they mean? Inspect them if you like and then press the left arrow to go to the southwestern junction.
More doors, more symbols. Investigate them if you like, and then when you're done, press the left arrow to go to the southwest closet.
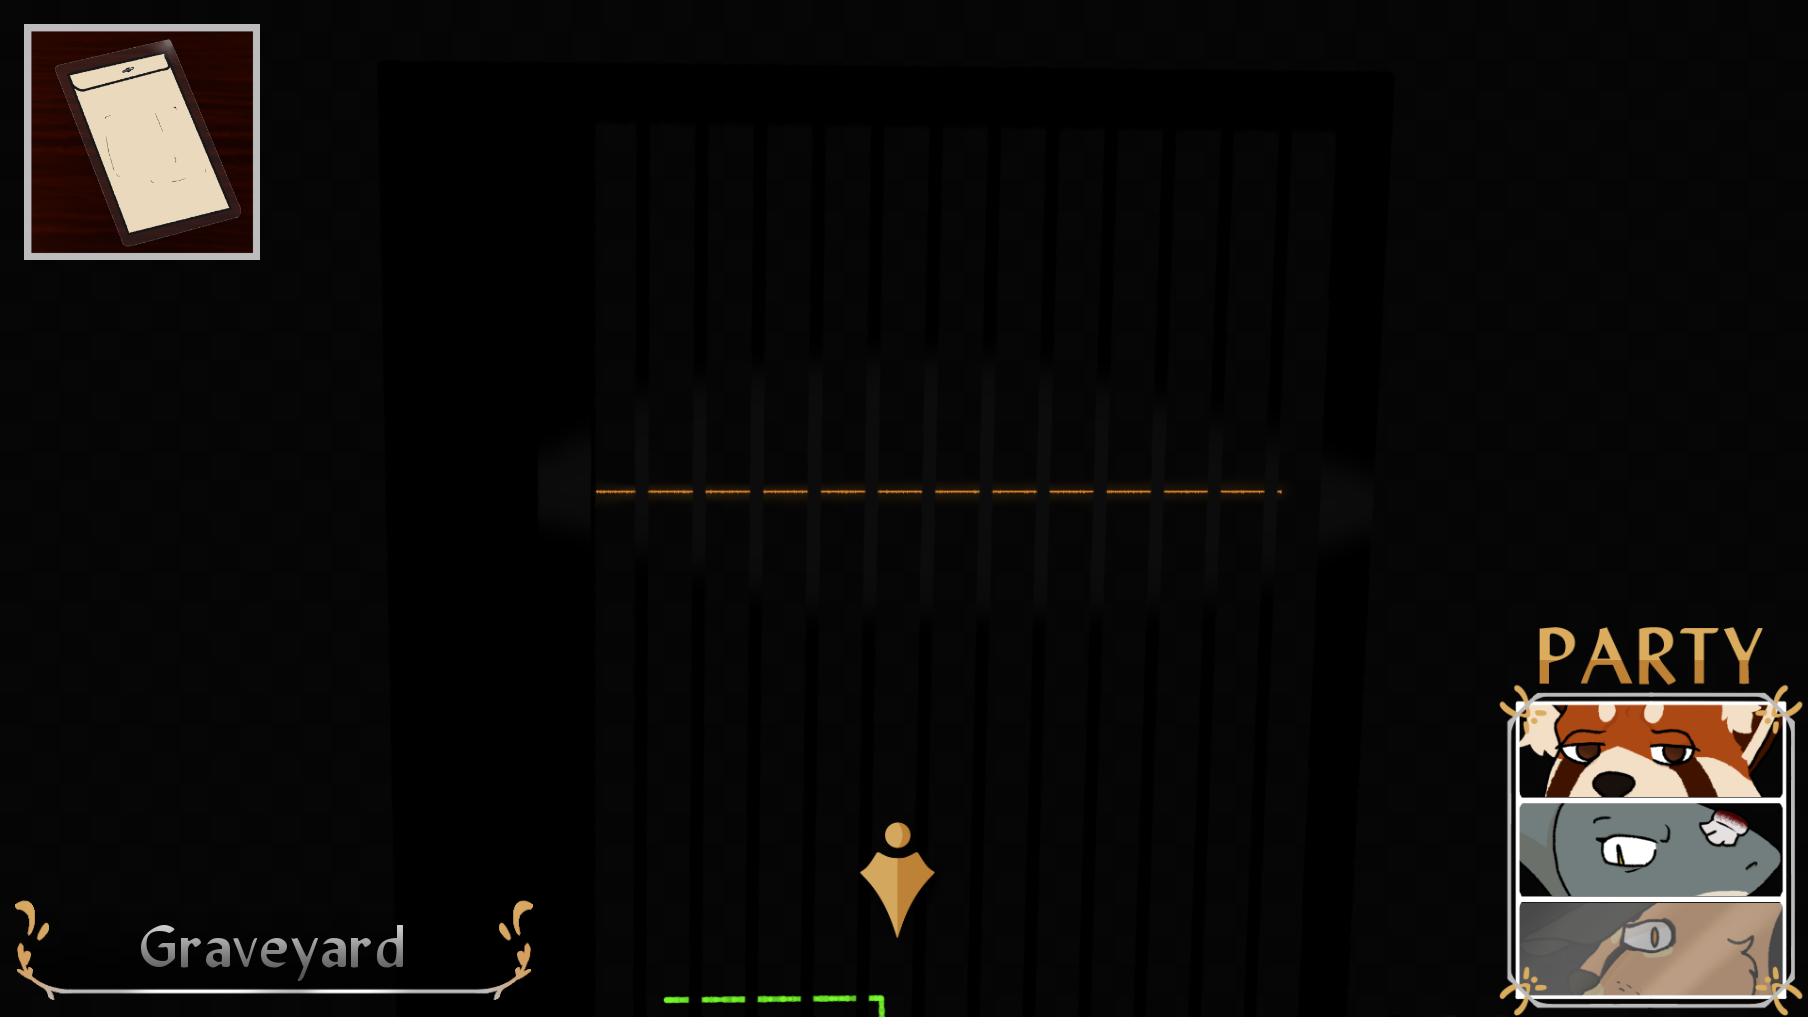
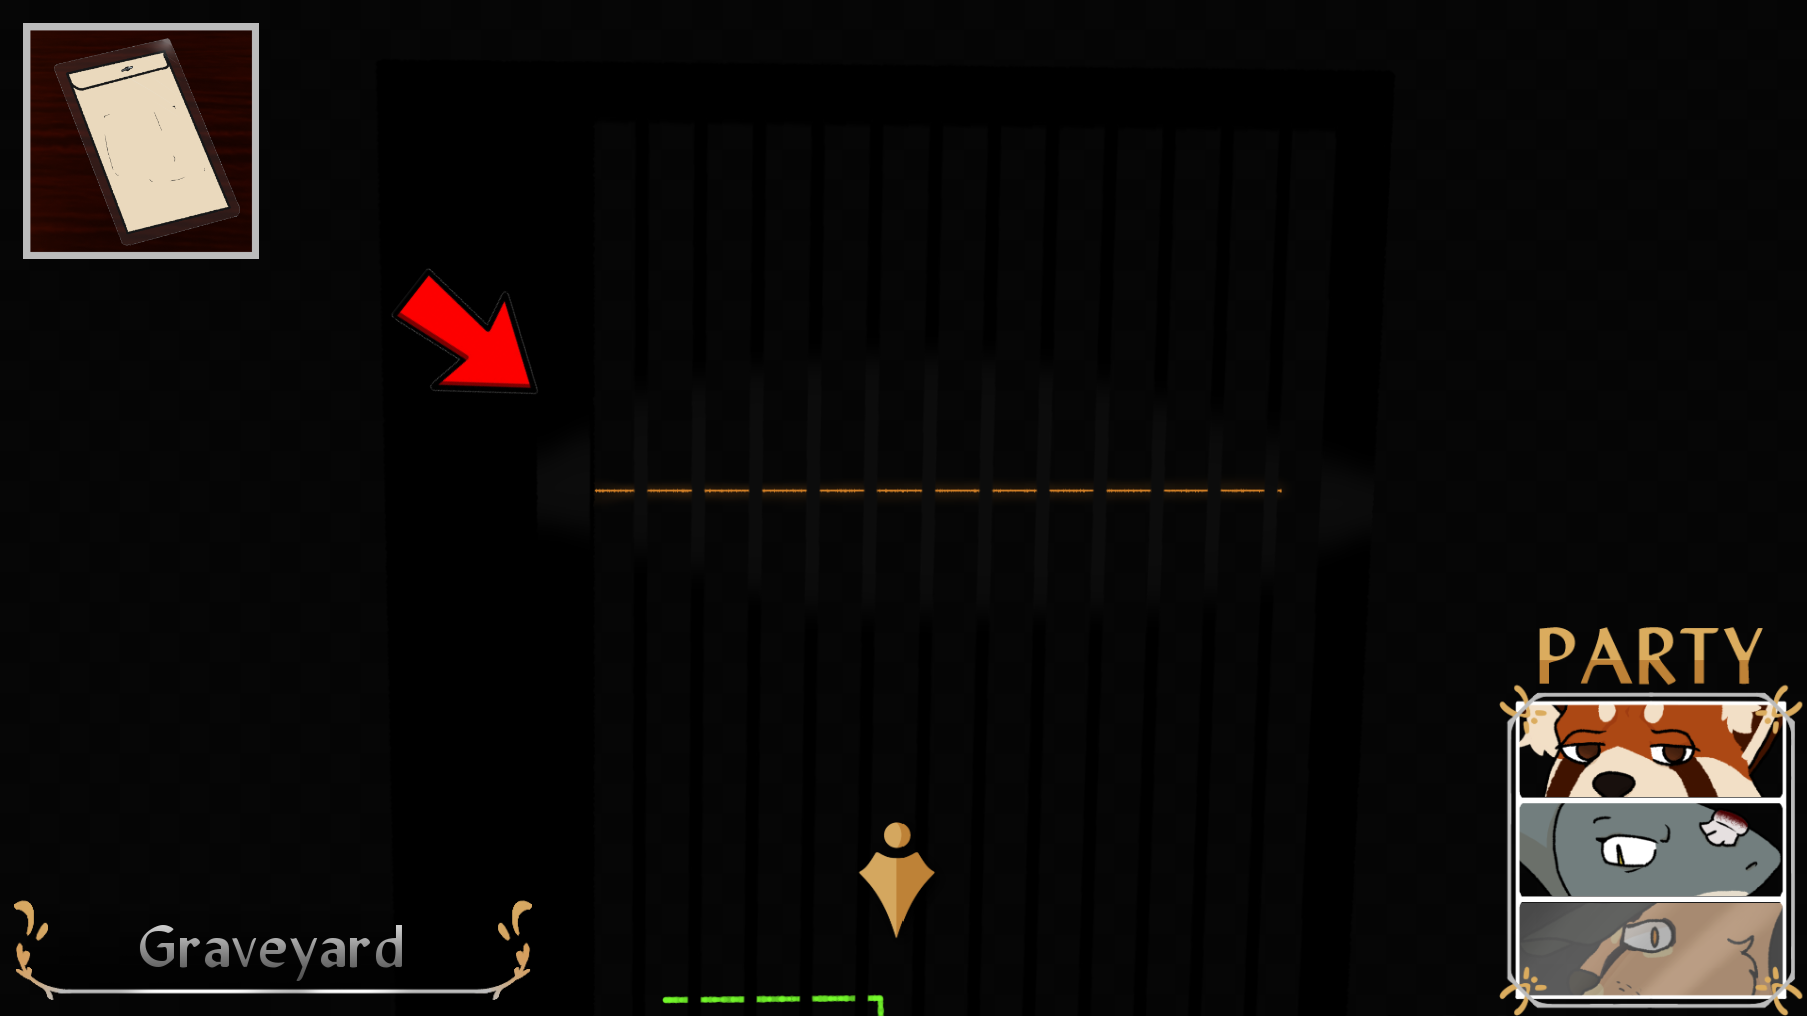
You can see a laser here. Click it with the envelope selected to open that sucker up!
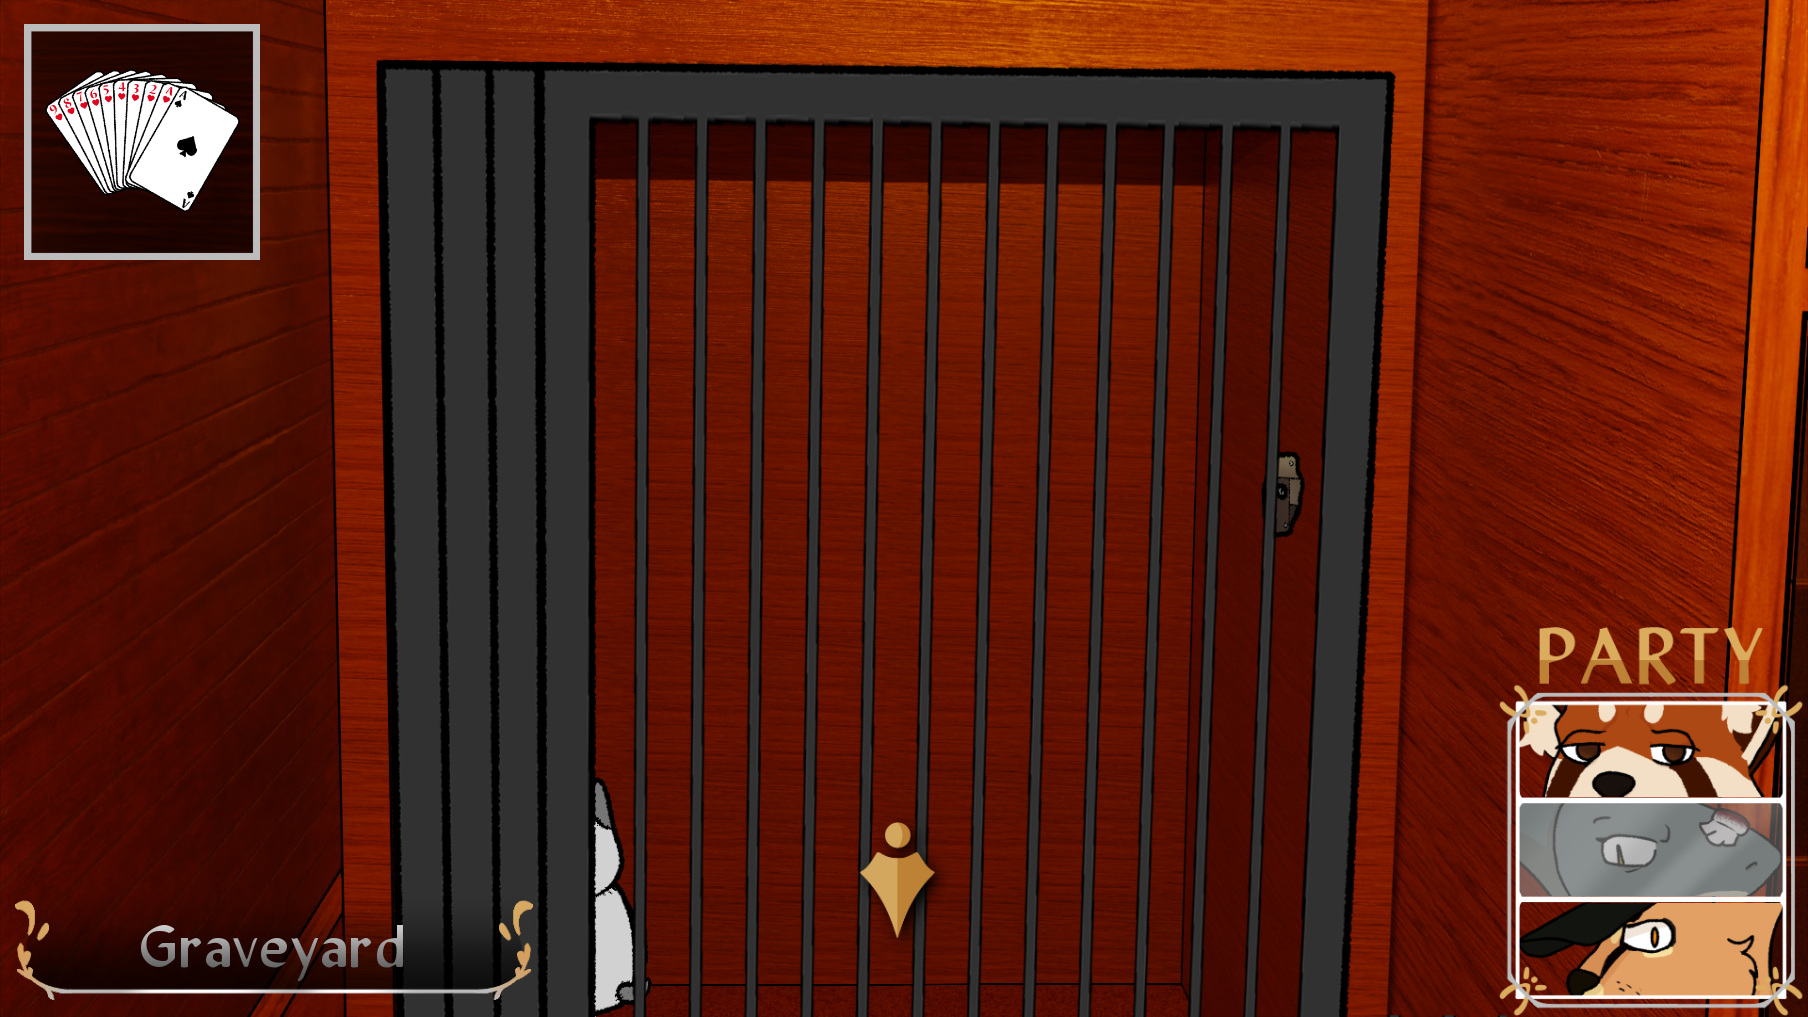
Eight is kind enough to turn the lights back on for you after you open the envelope. Inside it, you find an odd deck of cards. The ten card deck is added to your inventory after this scene. You can discuss them with Eight if you'd like.

Press the down arrow to return to the southwest junction.
Now press the up arrow to go to the northwest junction.
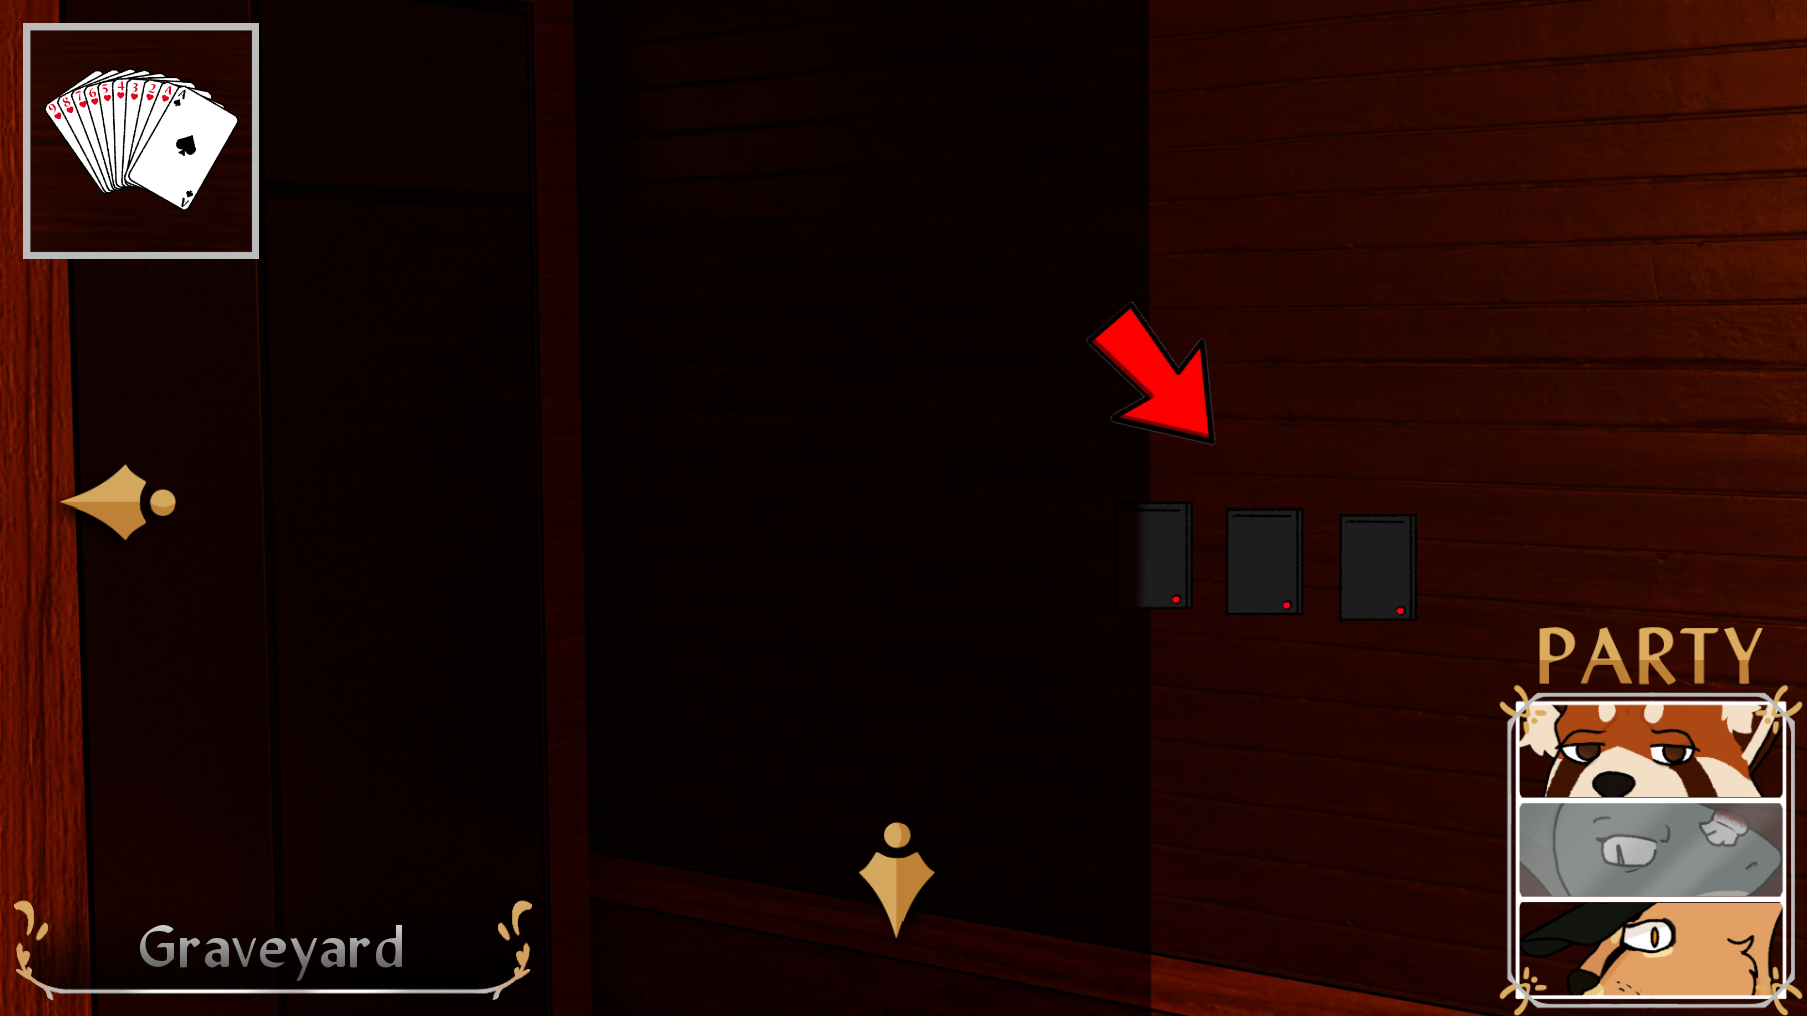
Here you'll find a card reader. Three of them, actually. Click any of them with the cards in your inventory to begin a minigame.
Which cards go where? Well, there's a clue you can find in the dark room... specifically in the same spot you find the card readers in the light room, the northwest junction!
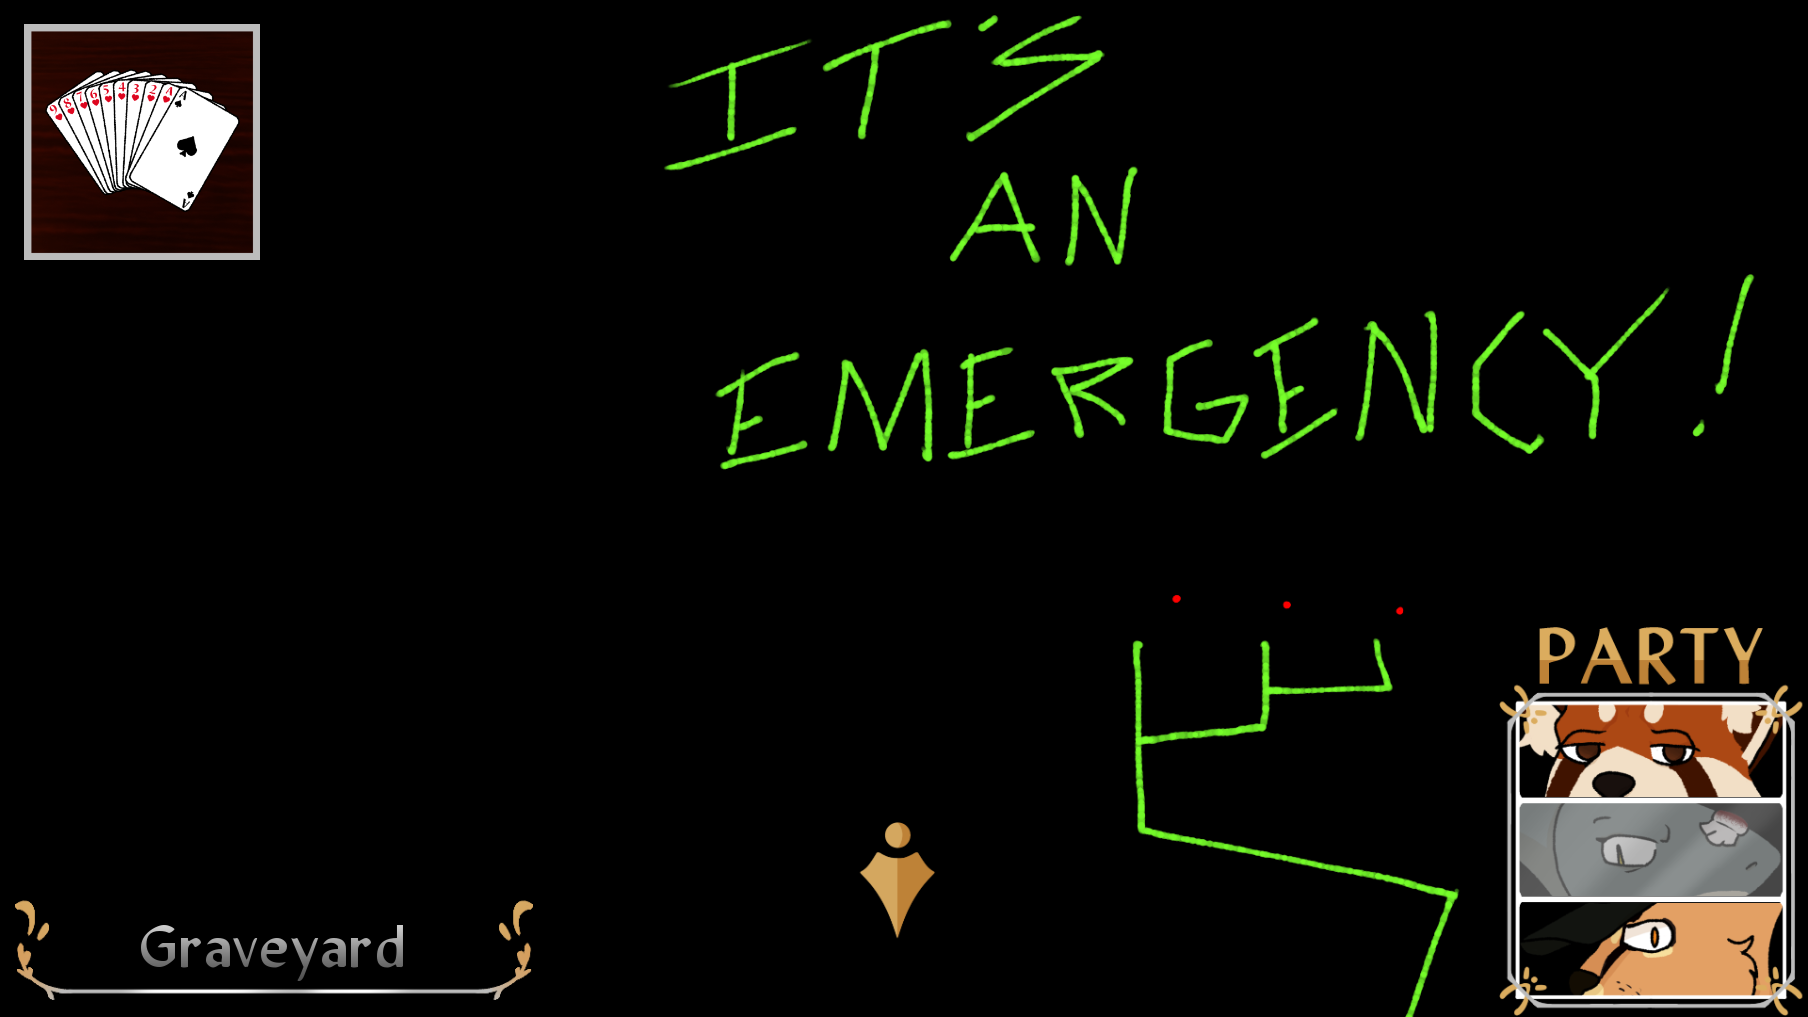 You can click the text on the wall multiple times to get hints from the characters.


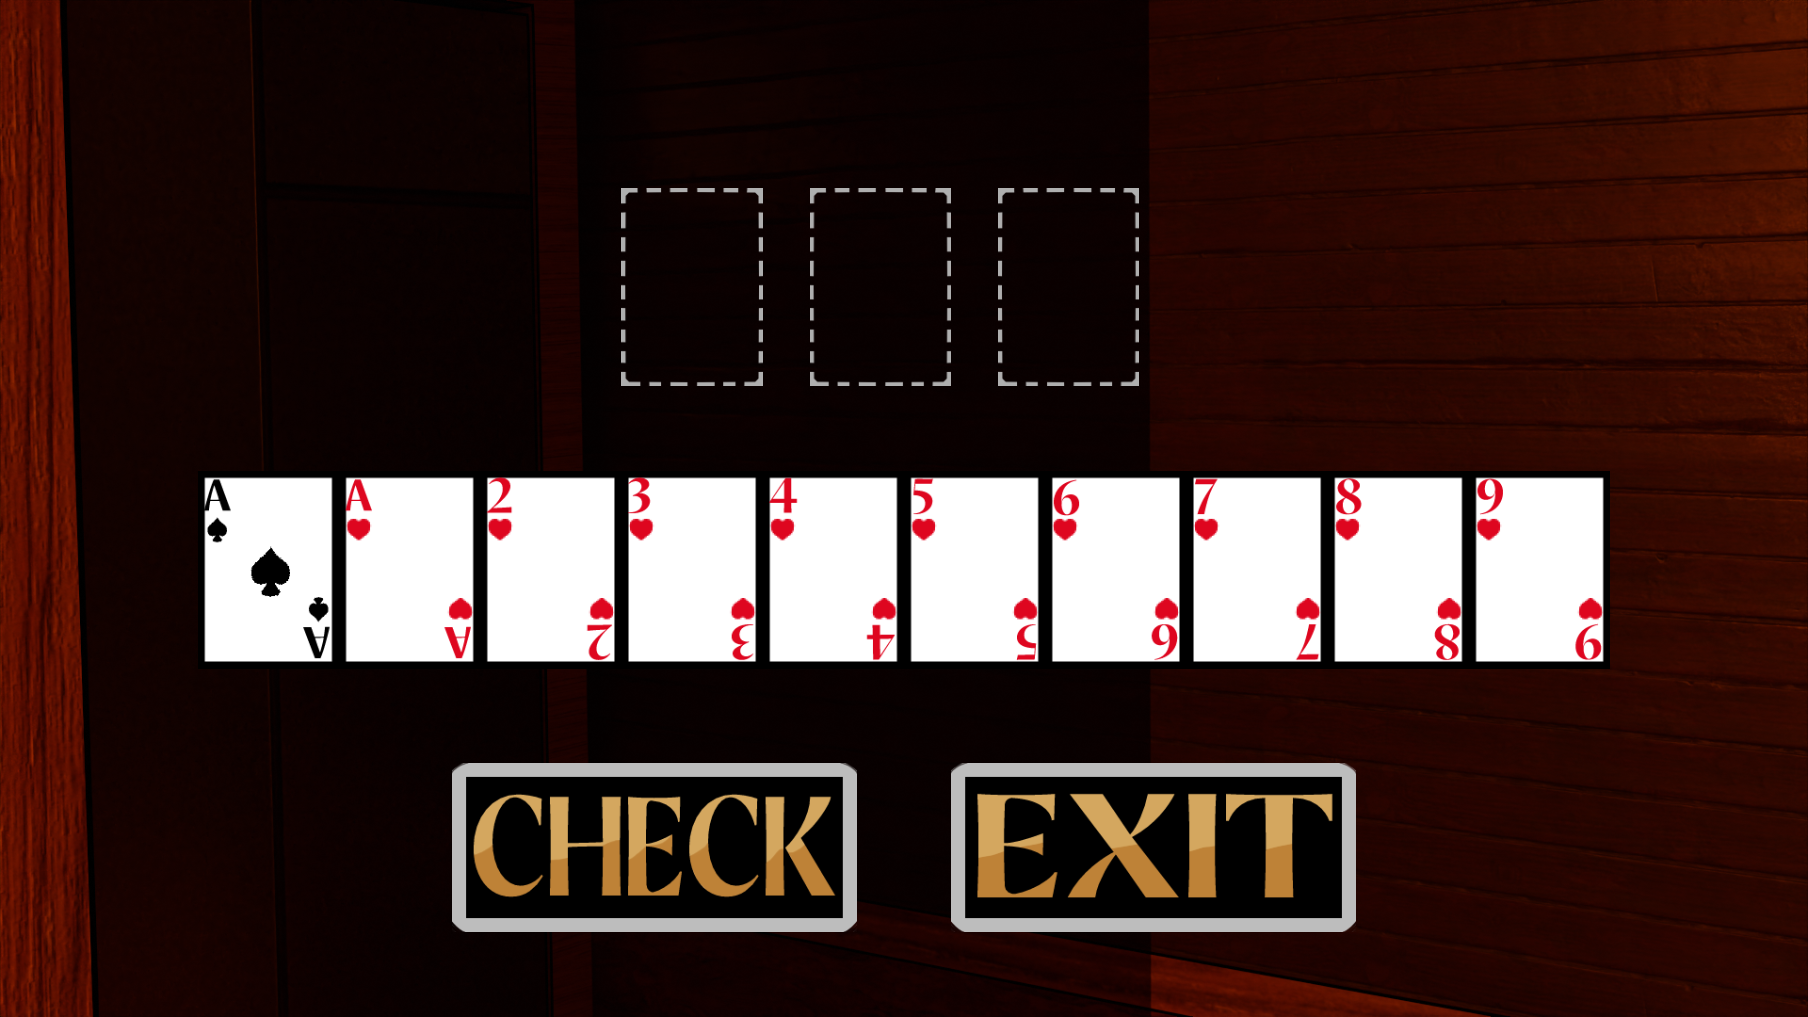
Just as Ikuro says, the card order is 9 A A (911). The aces are interchangeable with each other.
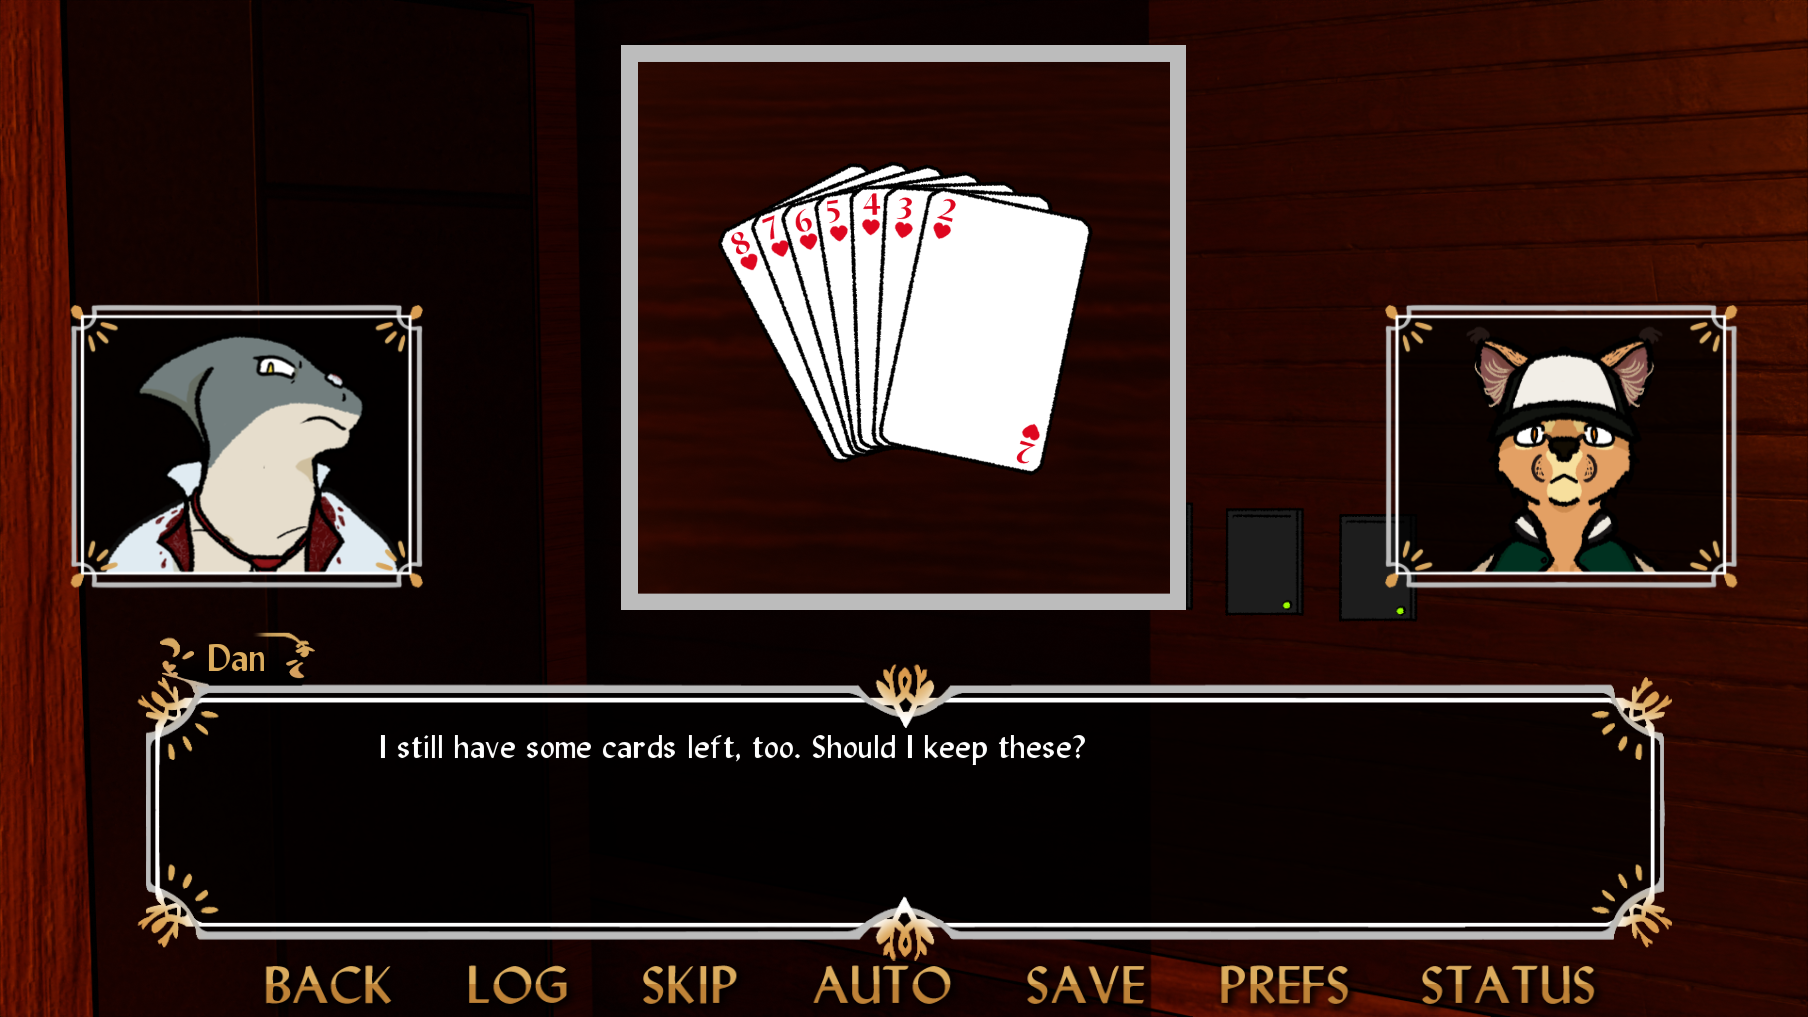
Hit the check button and a cutscene will play! In it, Dan will mention that there are some card left over. The remaining seven cards remain in your inventory. Both Eight and Ikuro have some new chat options with these equipped, so talk to them if you'd like.
The characters also hear a lock disengage to their left. Press the left arrow to enter the northwestern closet.
Once inside, press the silver authenticator to advance! A cutscene will play, and afterwards you'll be warped over to the southwest junction.
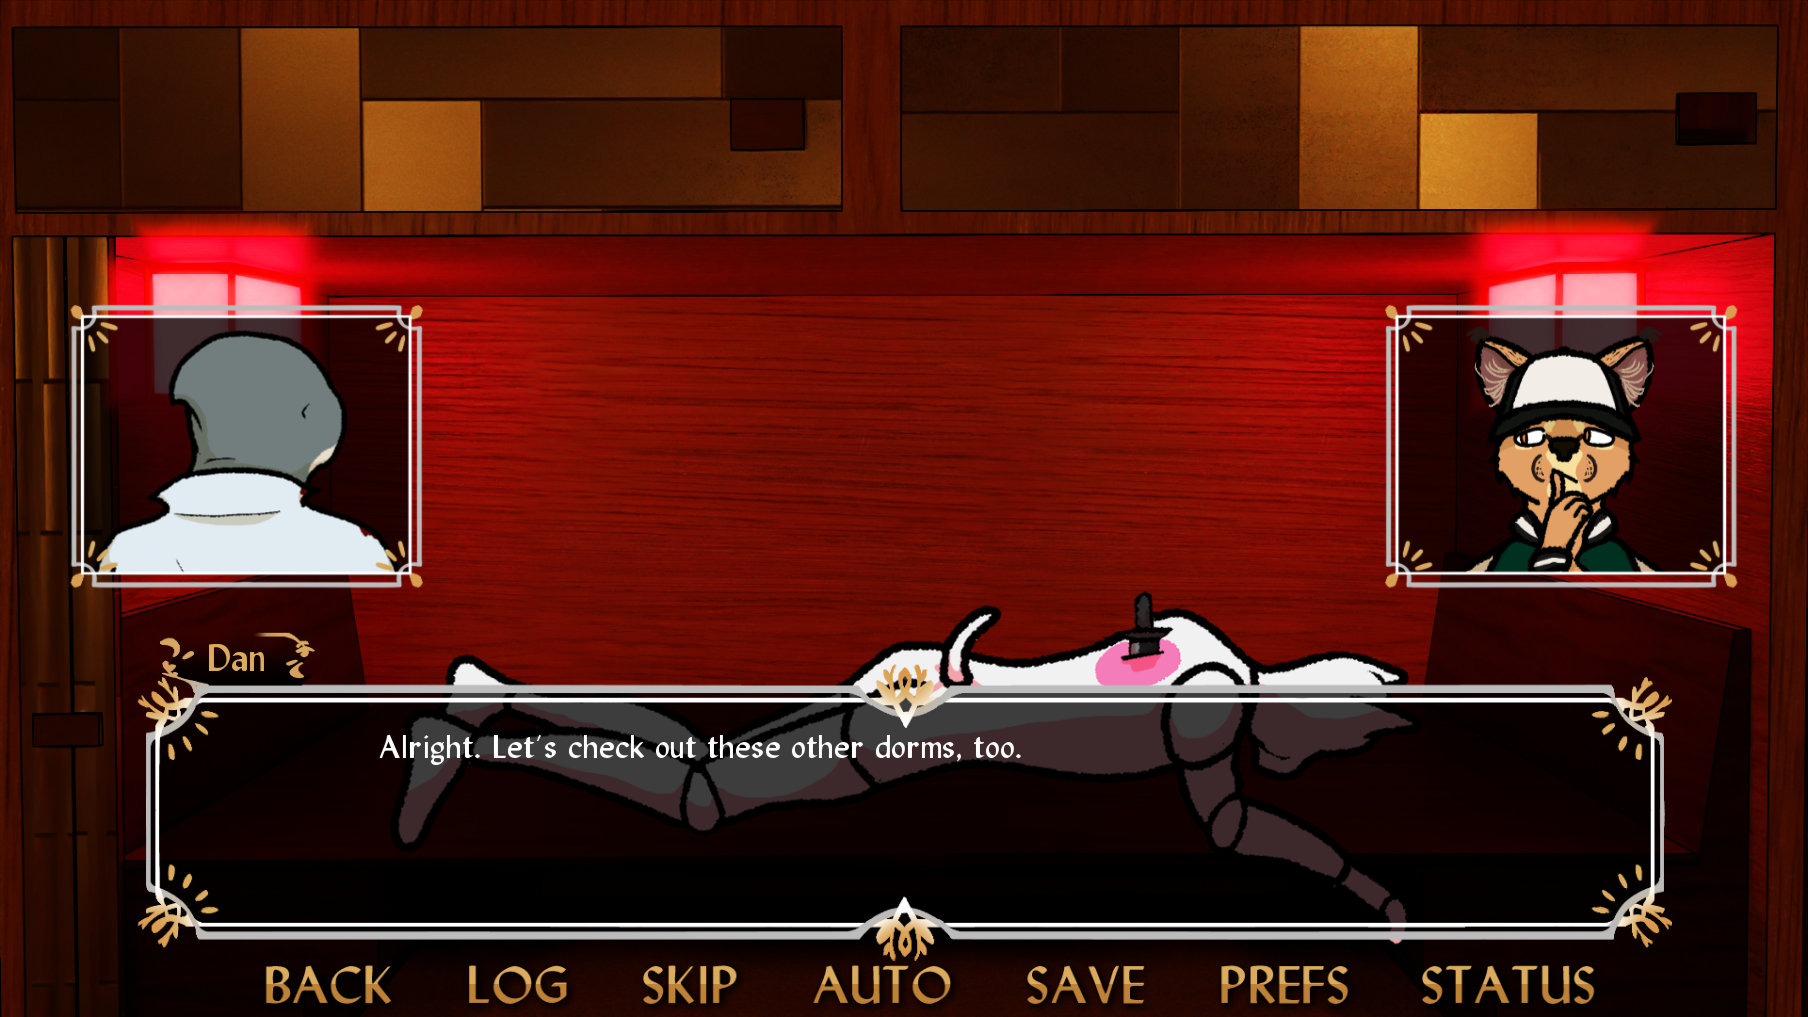

You can explore each of the eight dorms now, but we'll cover the bulk of them later in this guide when they become relevant. For now press the right arrow to go to the southeast junction and click the dorm closest to you (with the L-Gear selected) to continue.

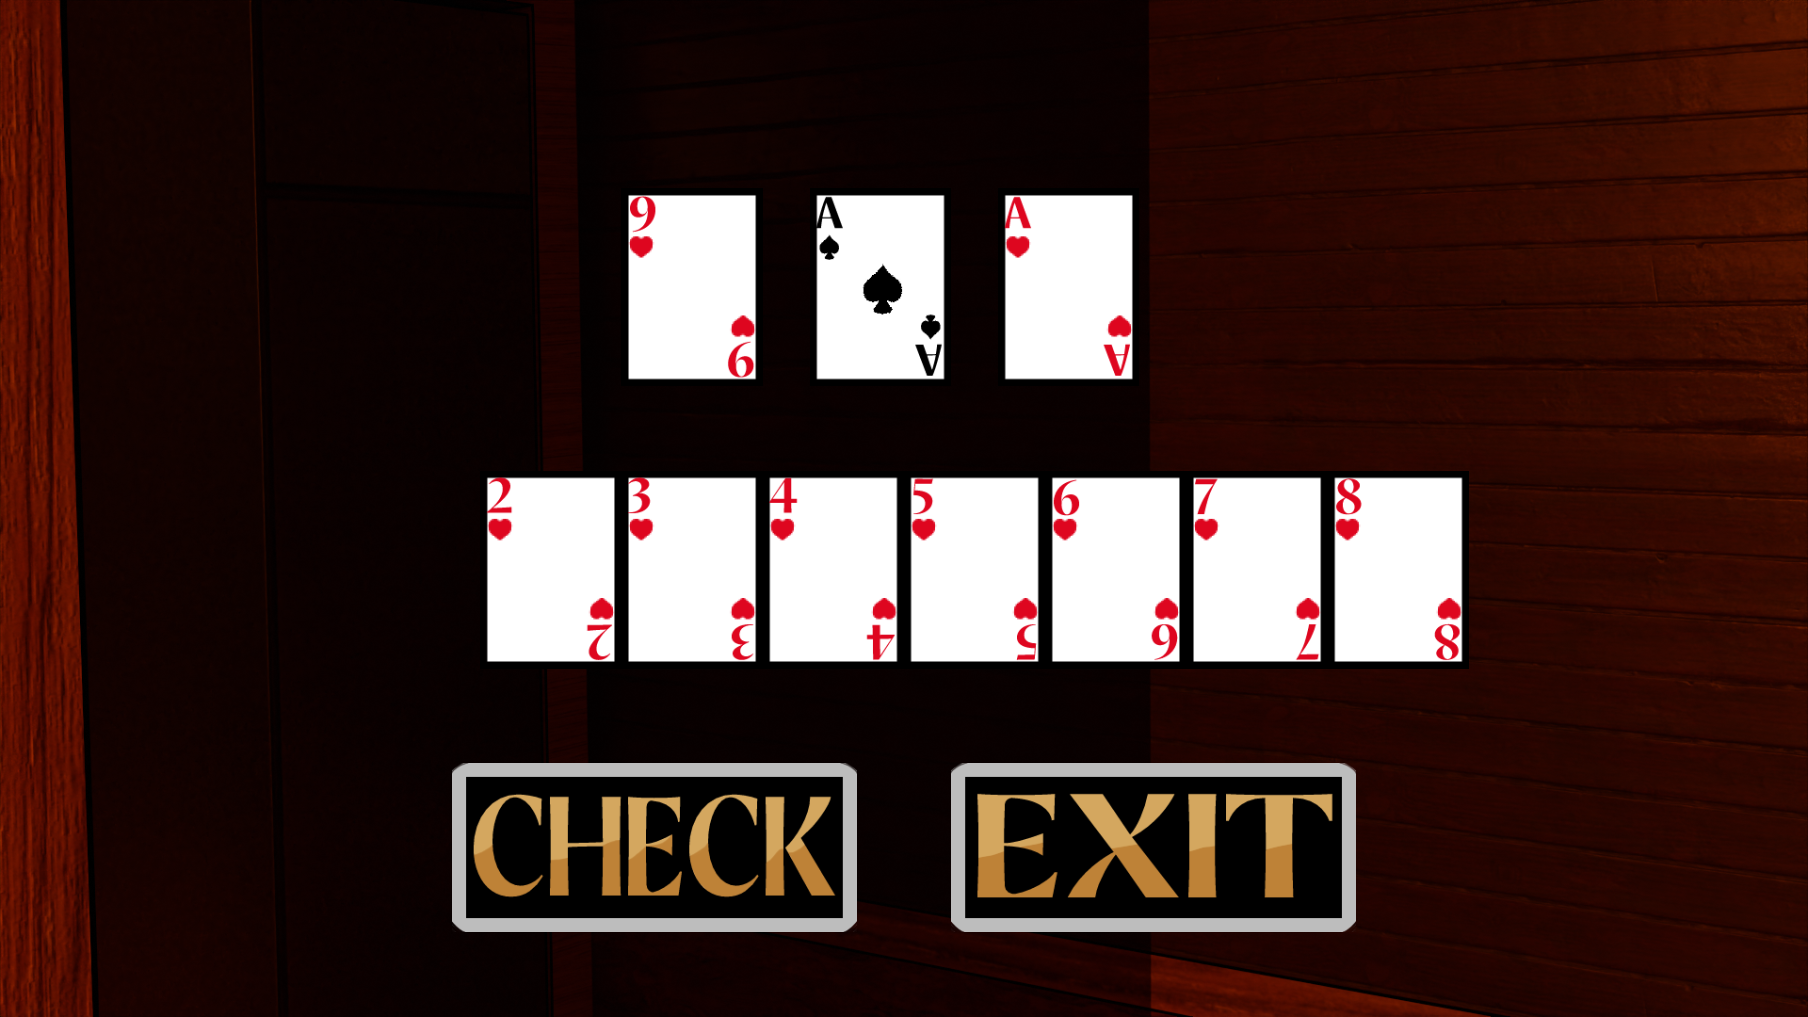
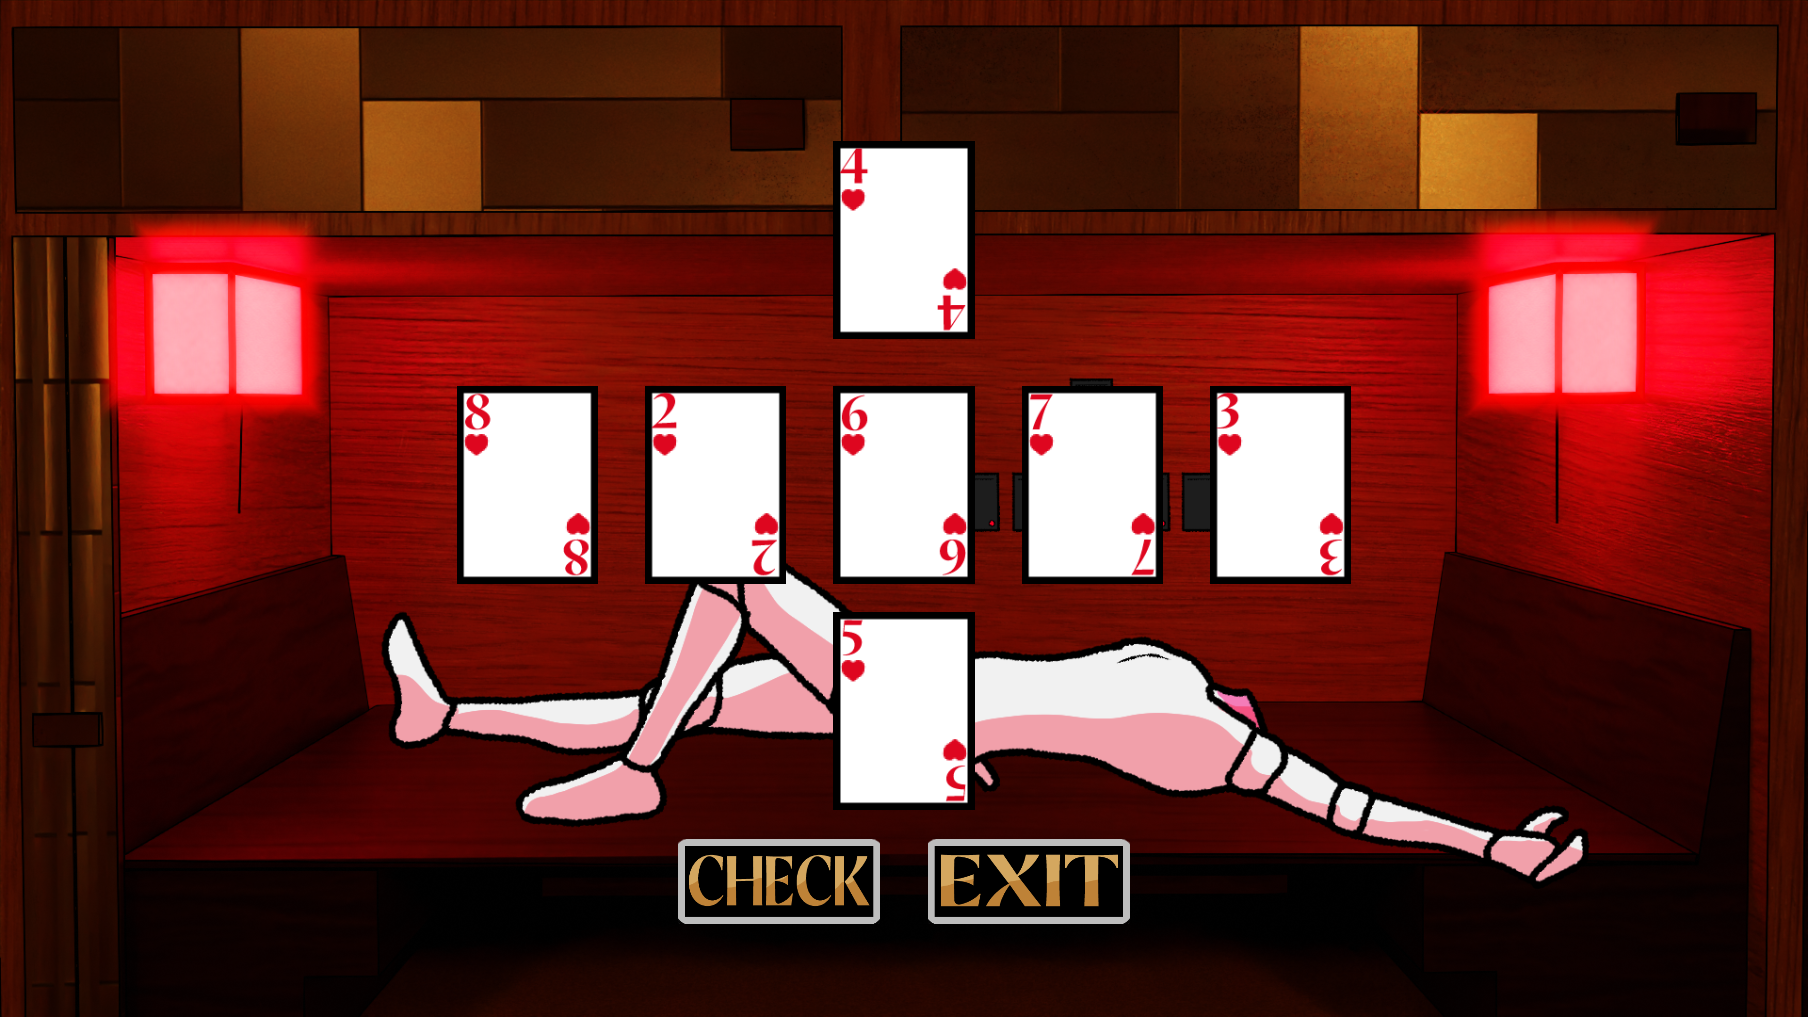
More card readers! Click them to enter another minigame.
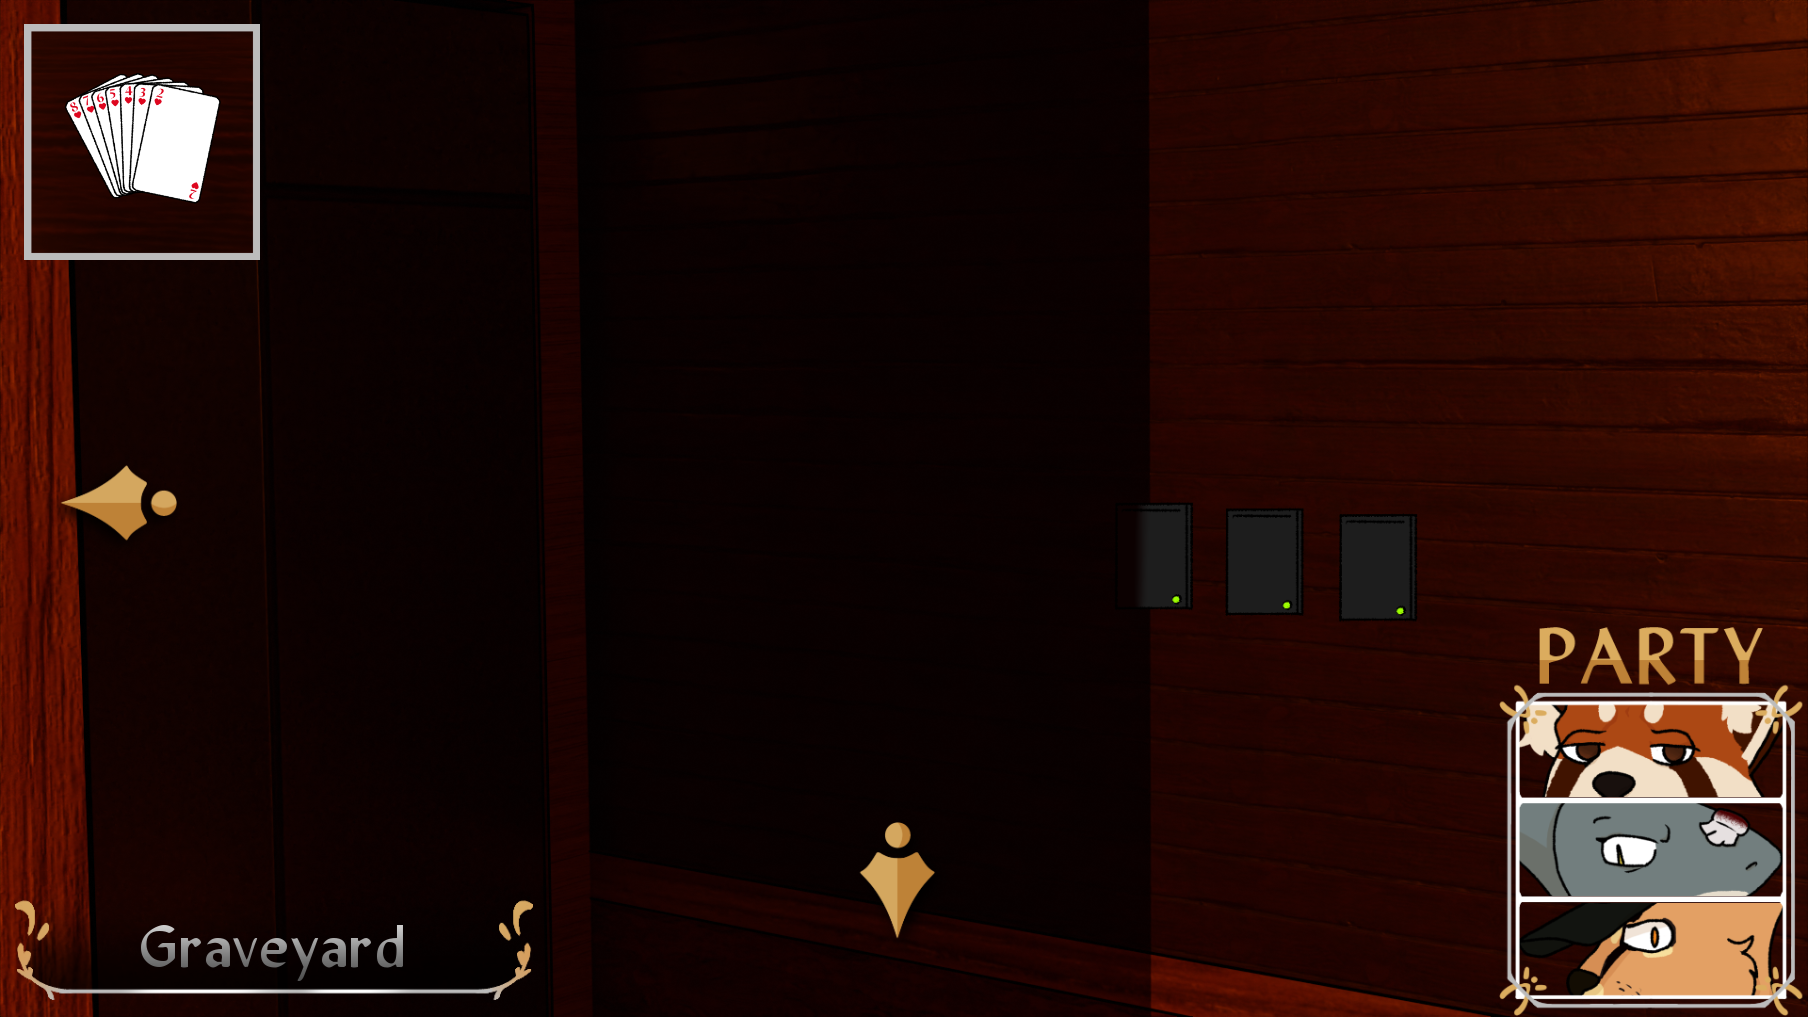
Way more slots than last time... And way fewer cards. Where can we find a hint this time? Backtrack to the dark version of the room and check your inventory.
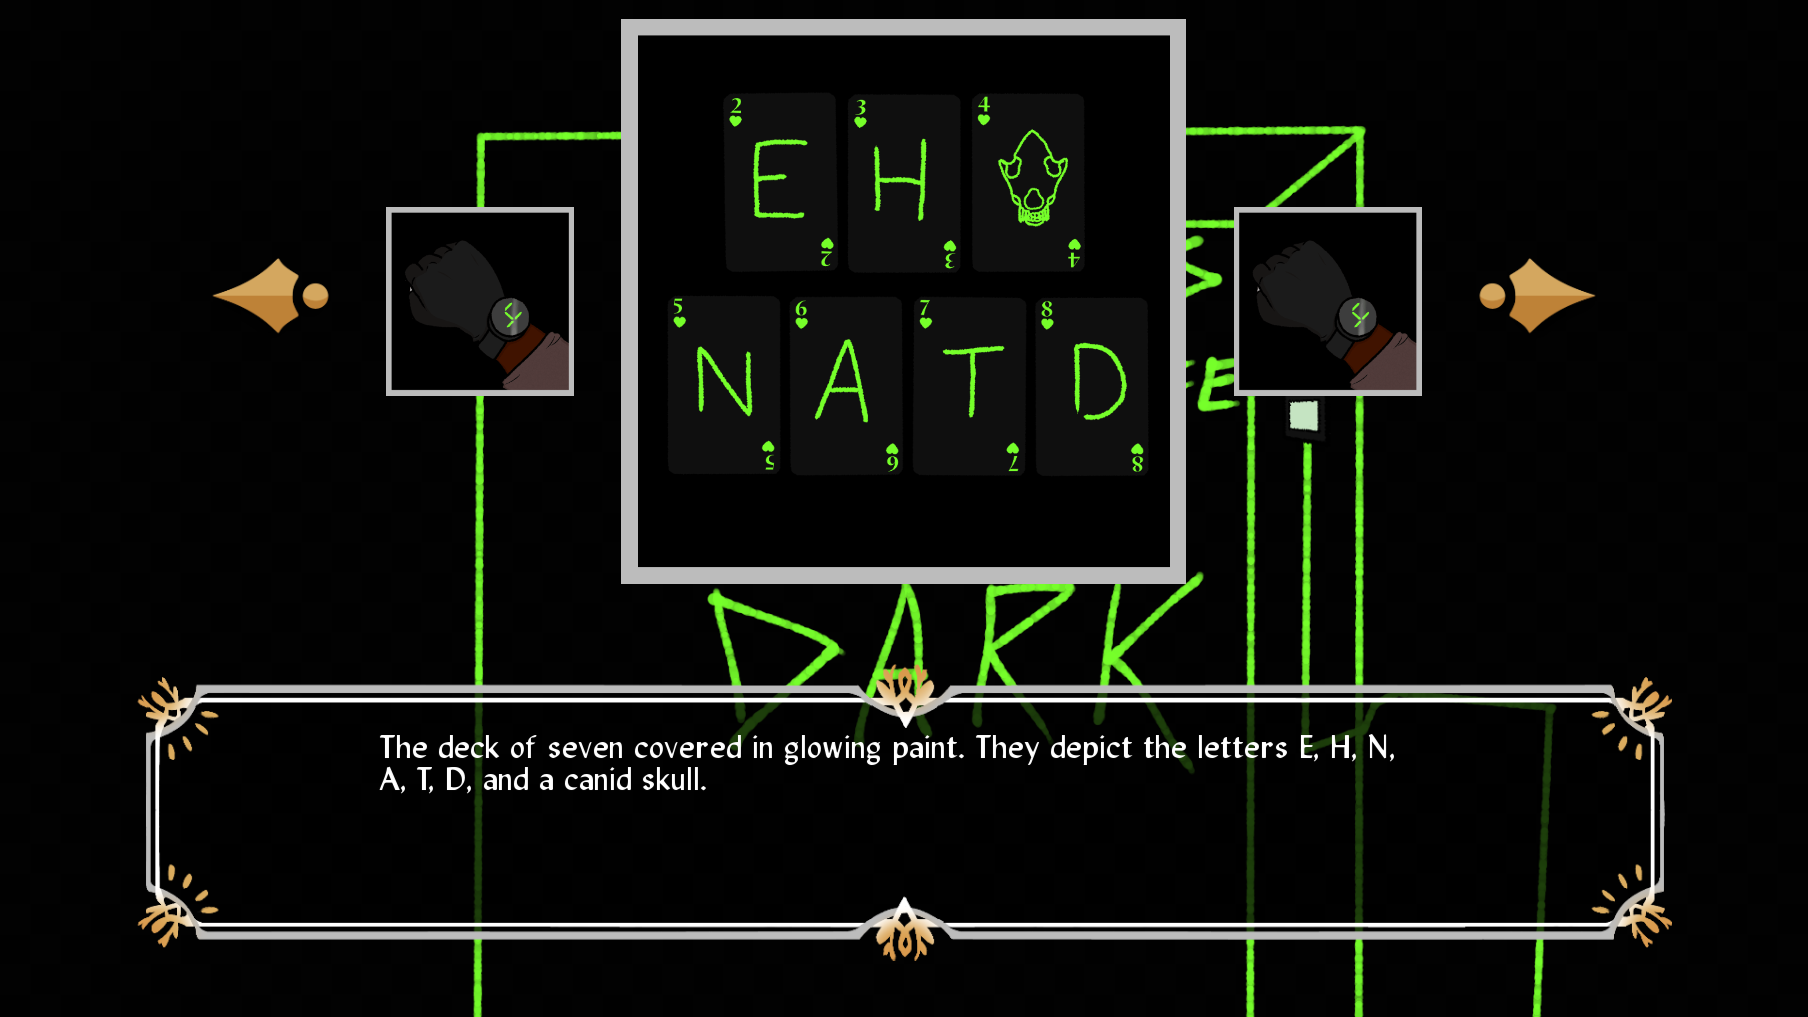
The cards also had glow in the dark paint on them, it seems! You can chat with Eight about them if you'd like.
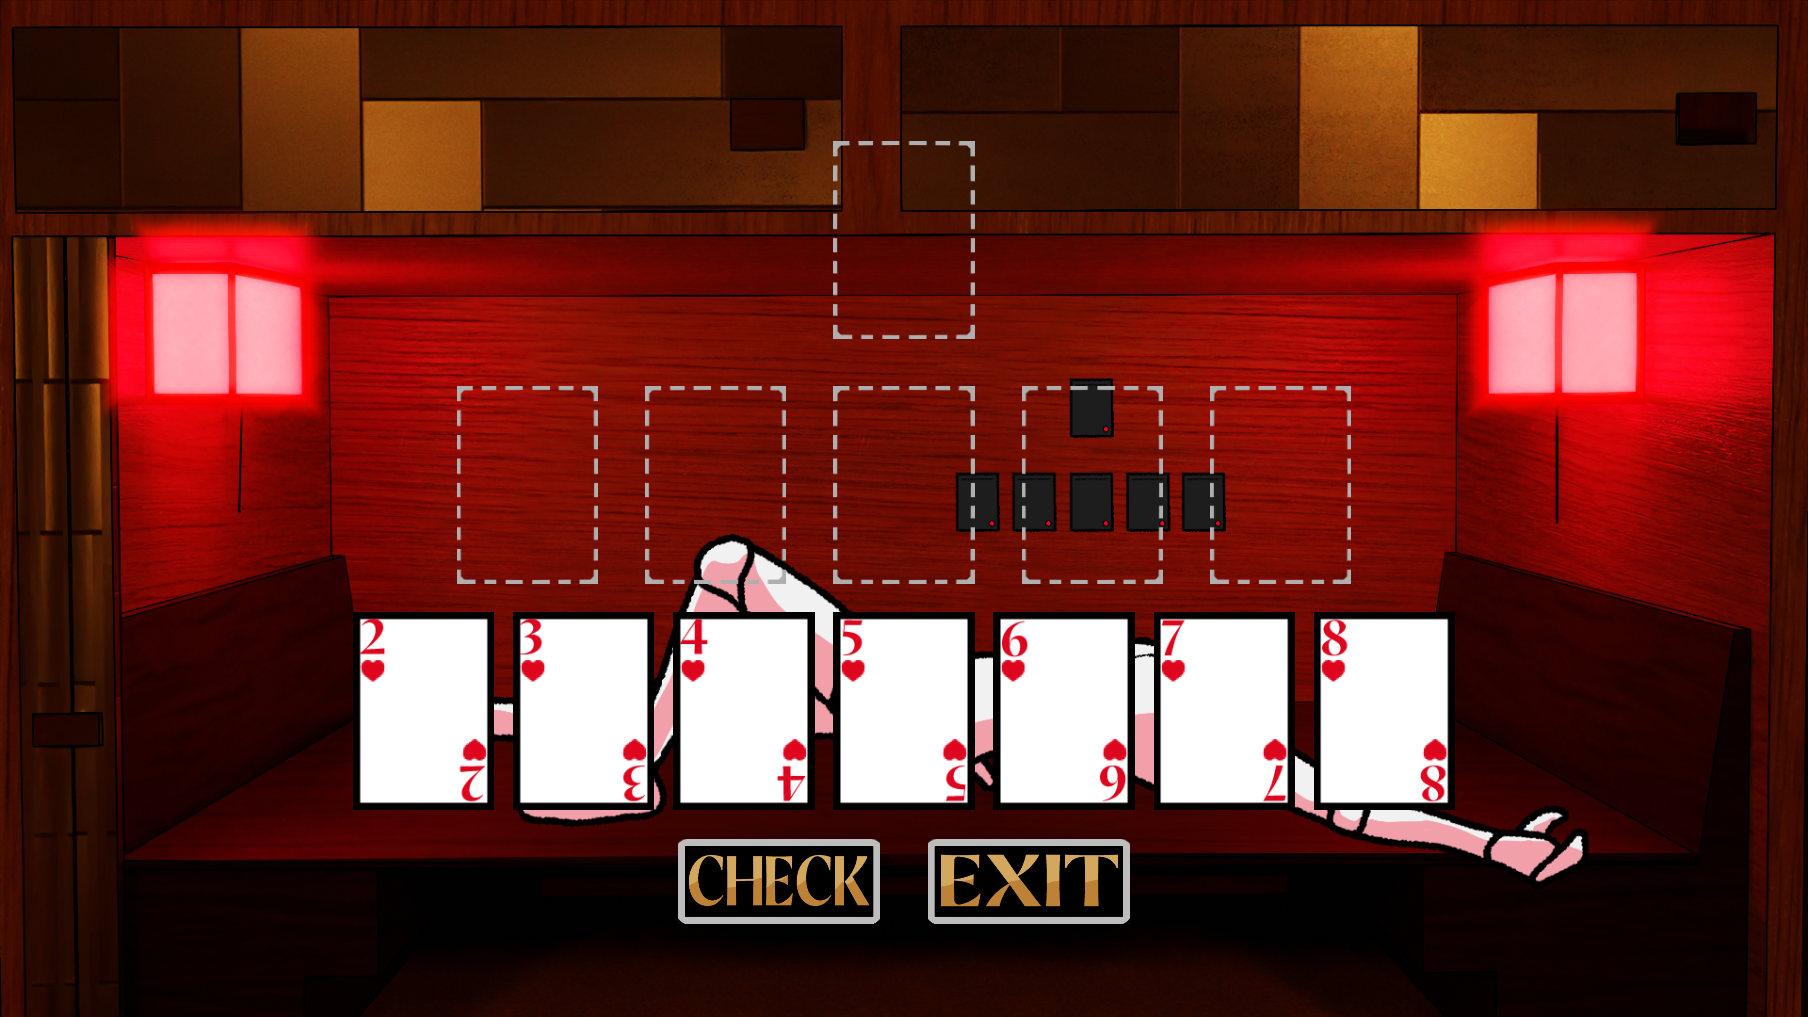
So where does each card go in the reader minigame? Well, you want to put the skull in the top slot and spell the word 'DEATH with the other cards, so 4 up top and 8 2 6 7 3 in the bottom five slots. The 5 card is left over this time.
Hit check and watch the cutscene. The left over 5 card will be added to your inventory afterwards.
Feel free to talk to either Ikuro or Eight about the 5 card. The characters mention that they hear a gate open. exit this screen by hitting the down arrow, hit the left arrow on the next screen, and then hit the left arrow again to reach the southwest closet once more.


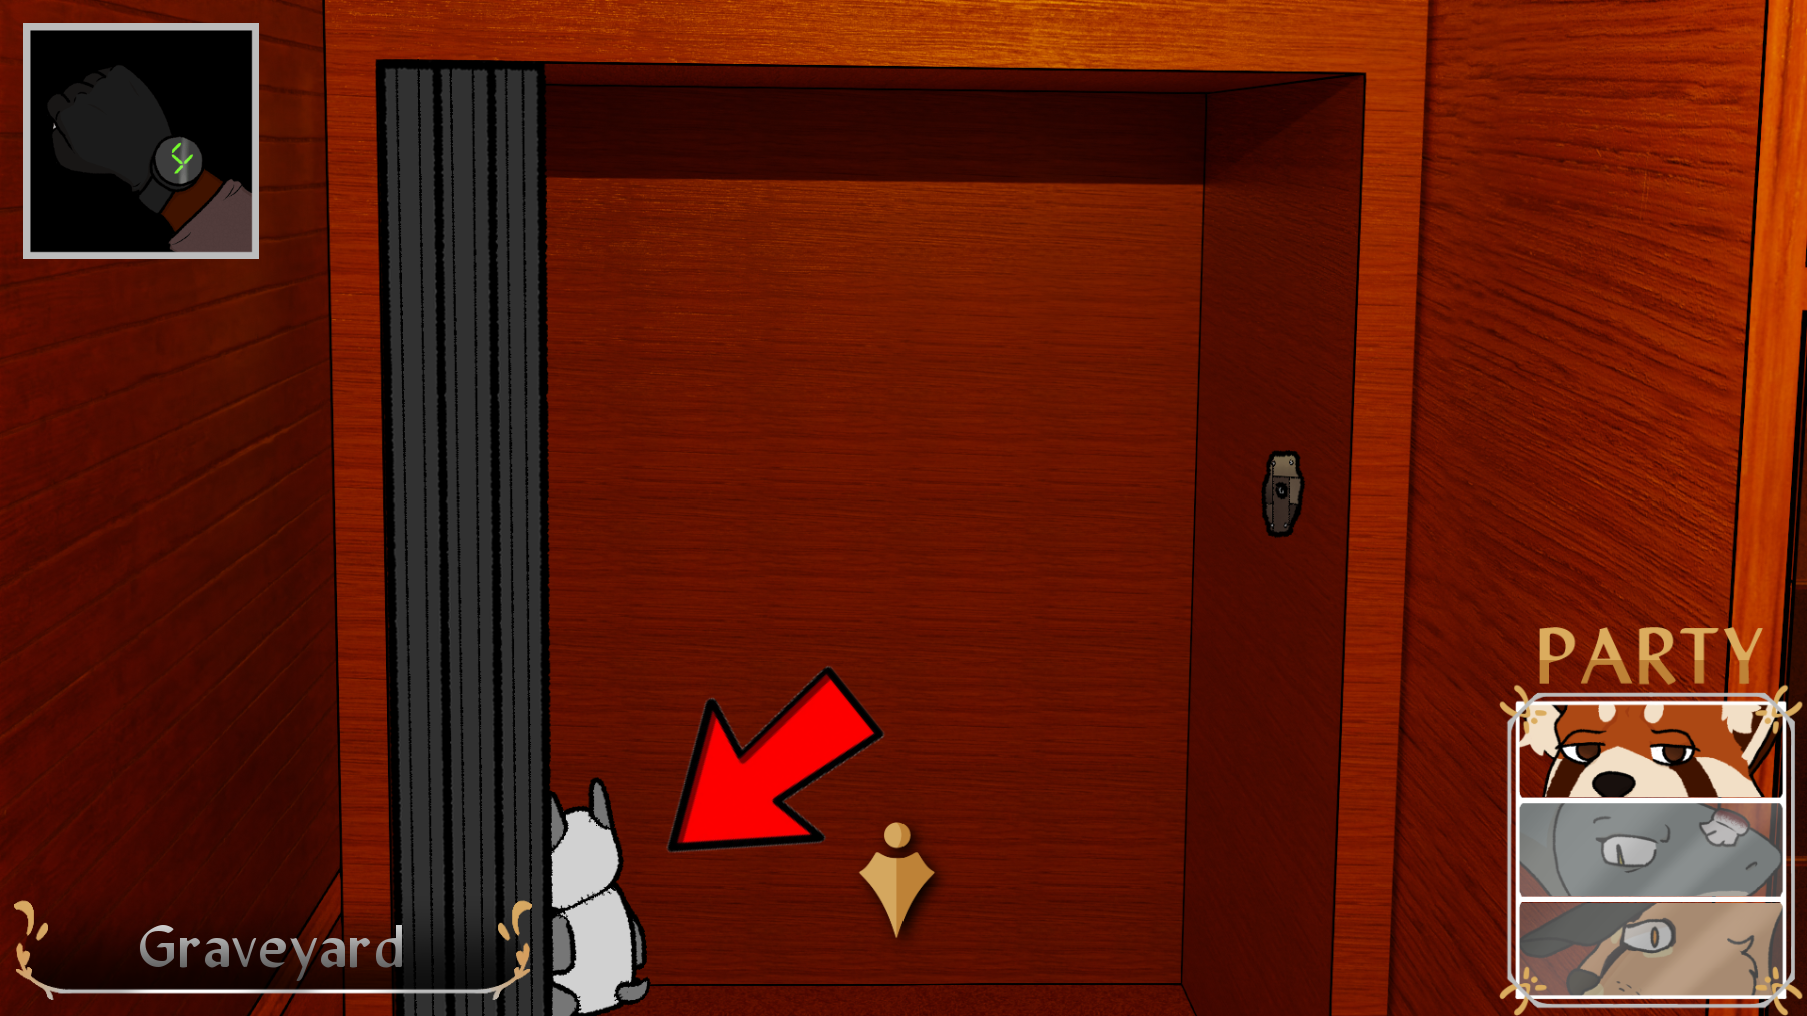
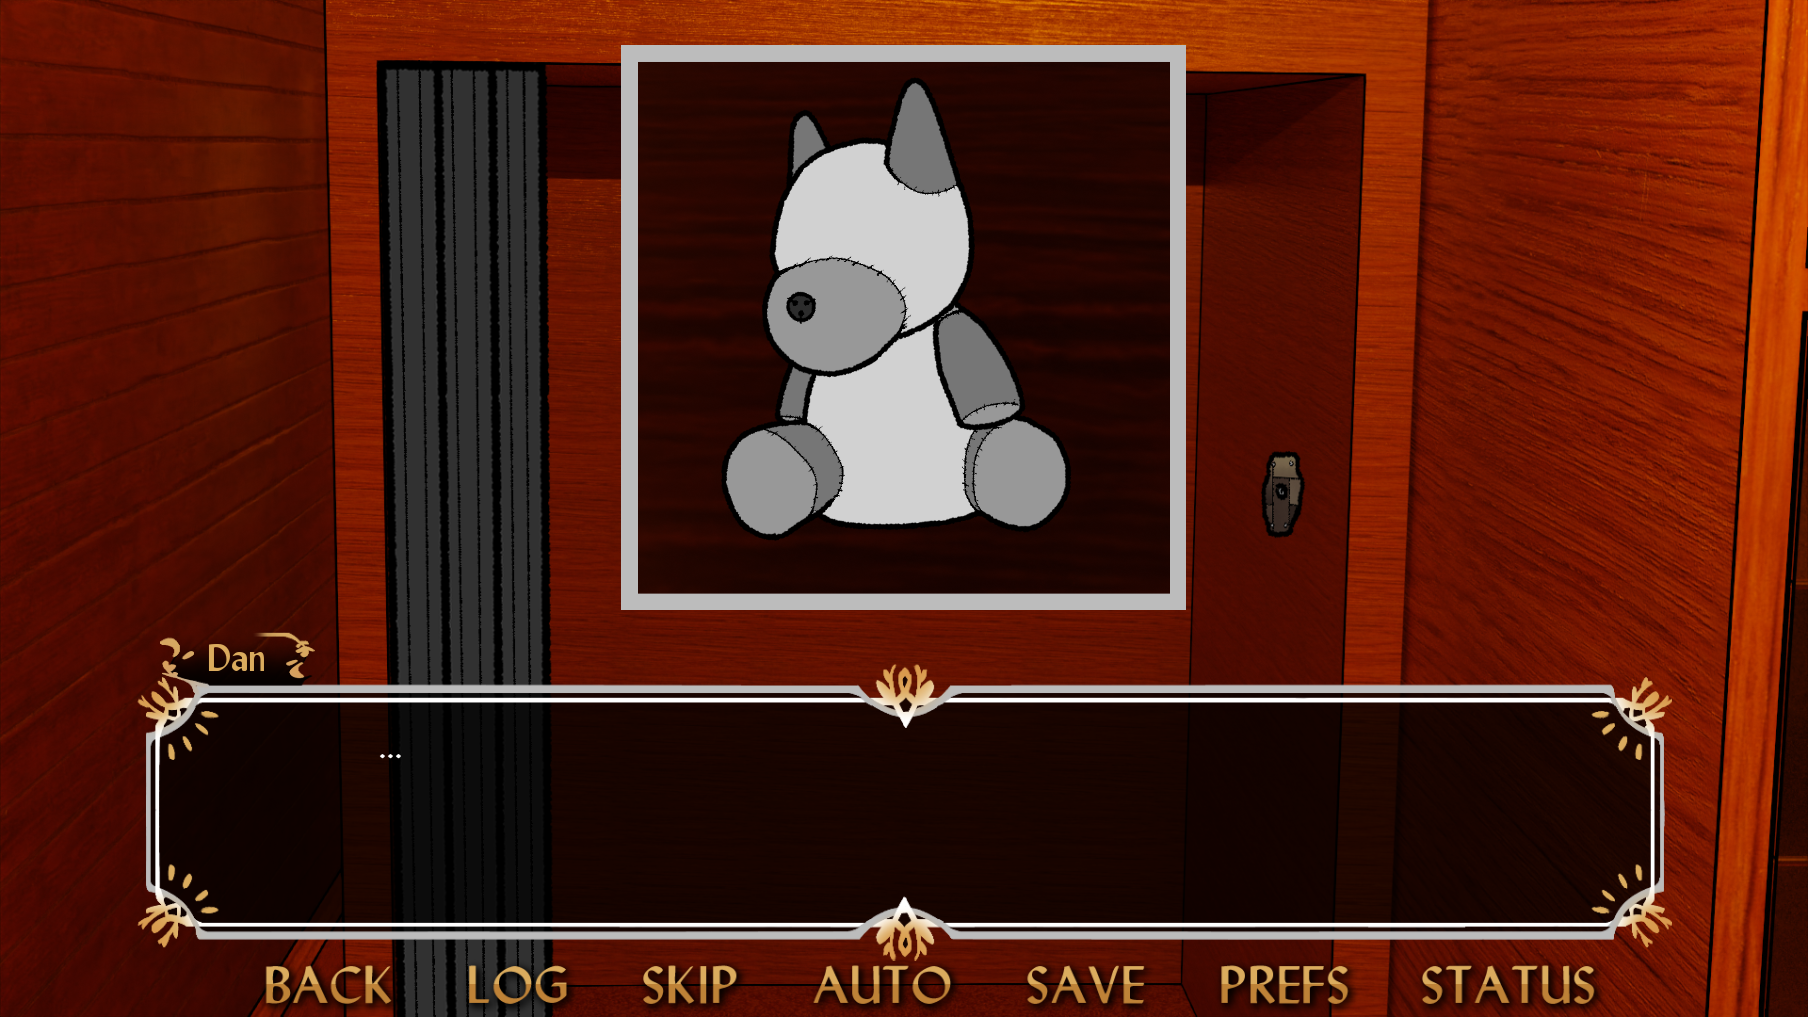
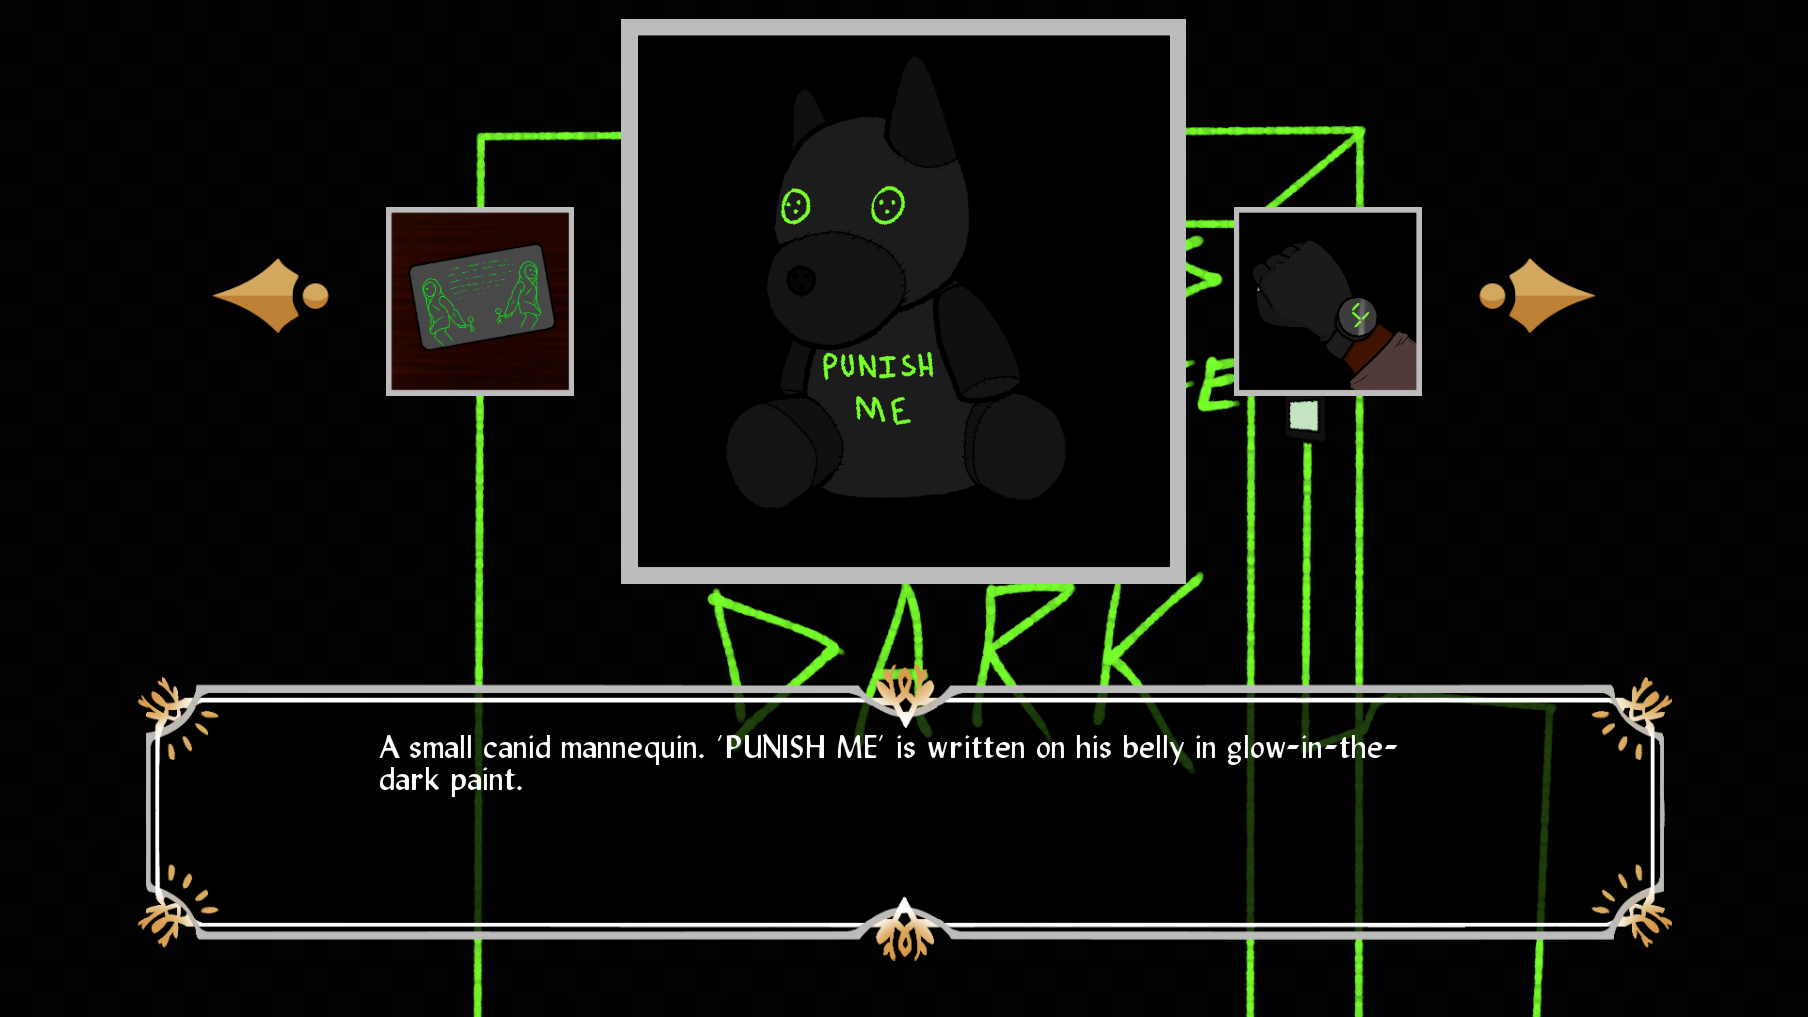
We can finally grab the little guy that was in there! Click him to add him to your inventory. Eight seems to have something to say about him, so talk to her with him selected if you want to.
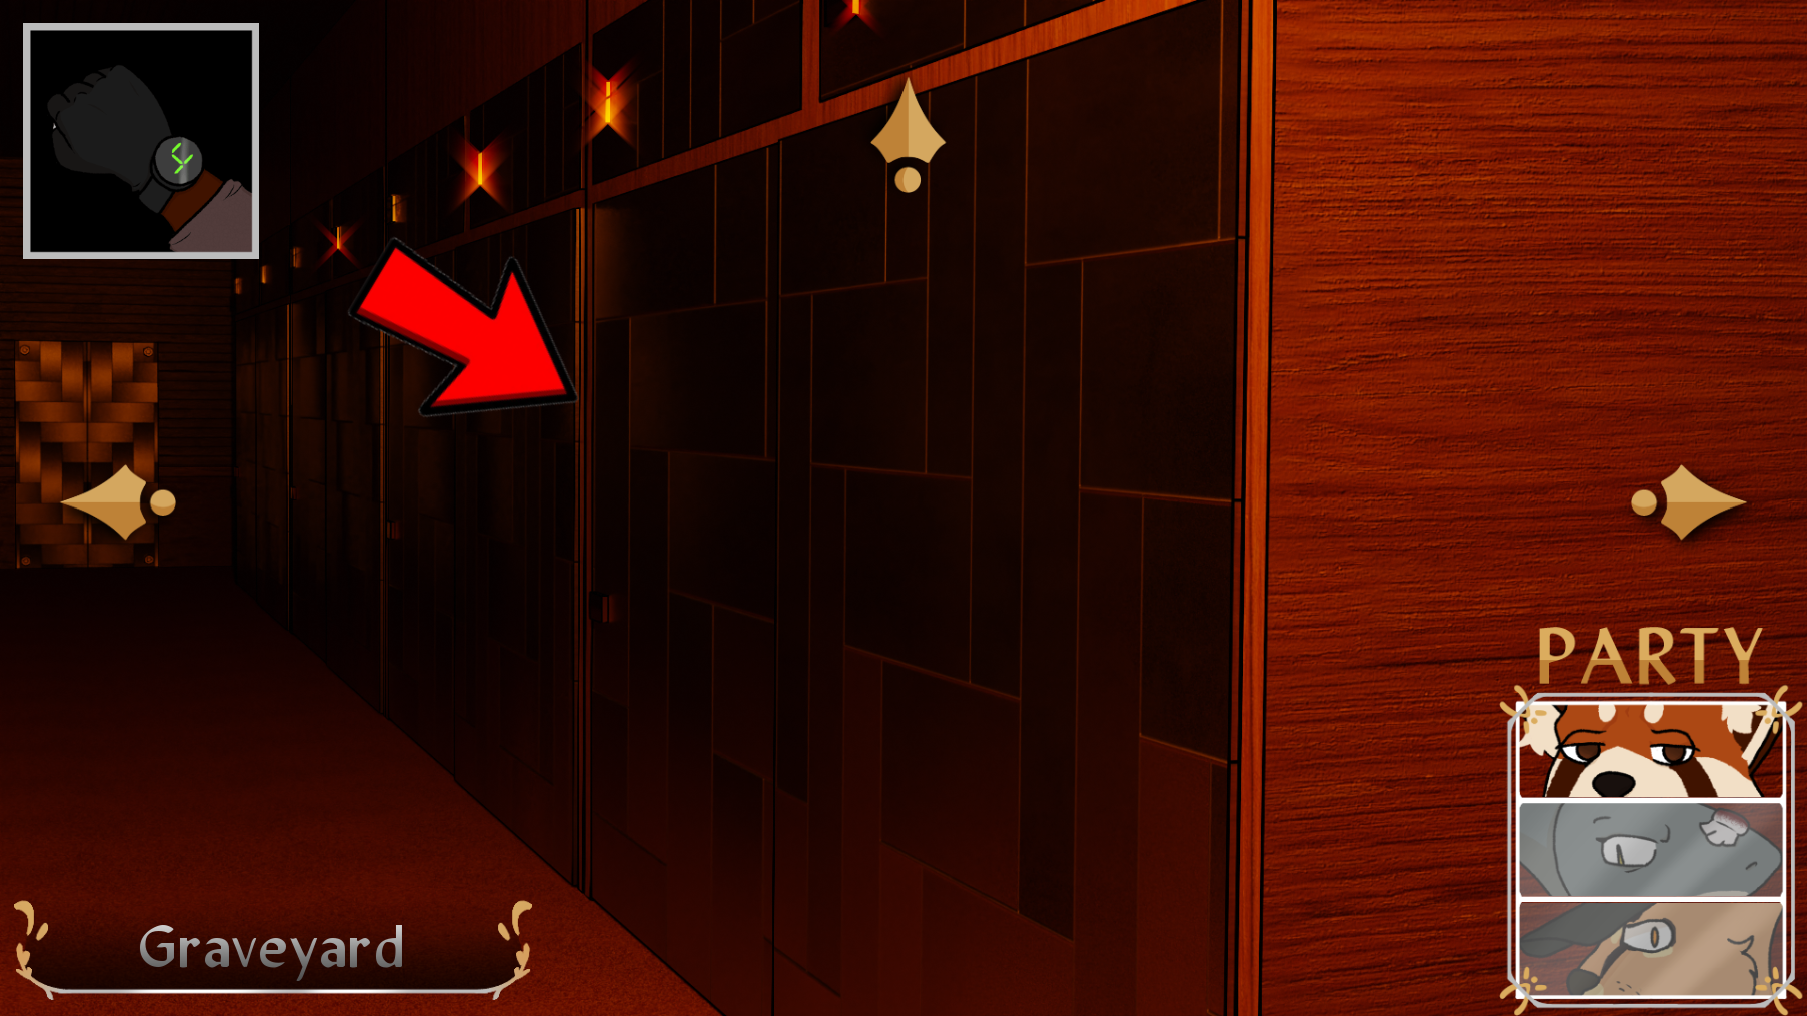
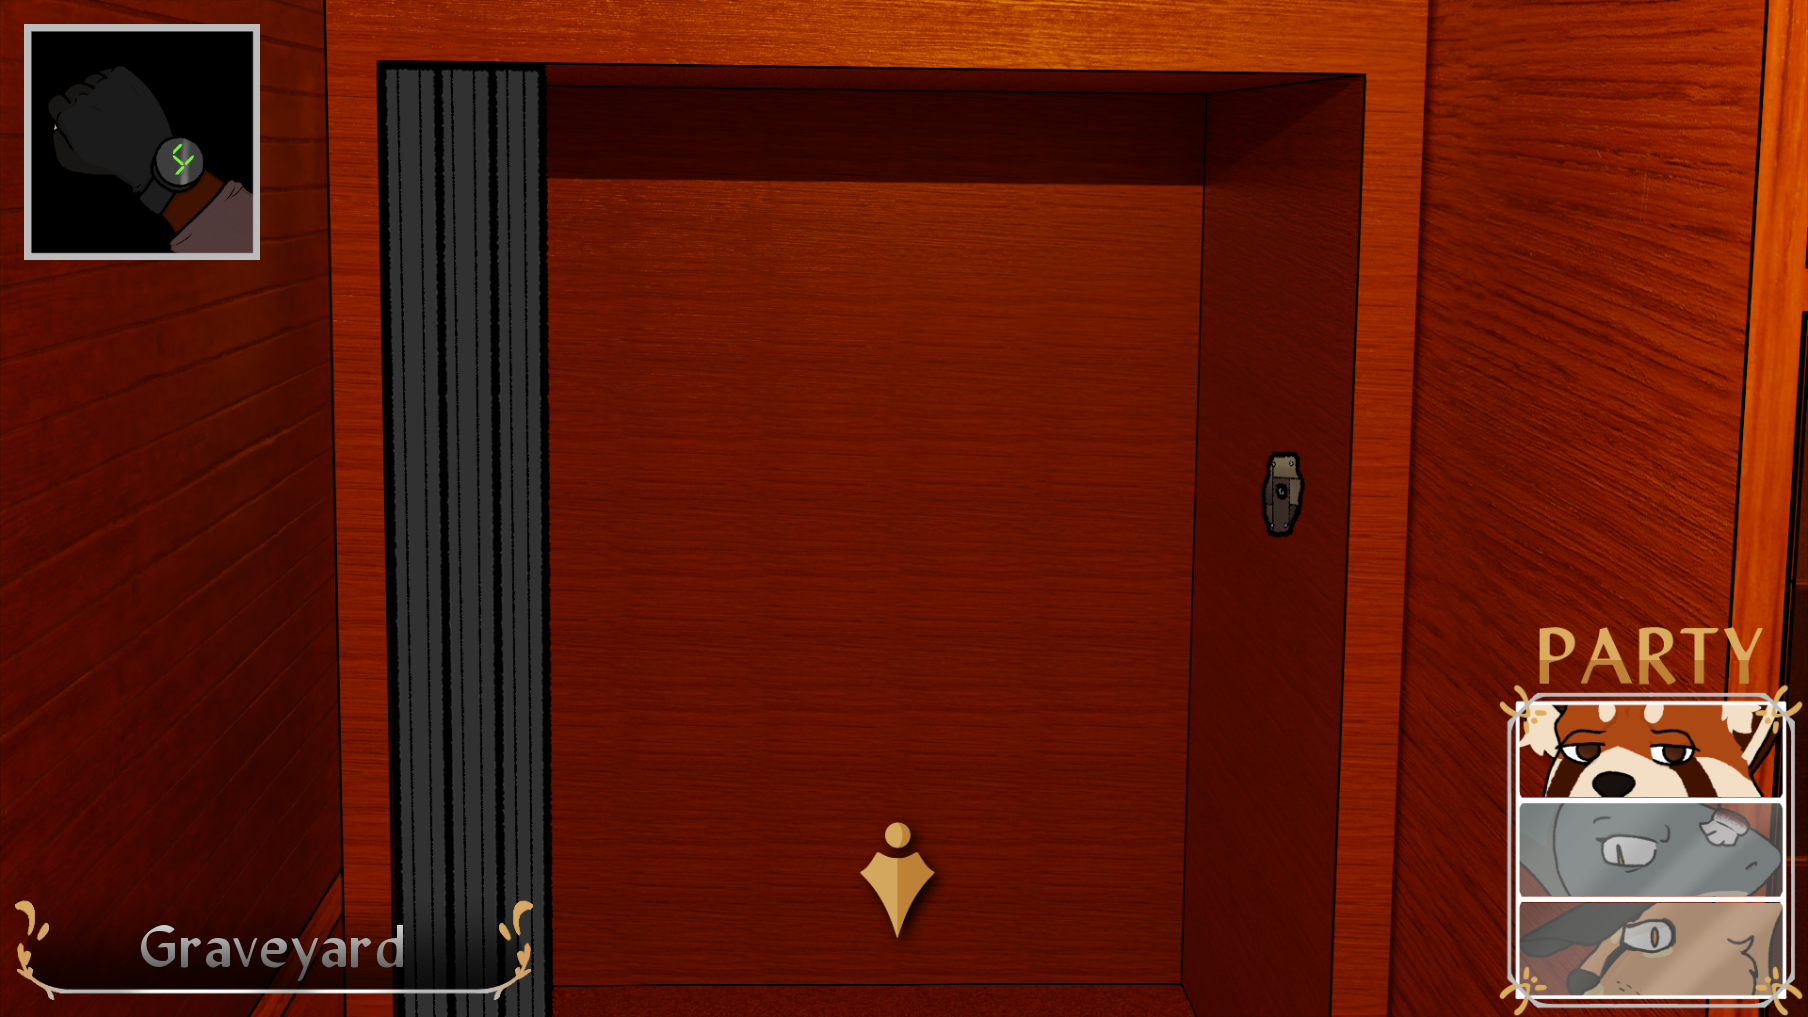
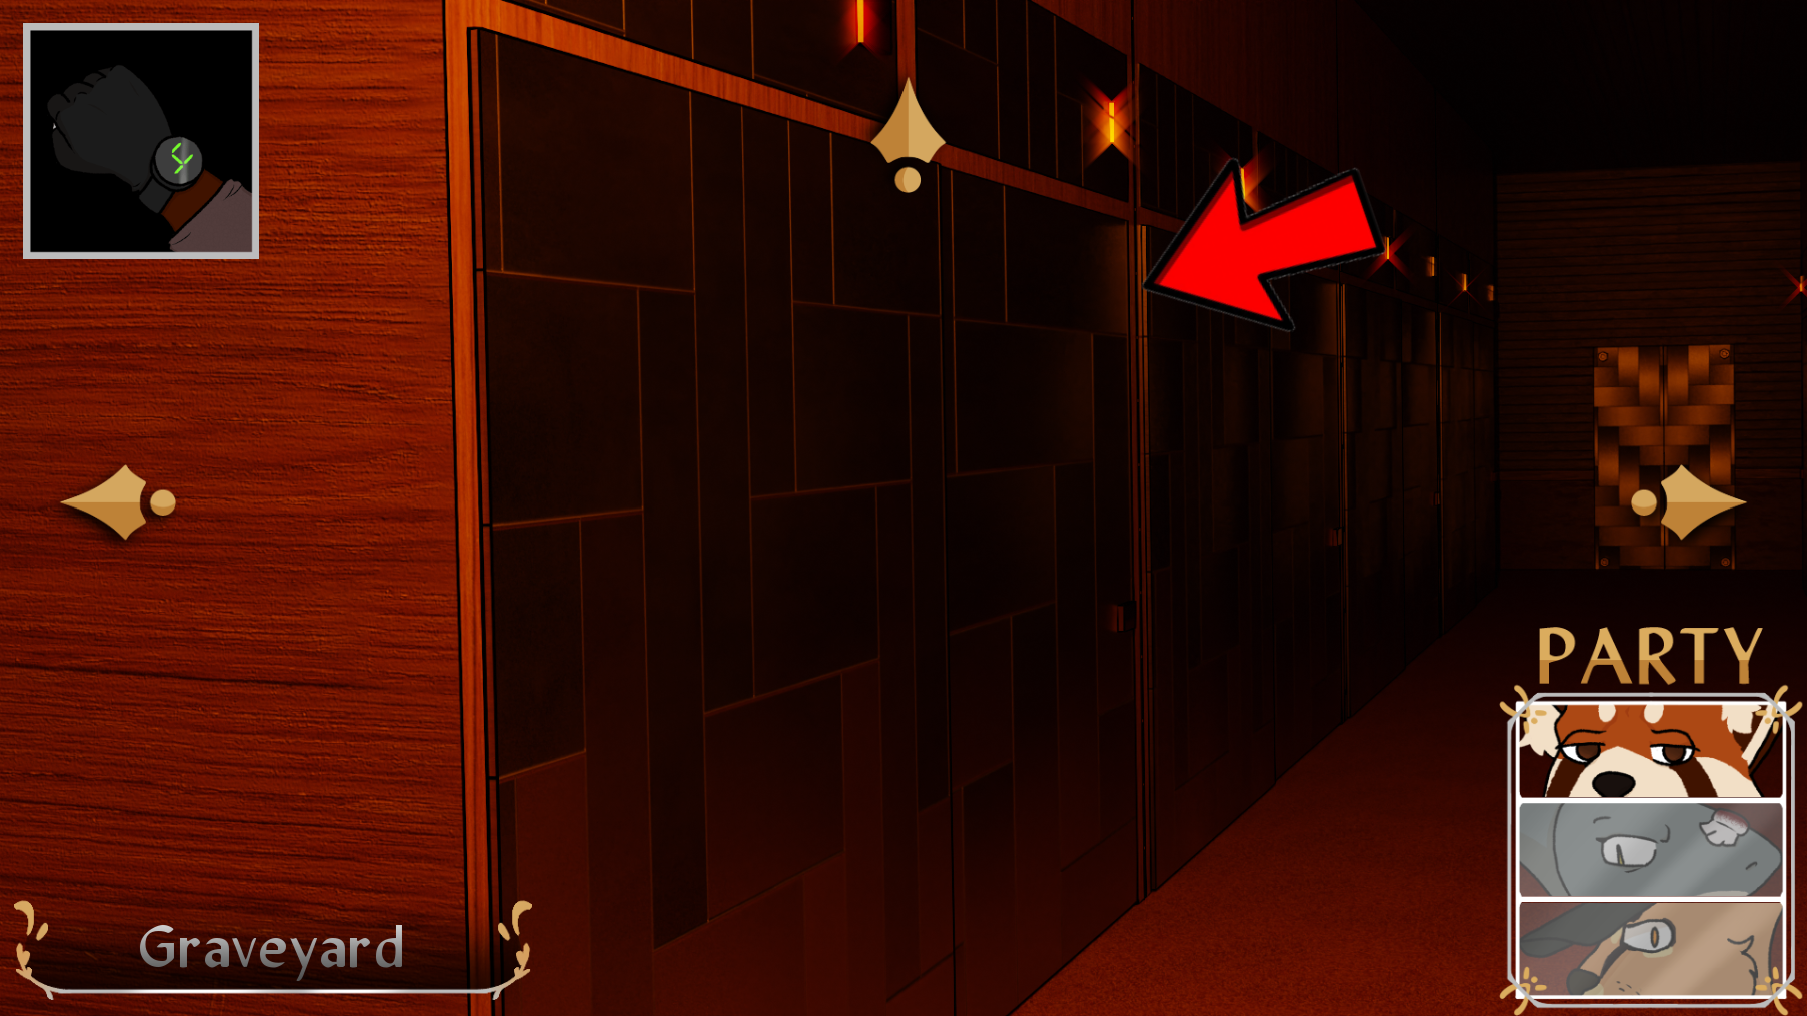
With that, we not need to backtrack a bit. Press the down arrow to leave this screen and press the right arrow on the next screen.

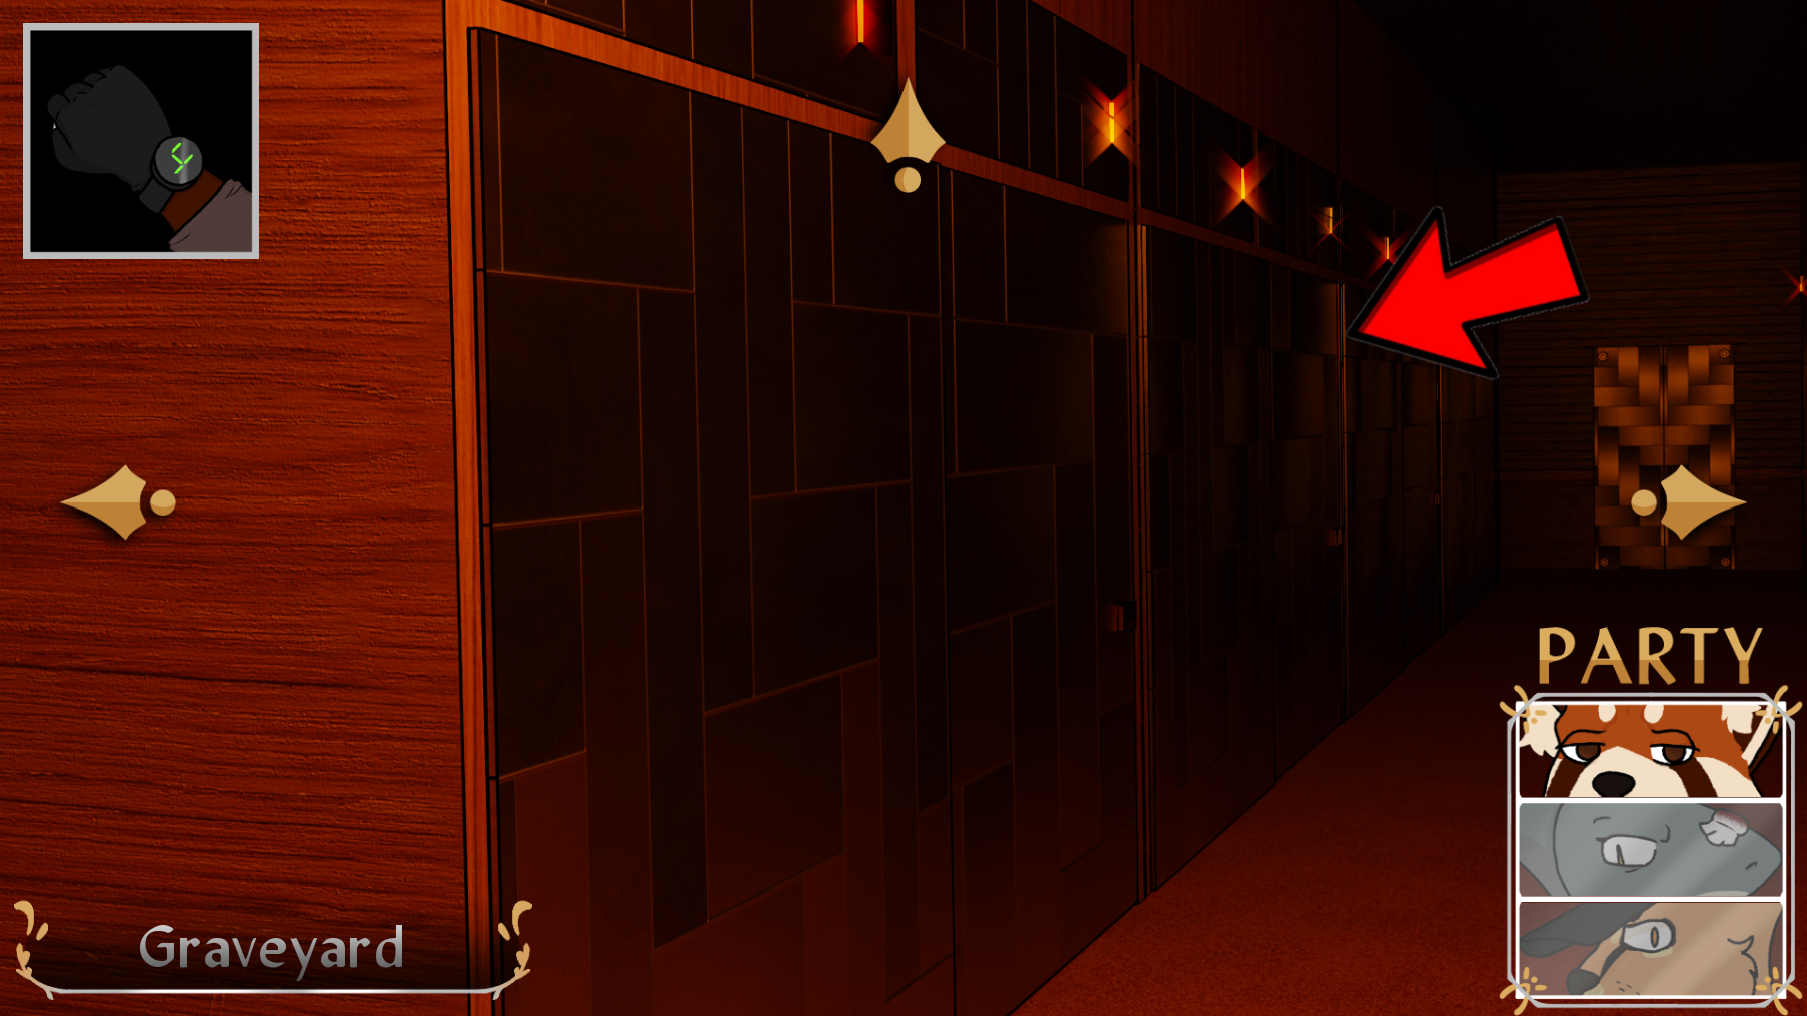
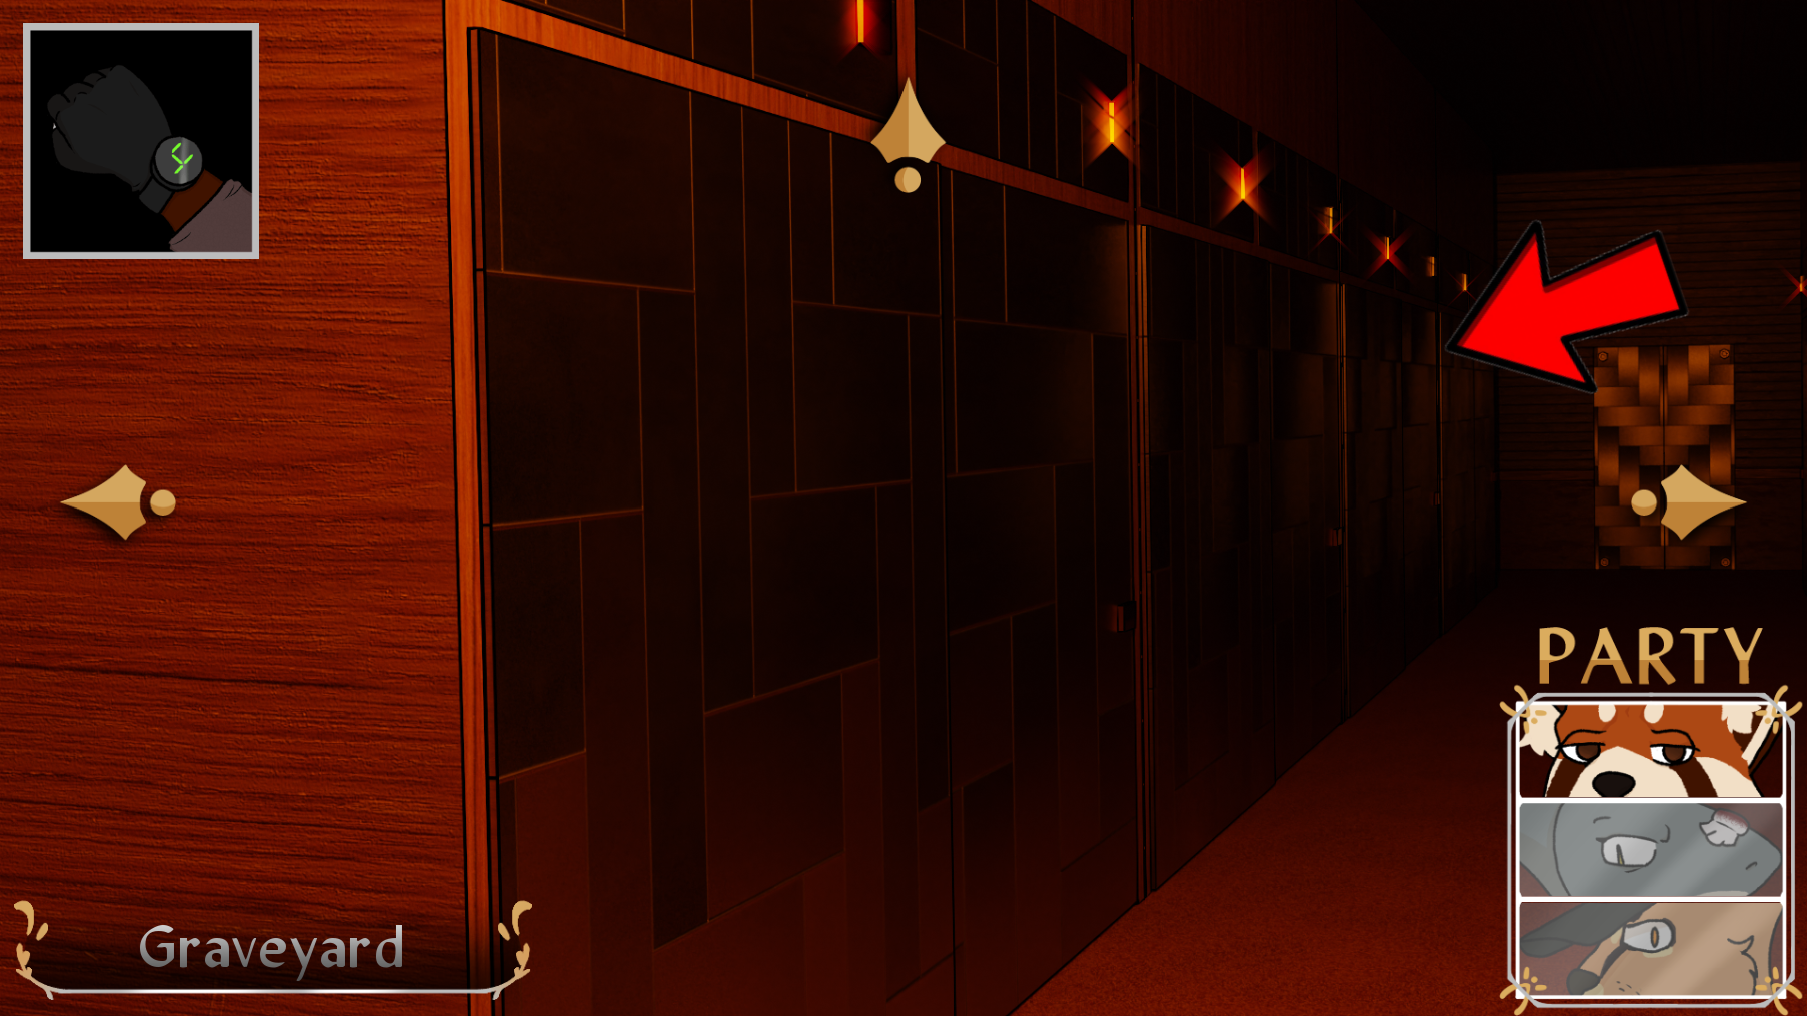
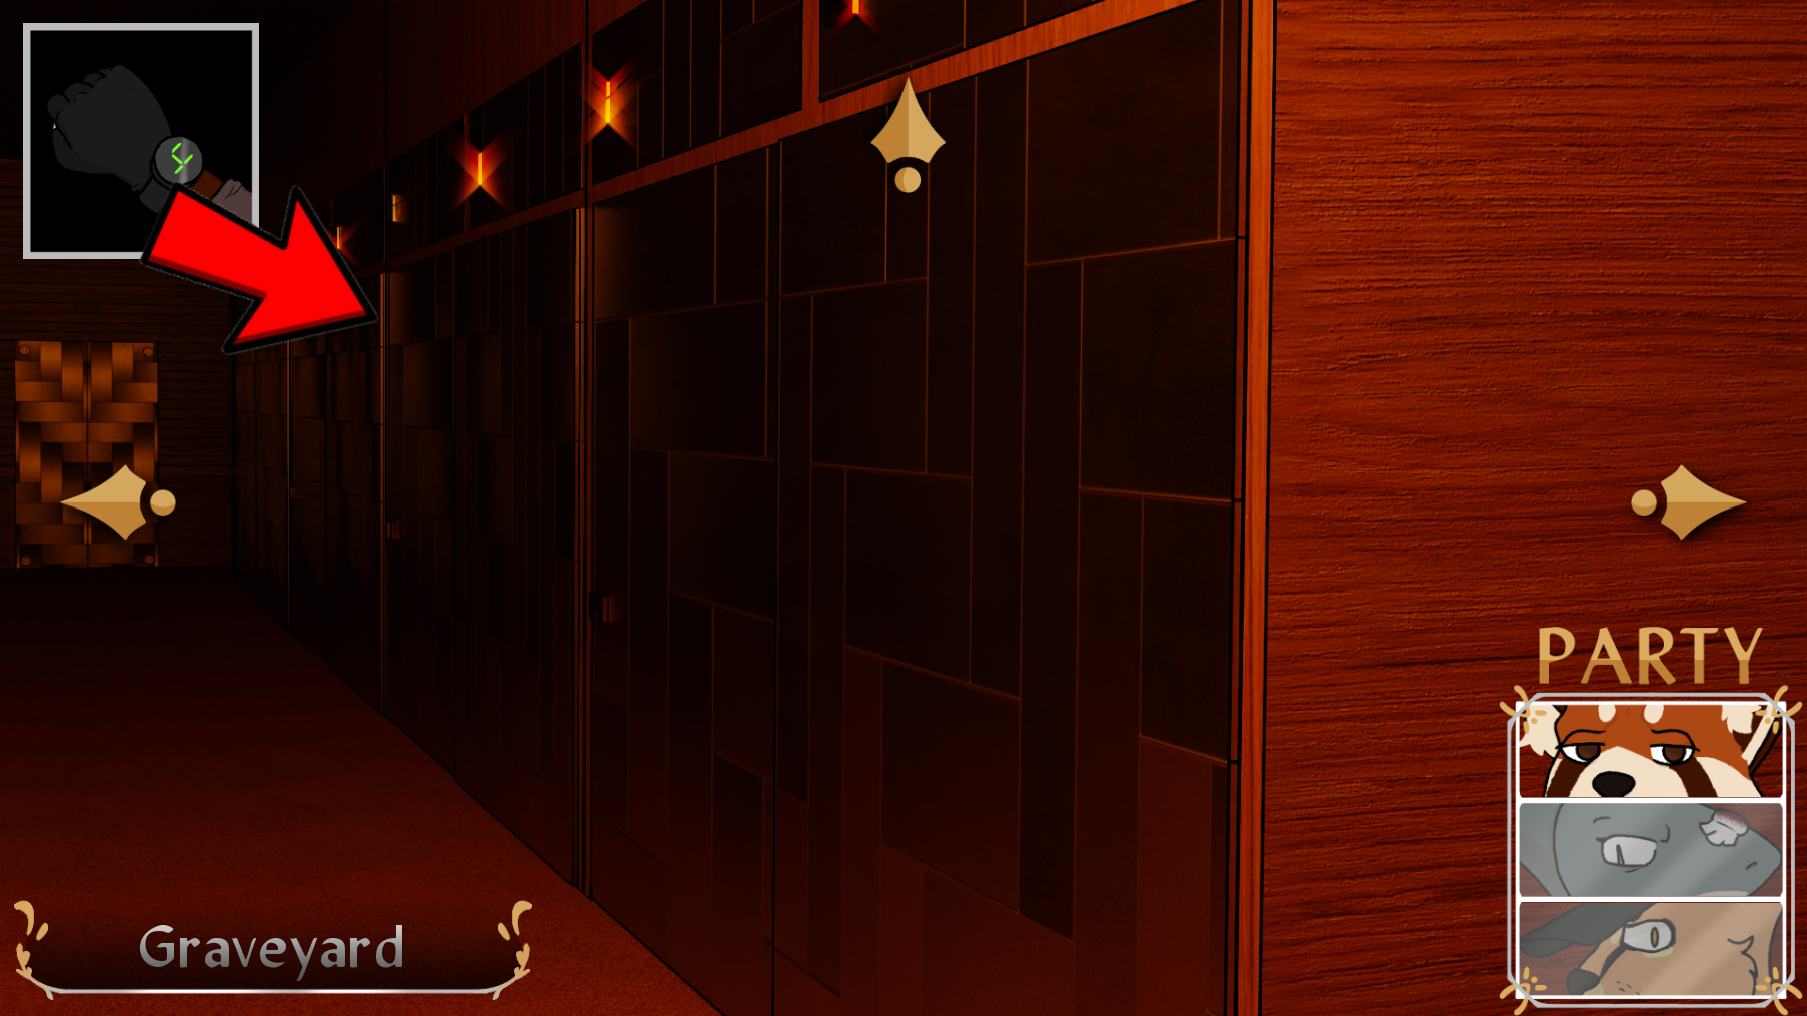
Be sure to have your L-Gear selected, and click the second door from the left to enter that particular dorm.
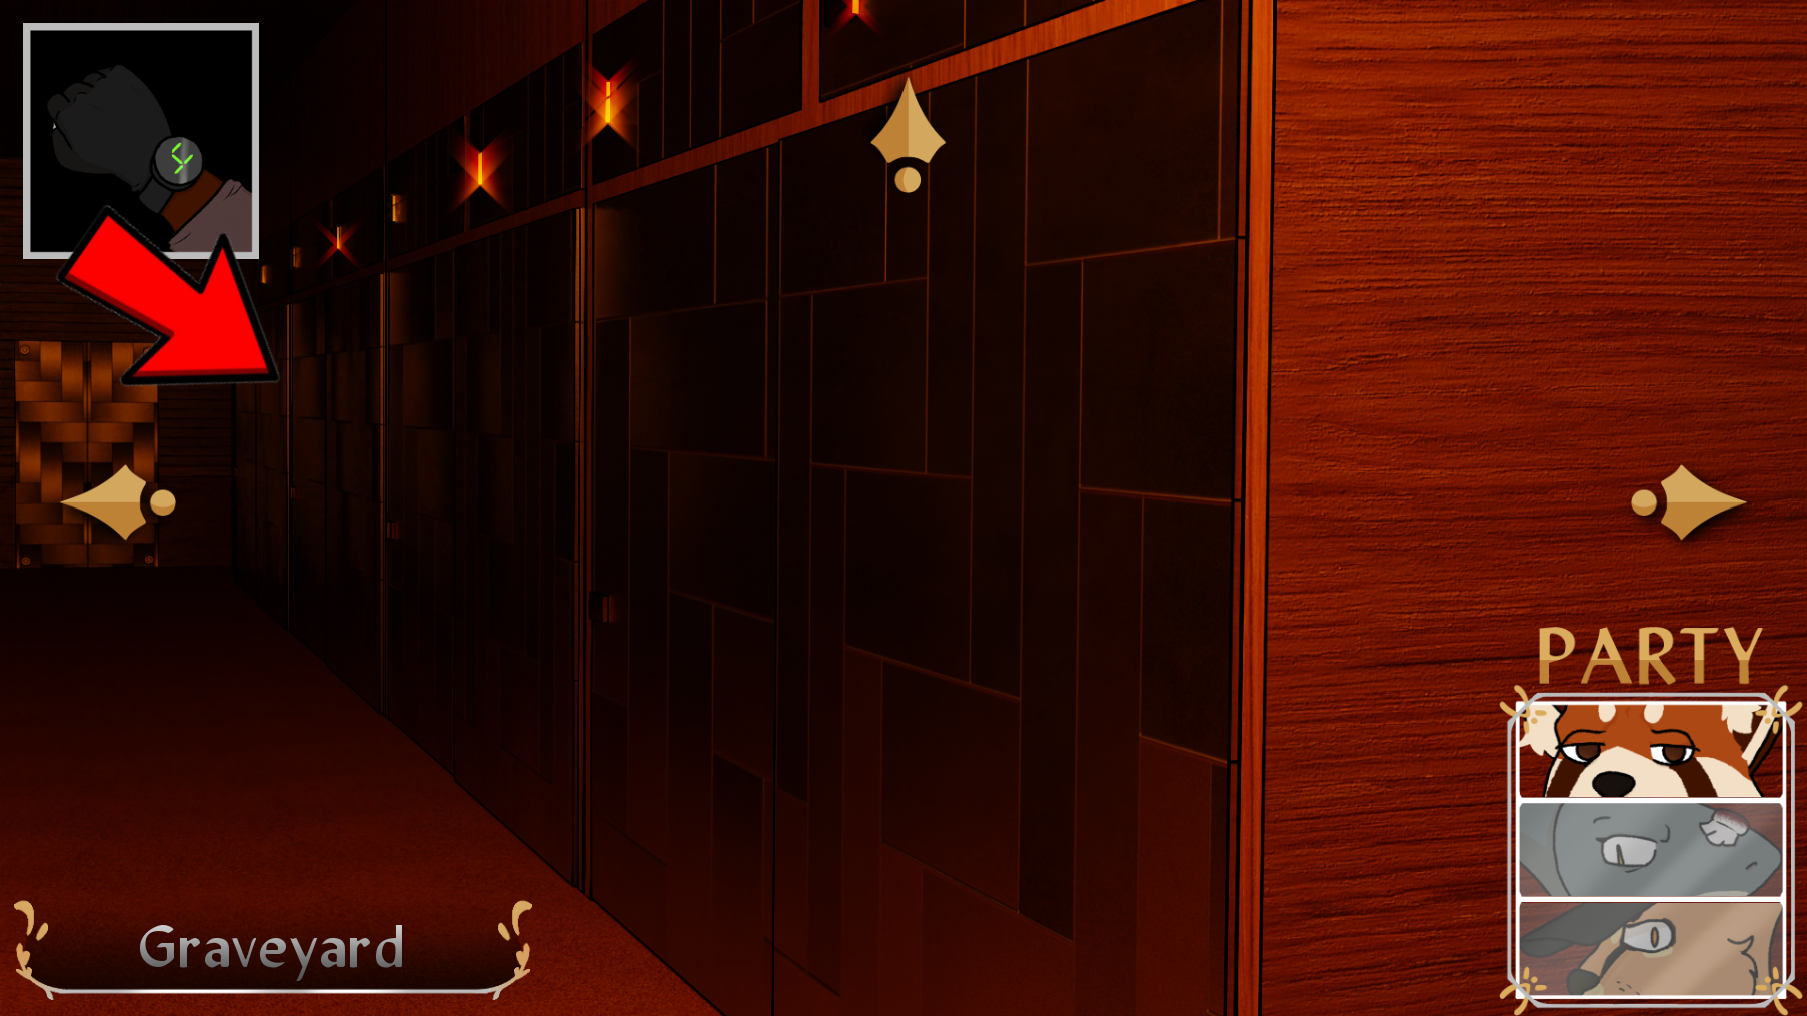
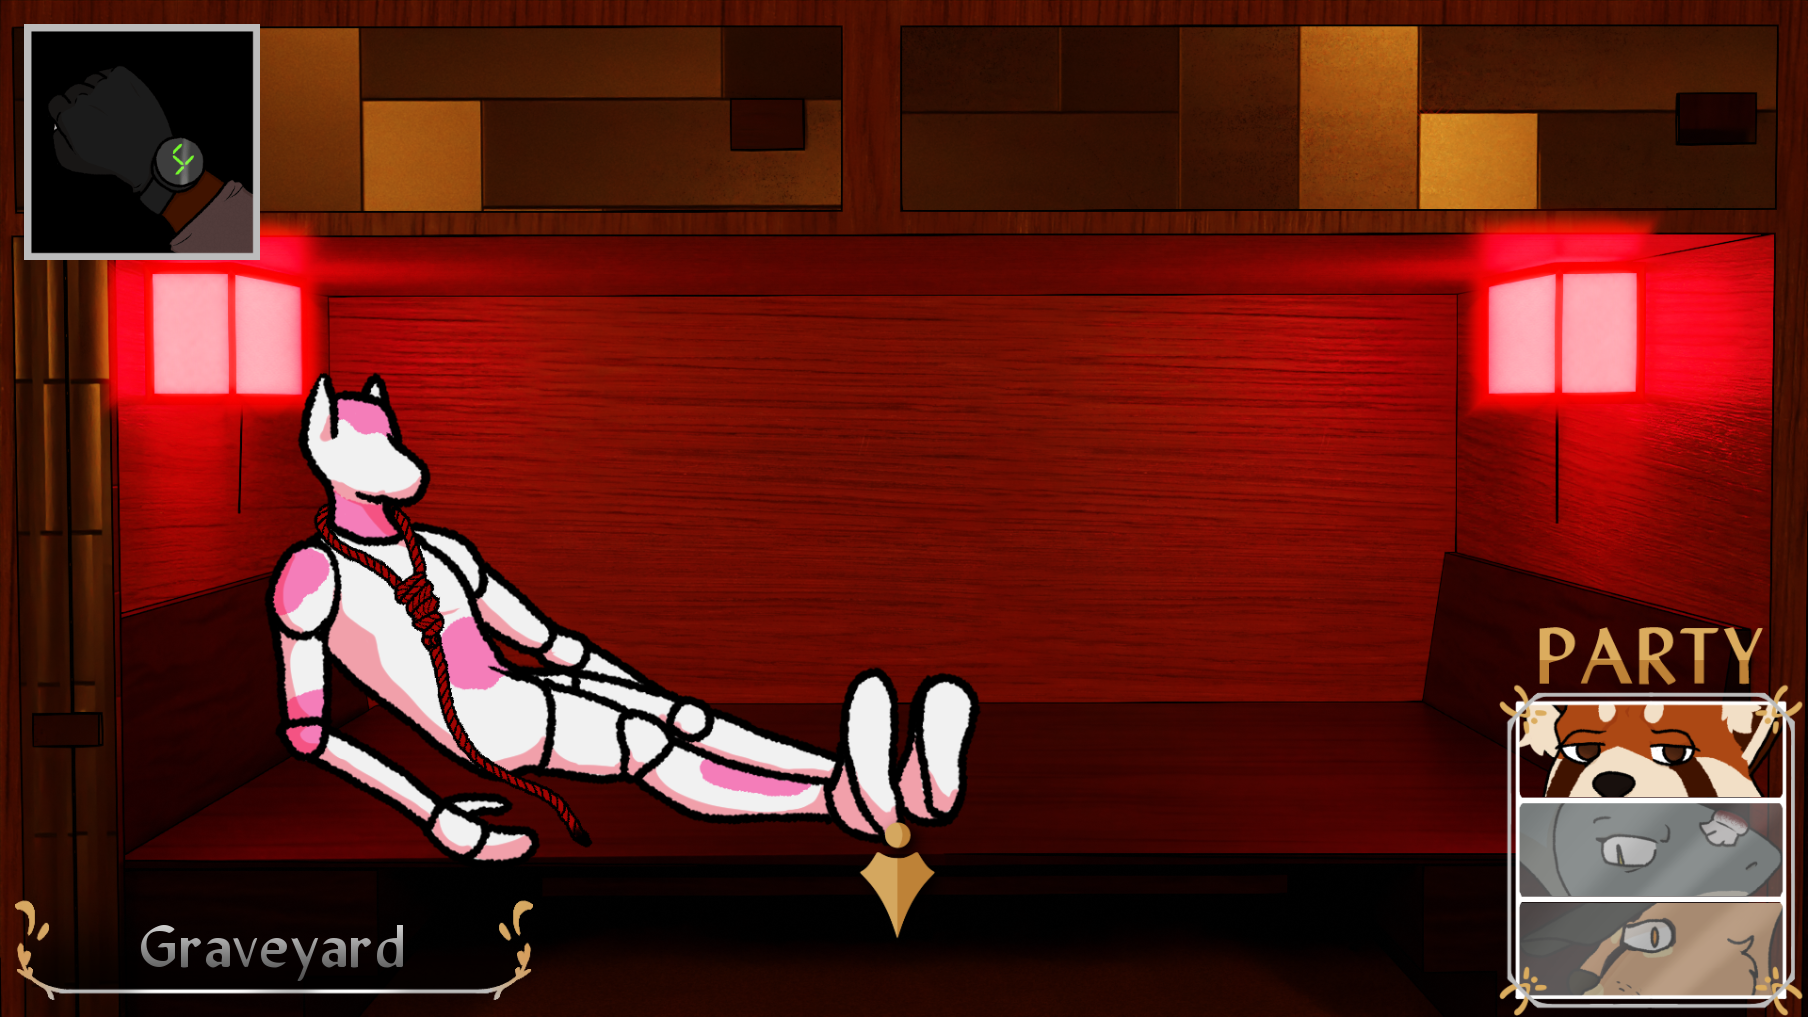
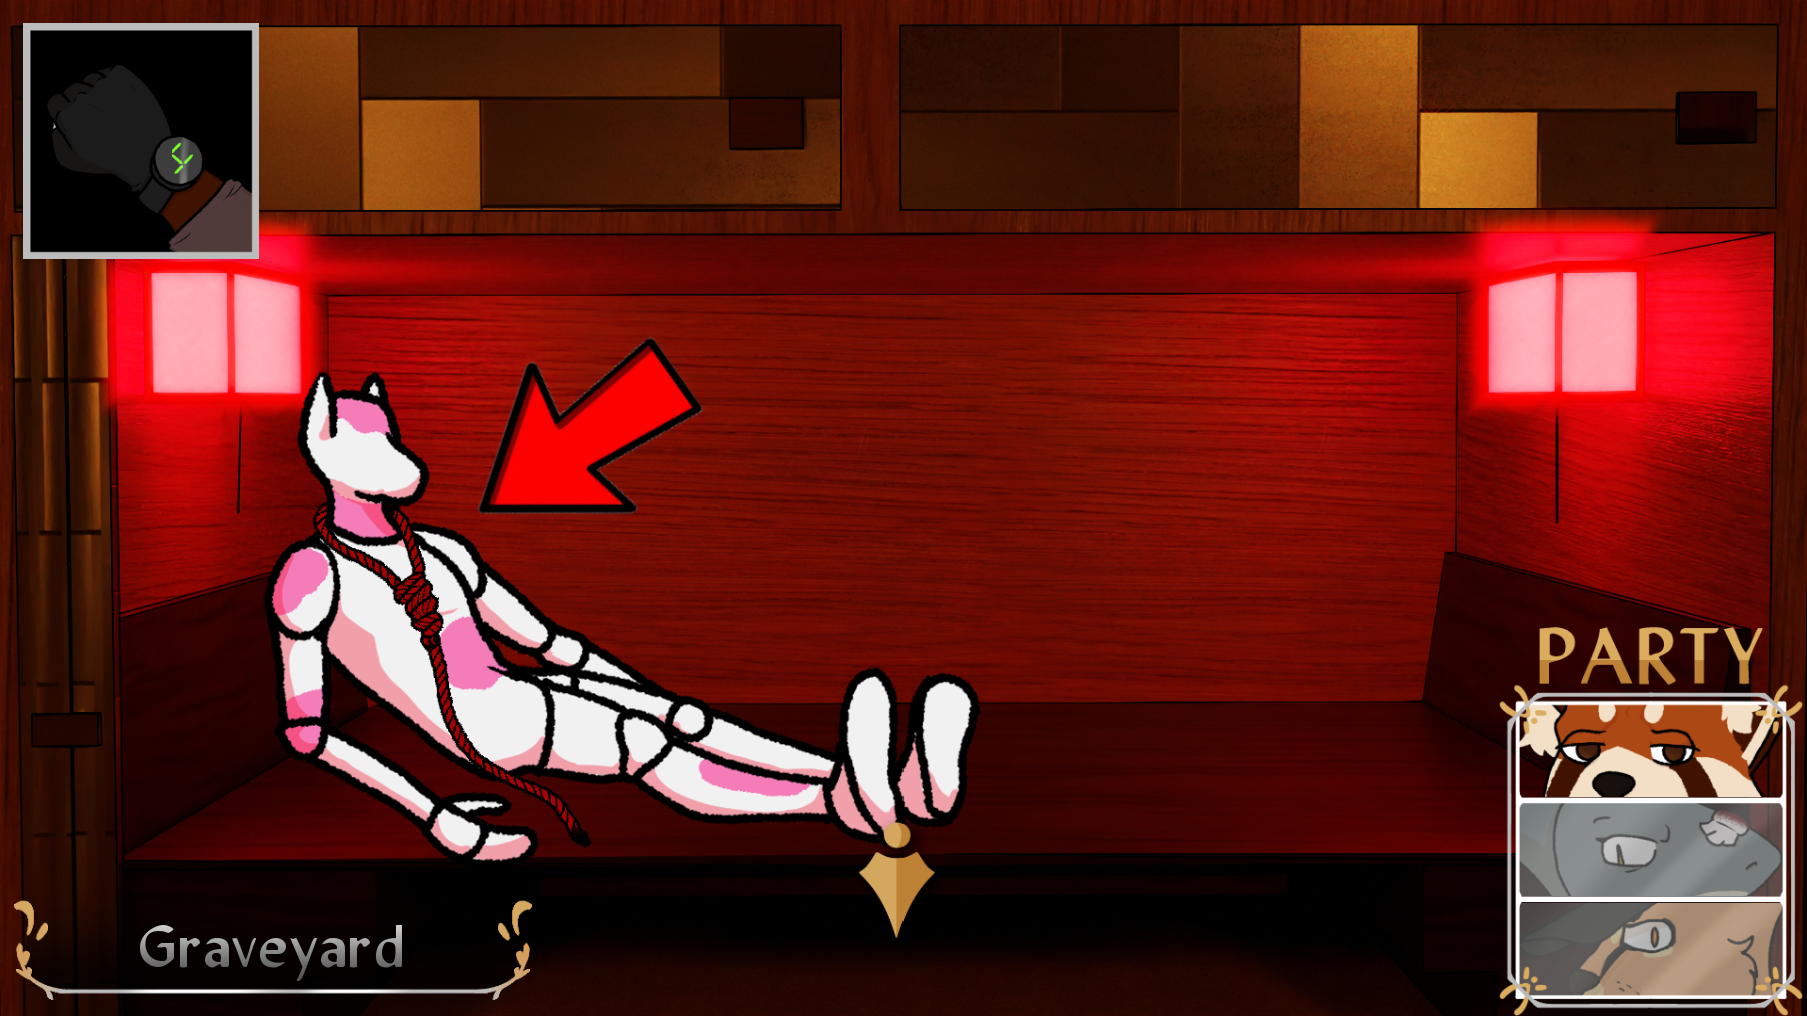
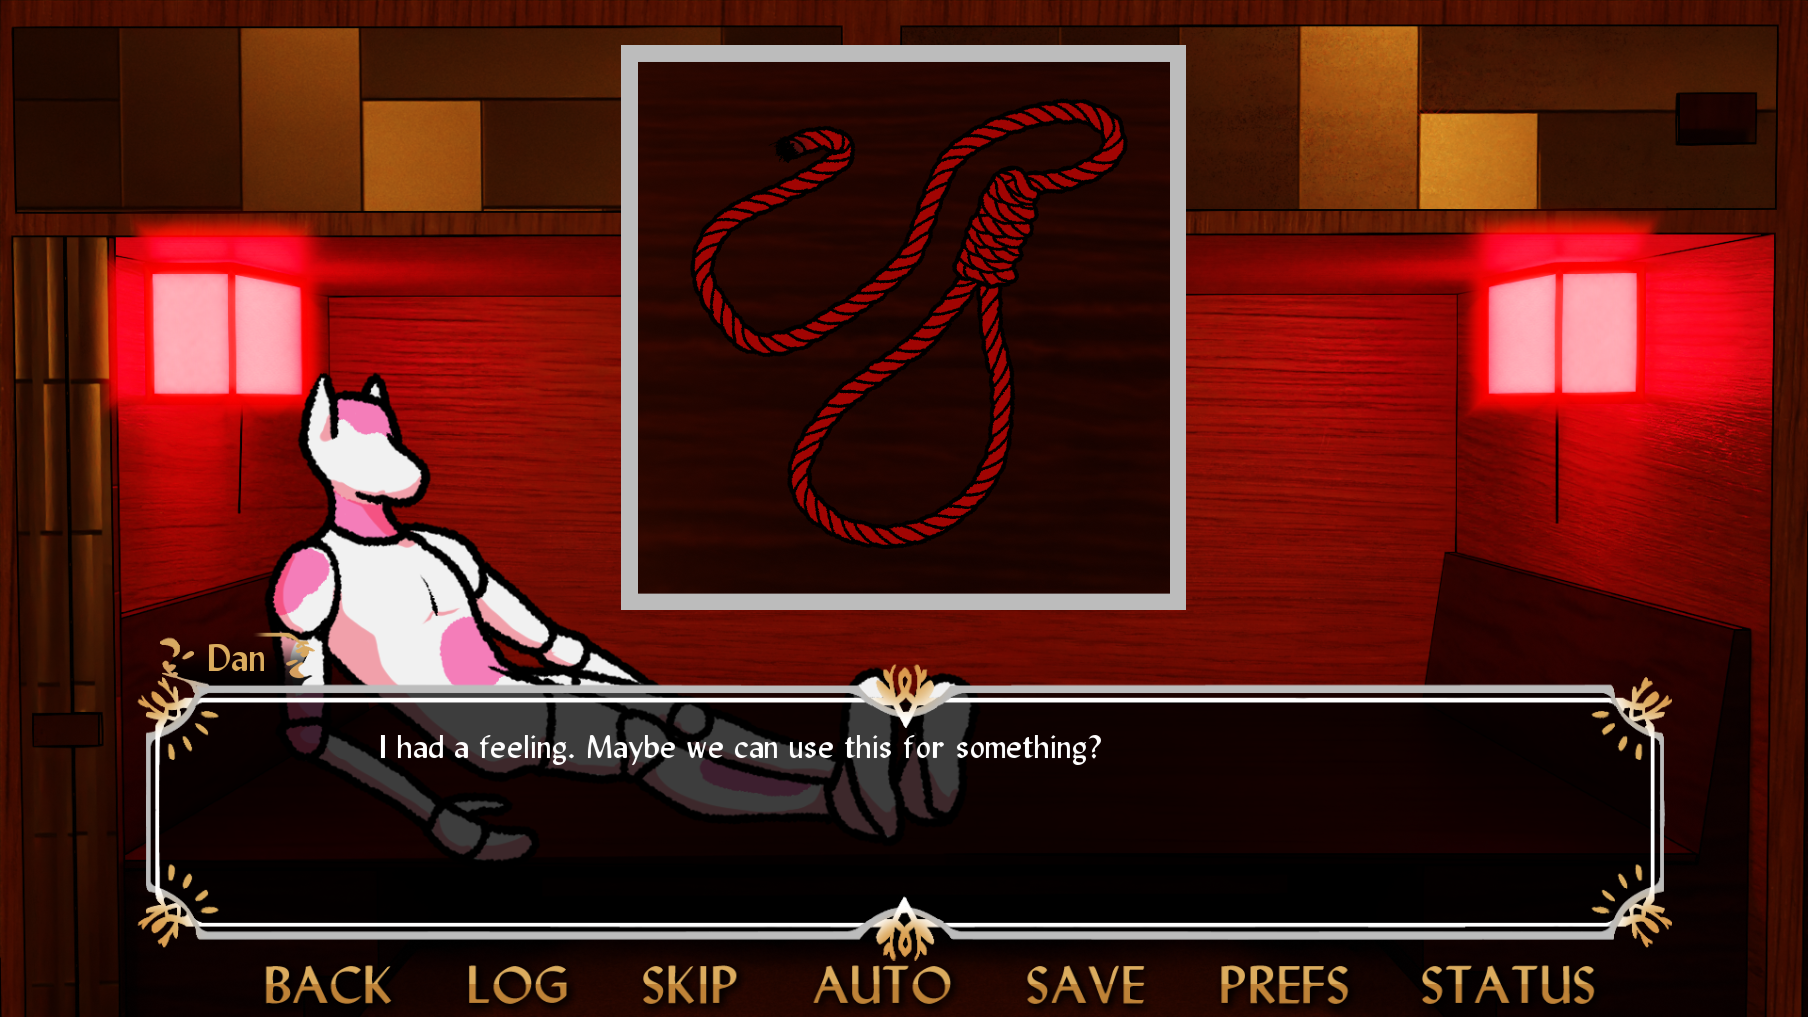
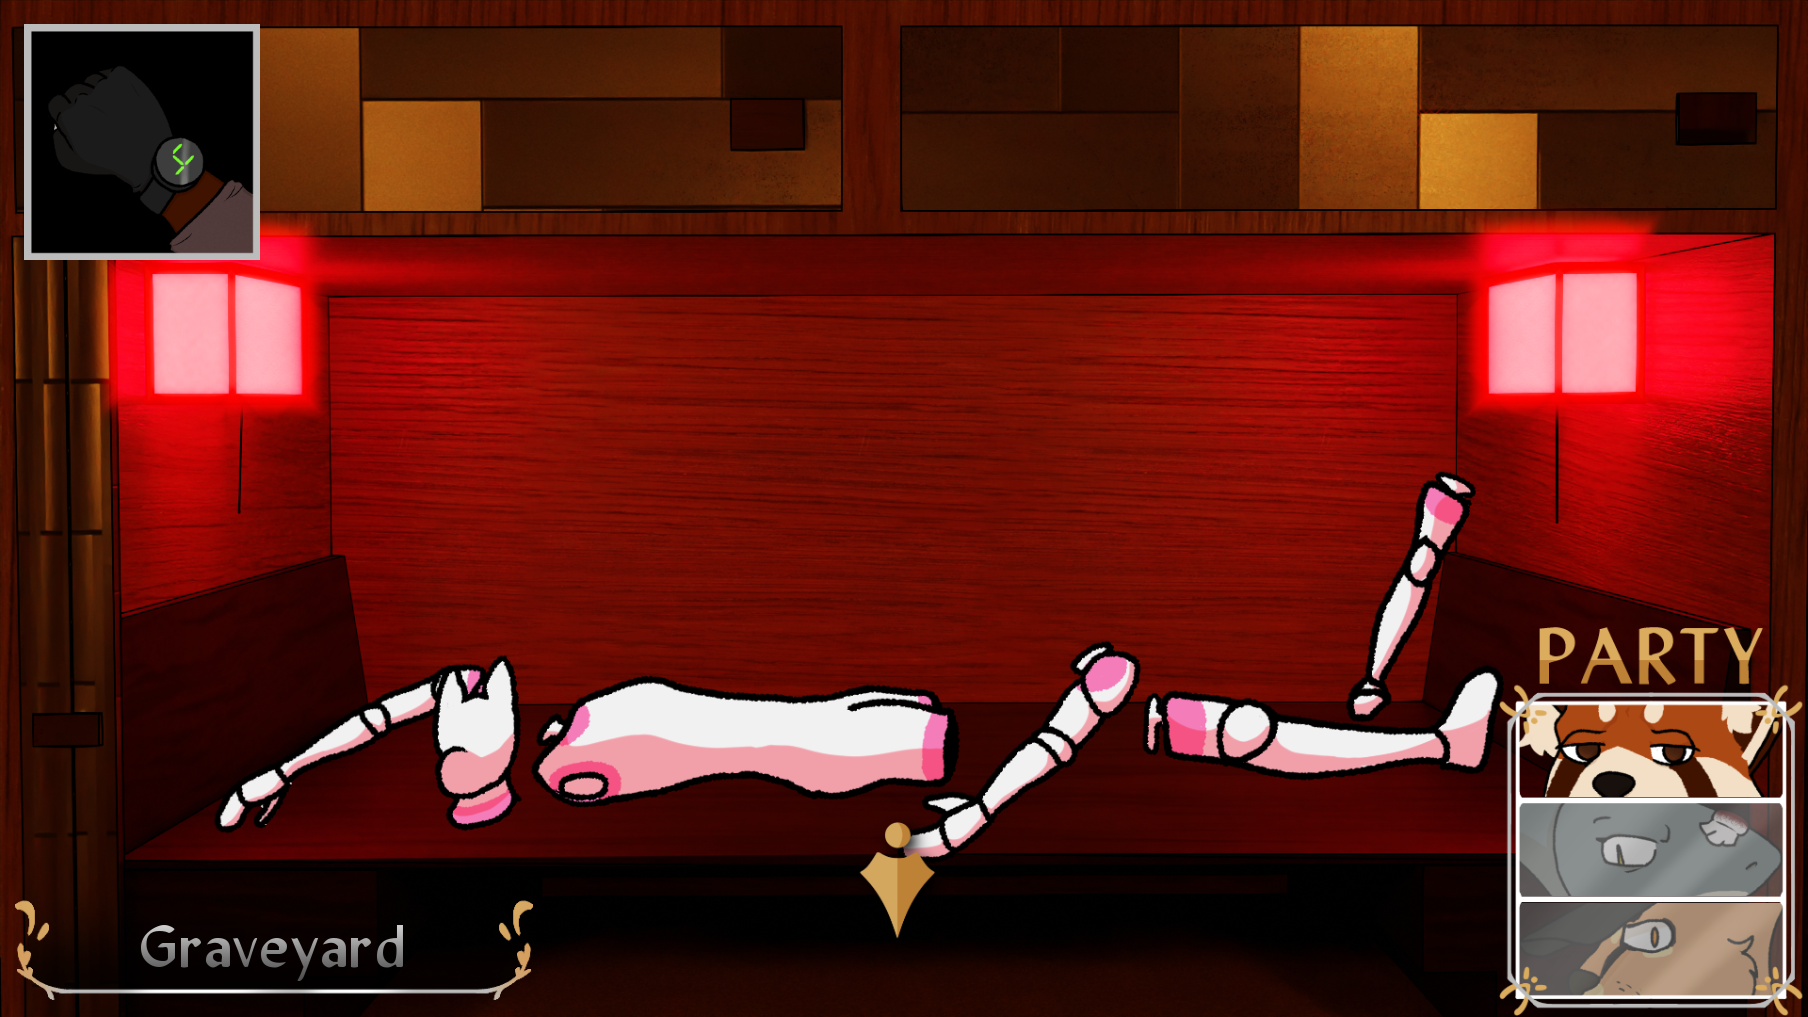
This mannequin has a noose! Let's steal it. Click the mannequin to add the noose to your inventory. You can also show it to Ikuro if you like, though he may not be too happy to see it...
Back out of this screen by pressing the down arrow. Then press the left arrow, then forward, then finally left to reach the northwestern closet.


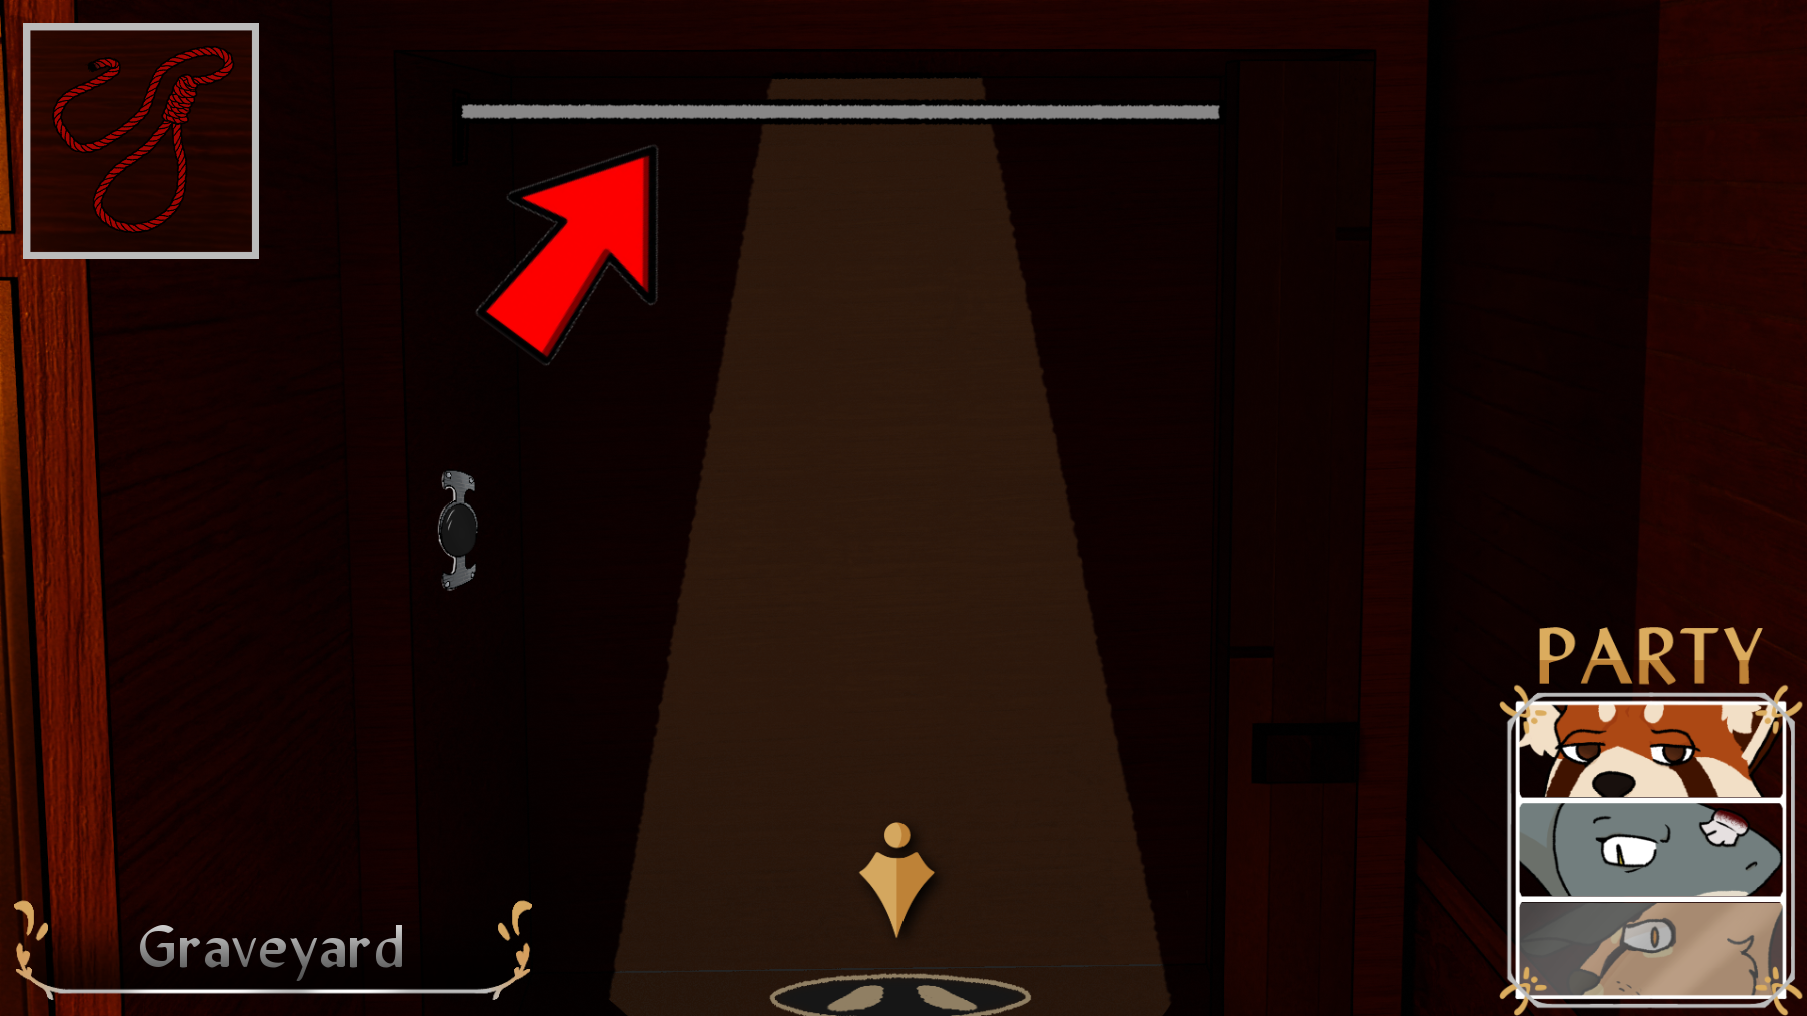
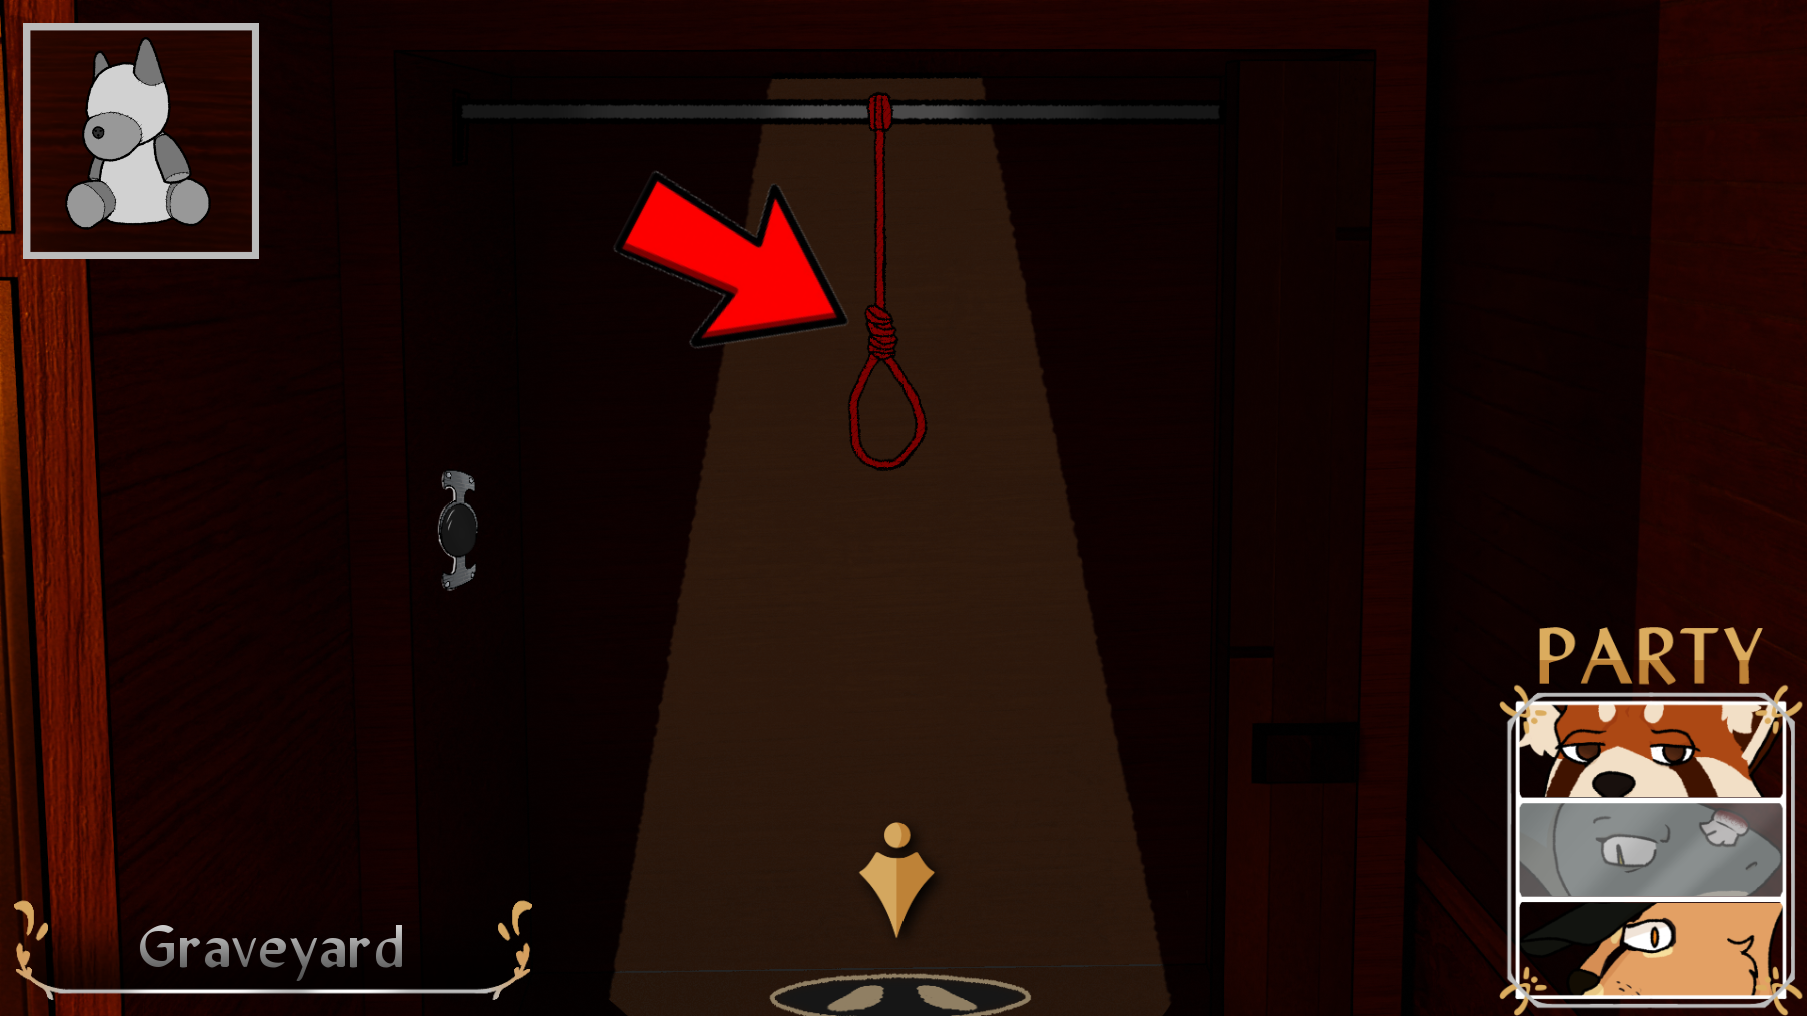
Now that we're here, we've got some work to do. Click the silver bar near the top of the closet with the noose selected to tie it up.
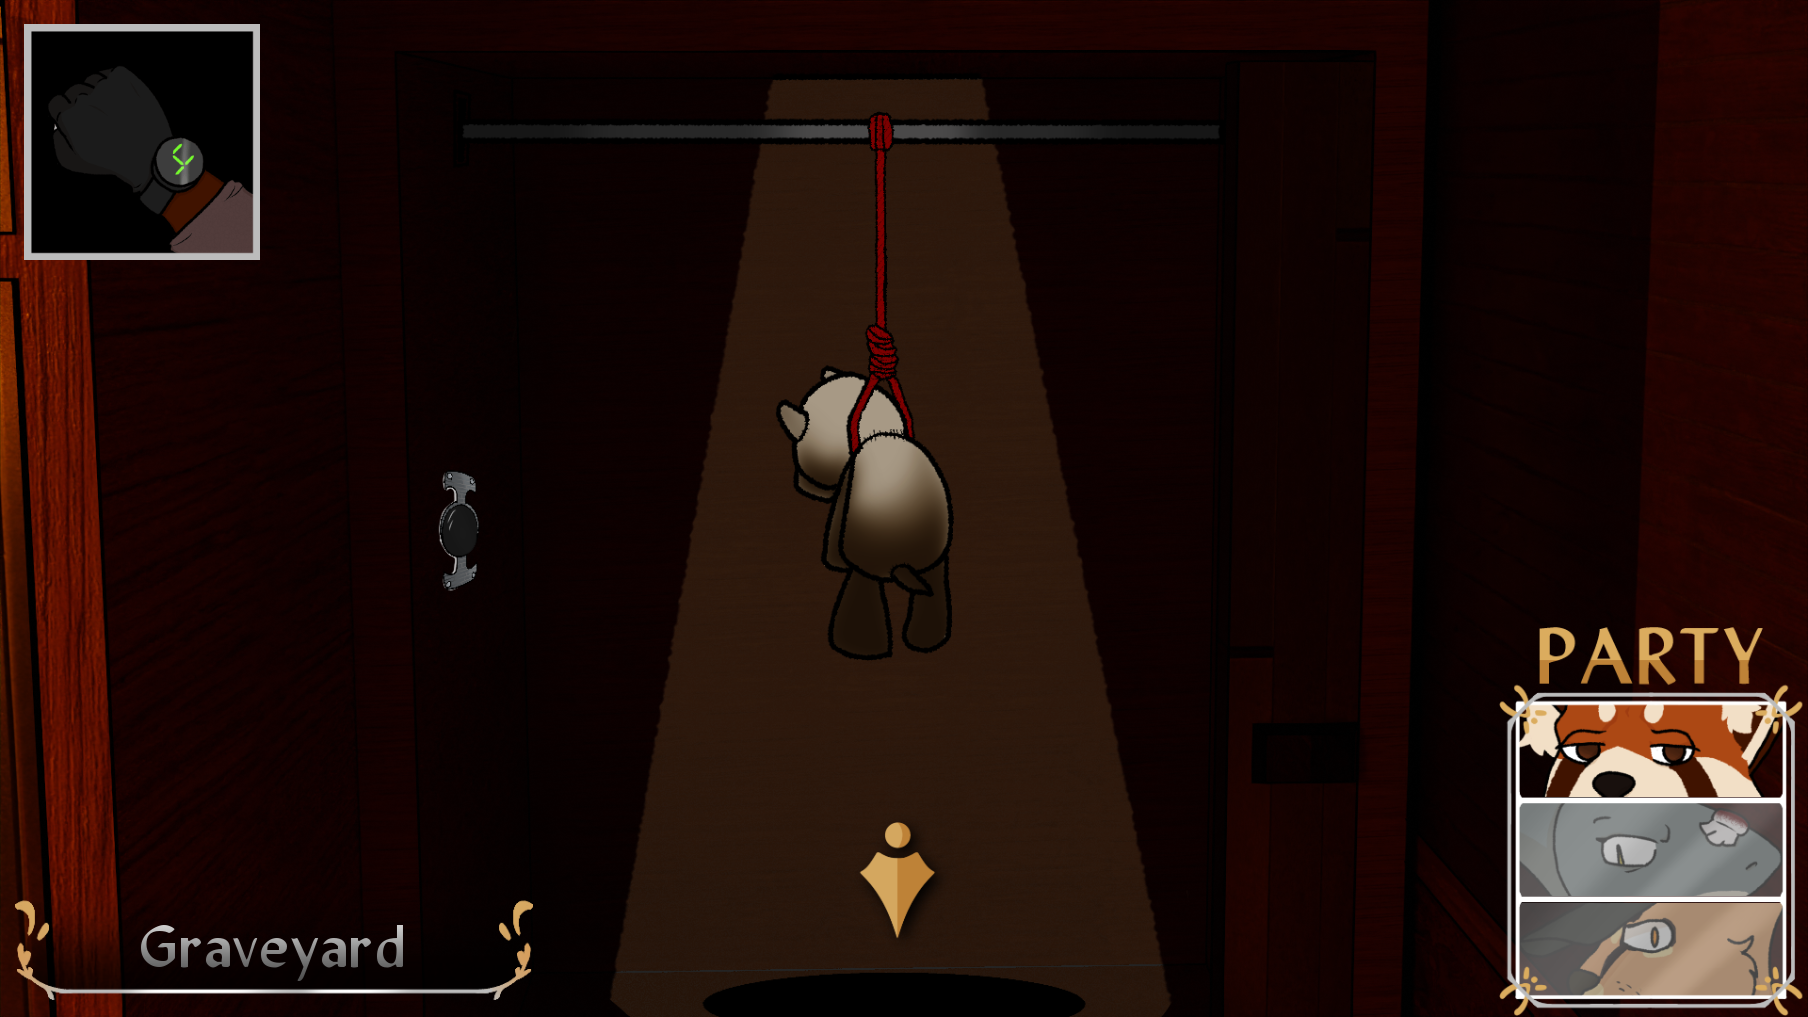
But what can we hang from there? There is a hint! If you head to the dark graveyard, you'll find that the plushie you're carrying is glowing! Eight will talk to you about this as well.
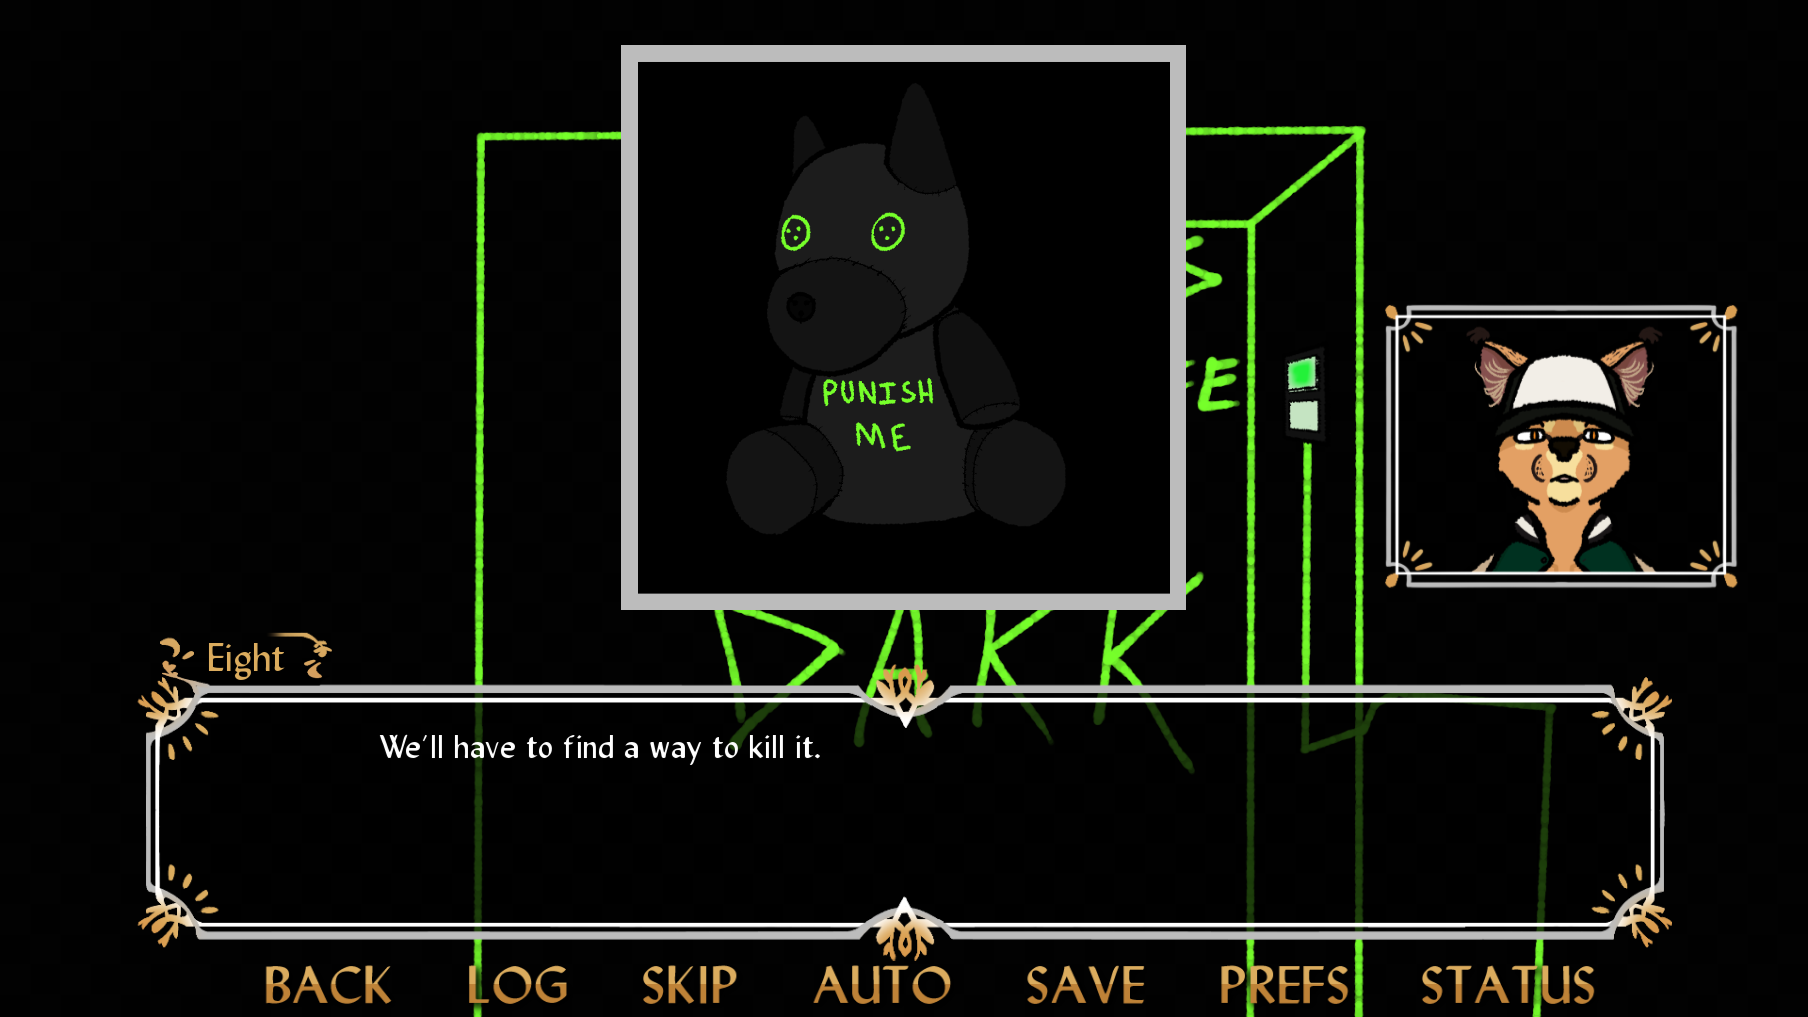
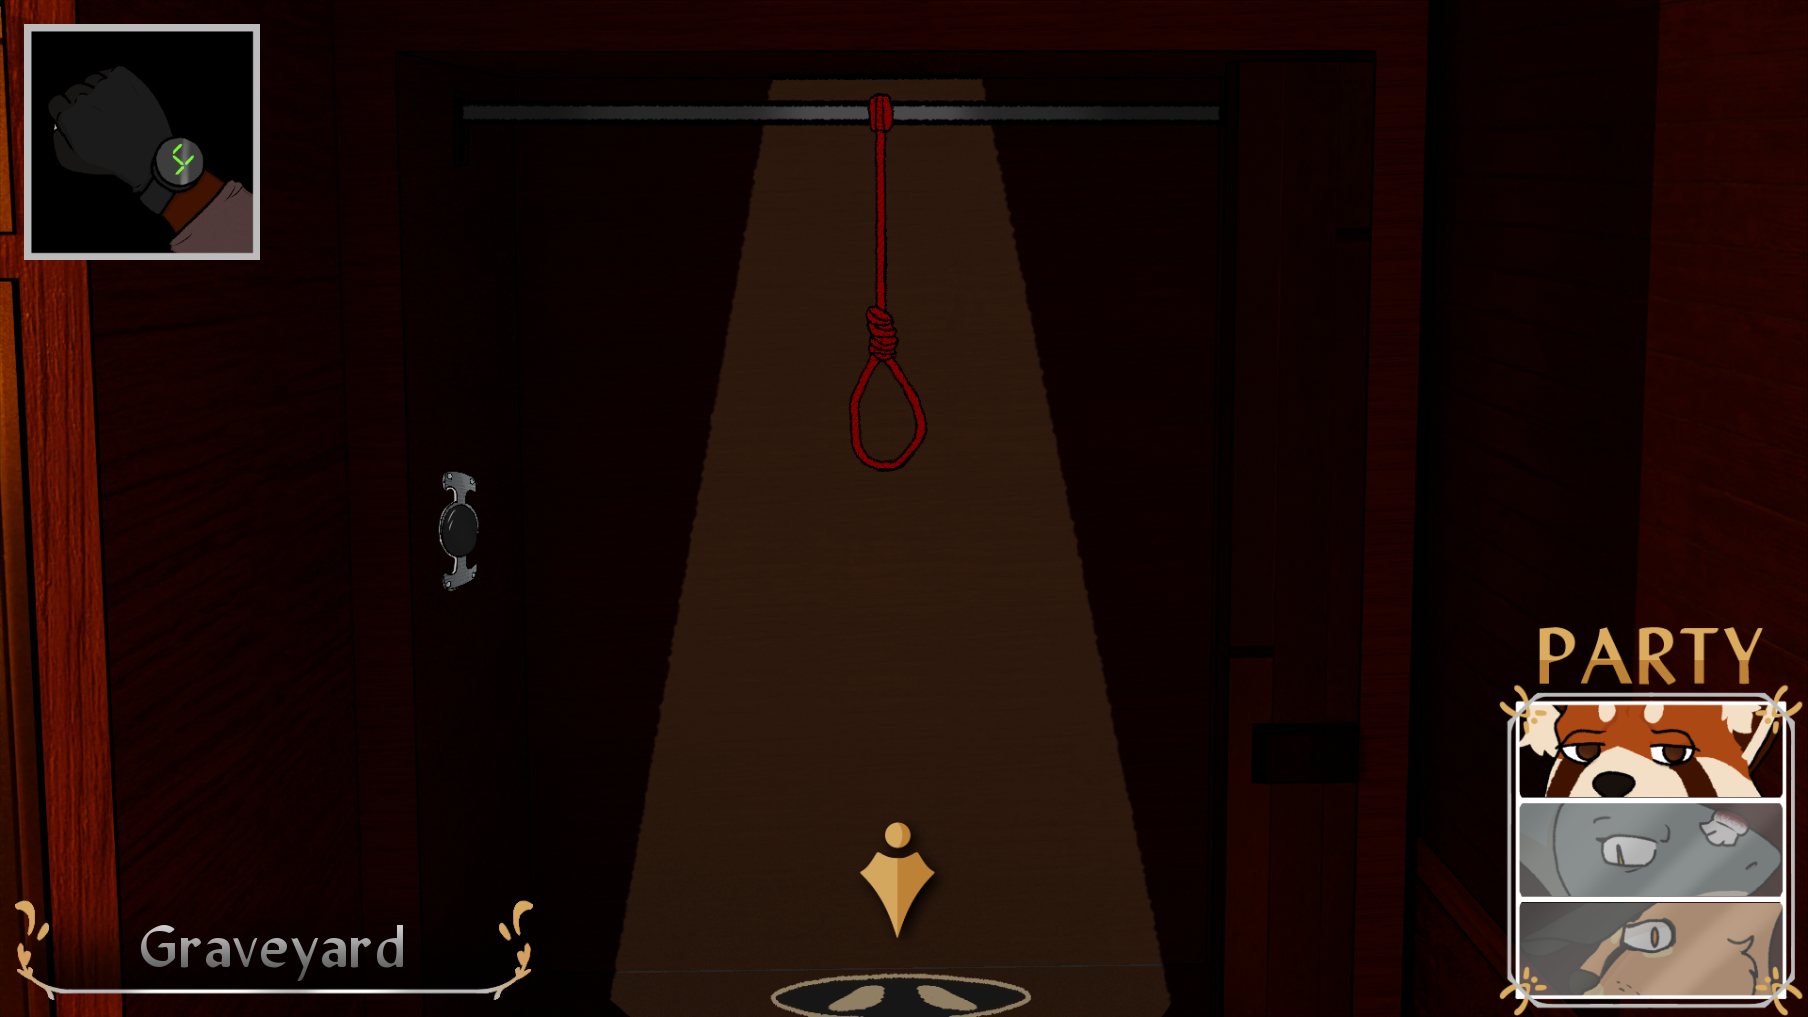
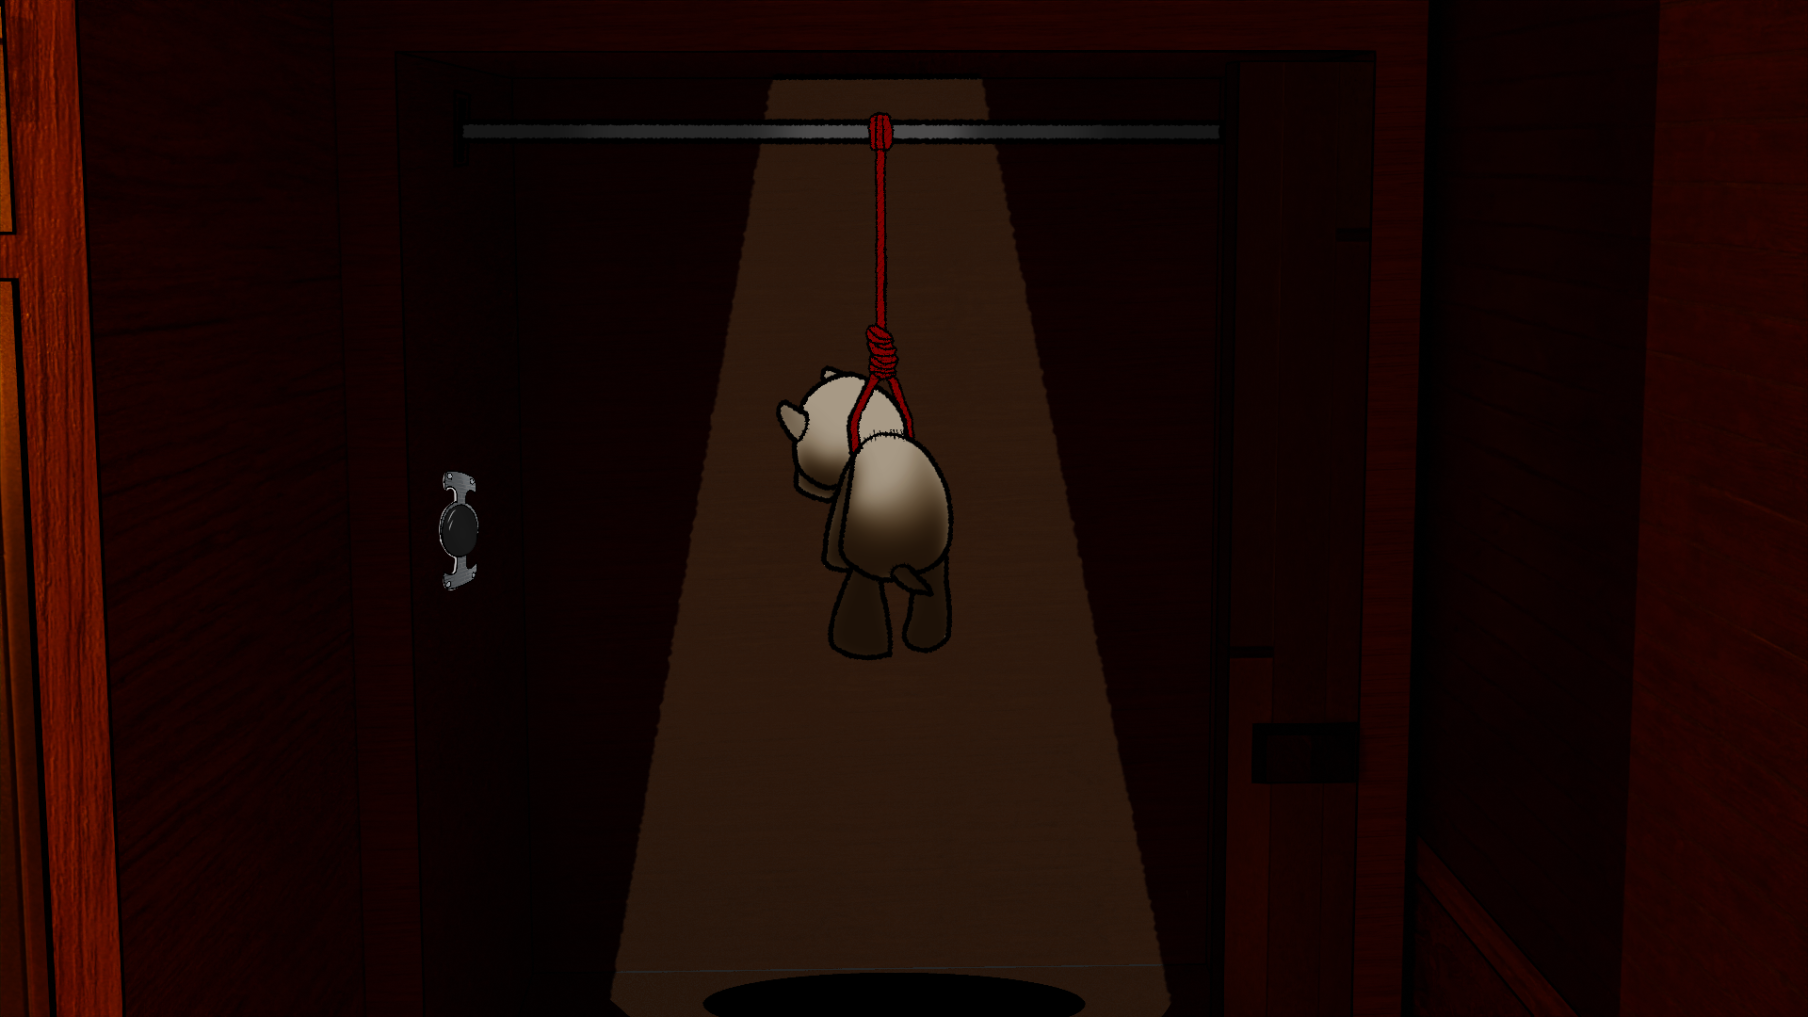
With that information, let's head back to the closet and hang this little guy up. With the plush selected, click the rope and watch the cutscene.
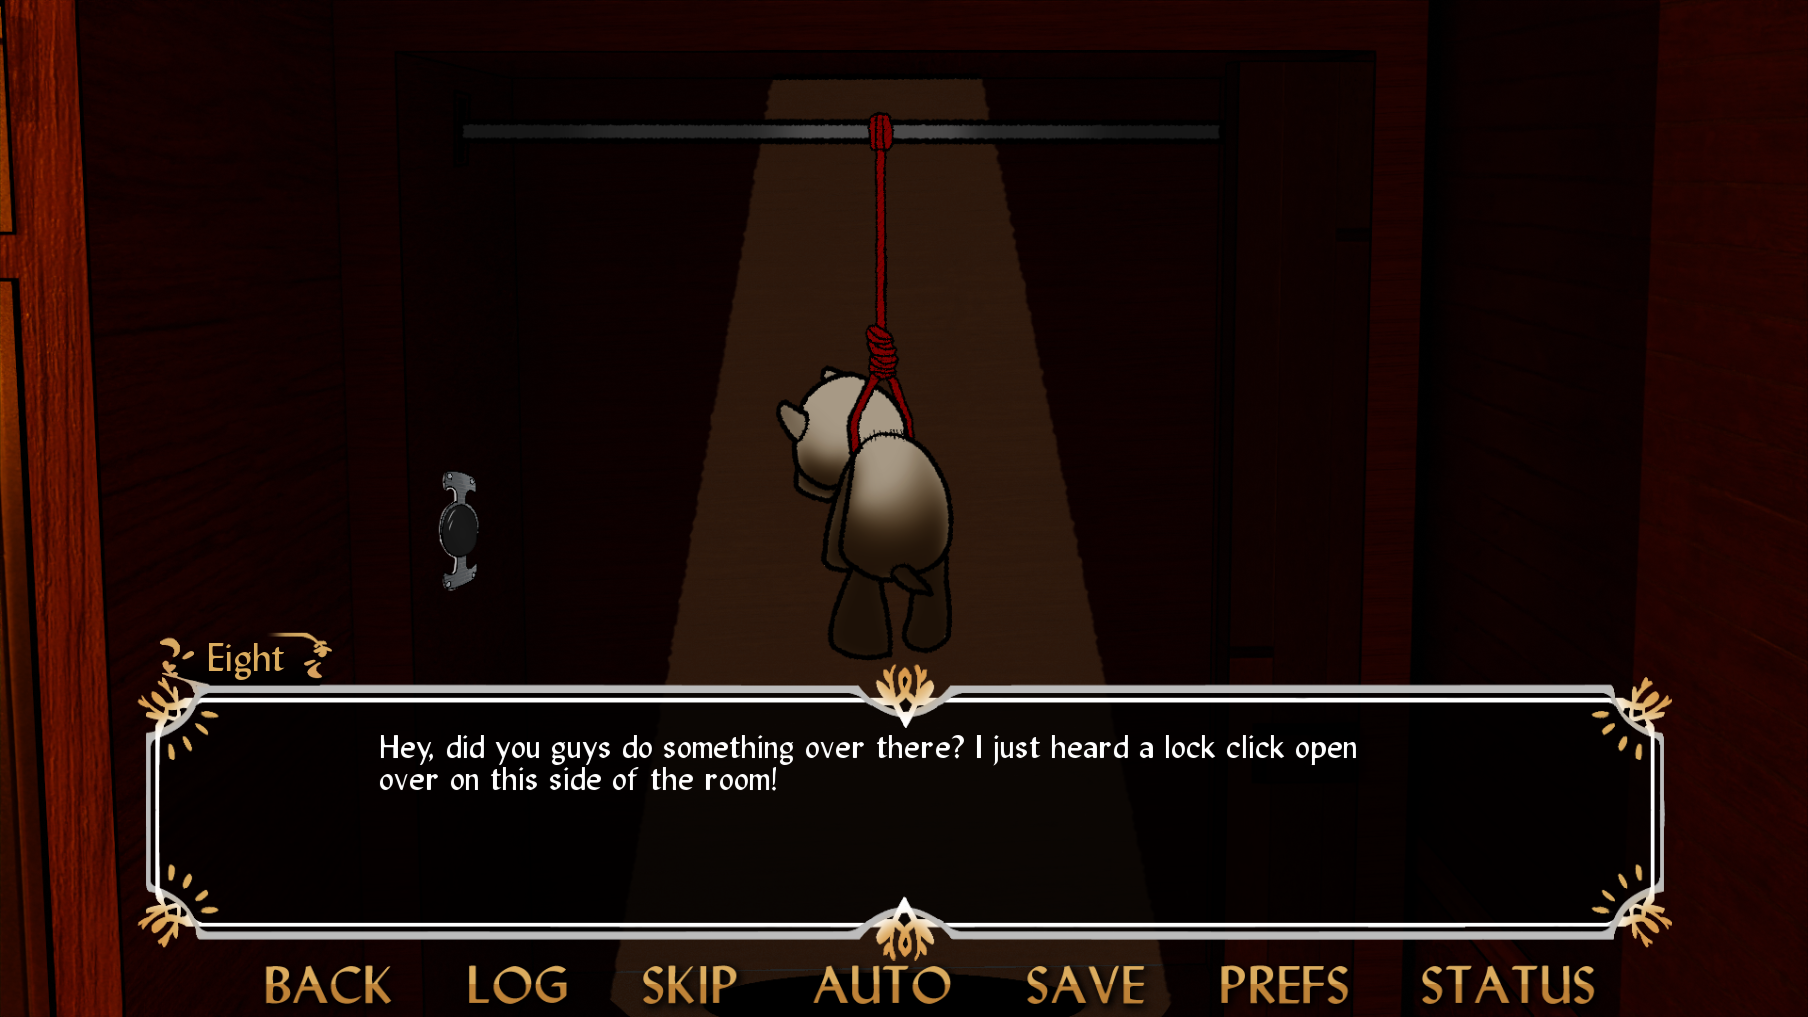
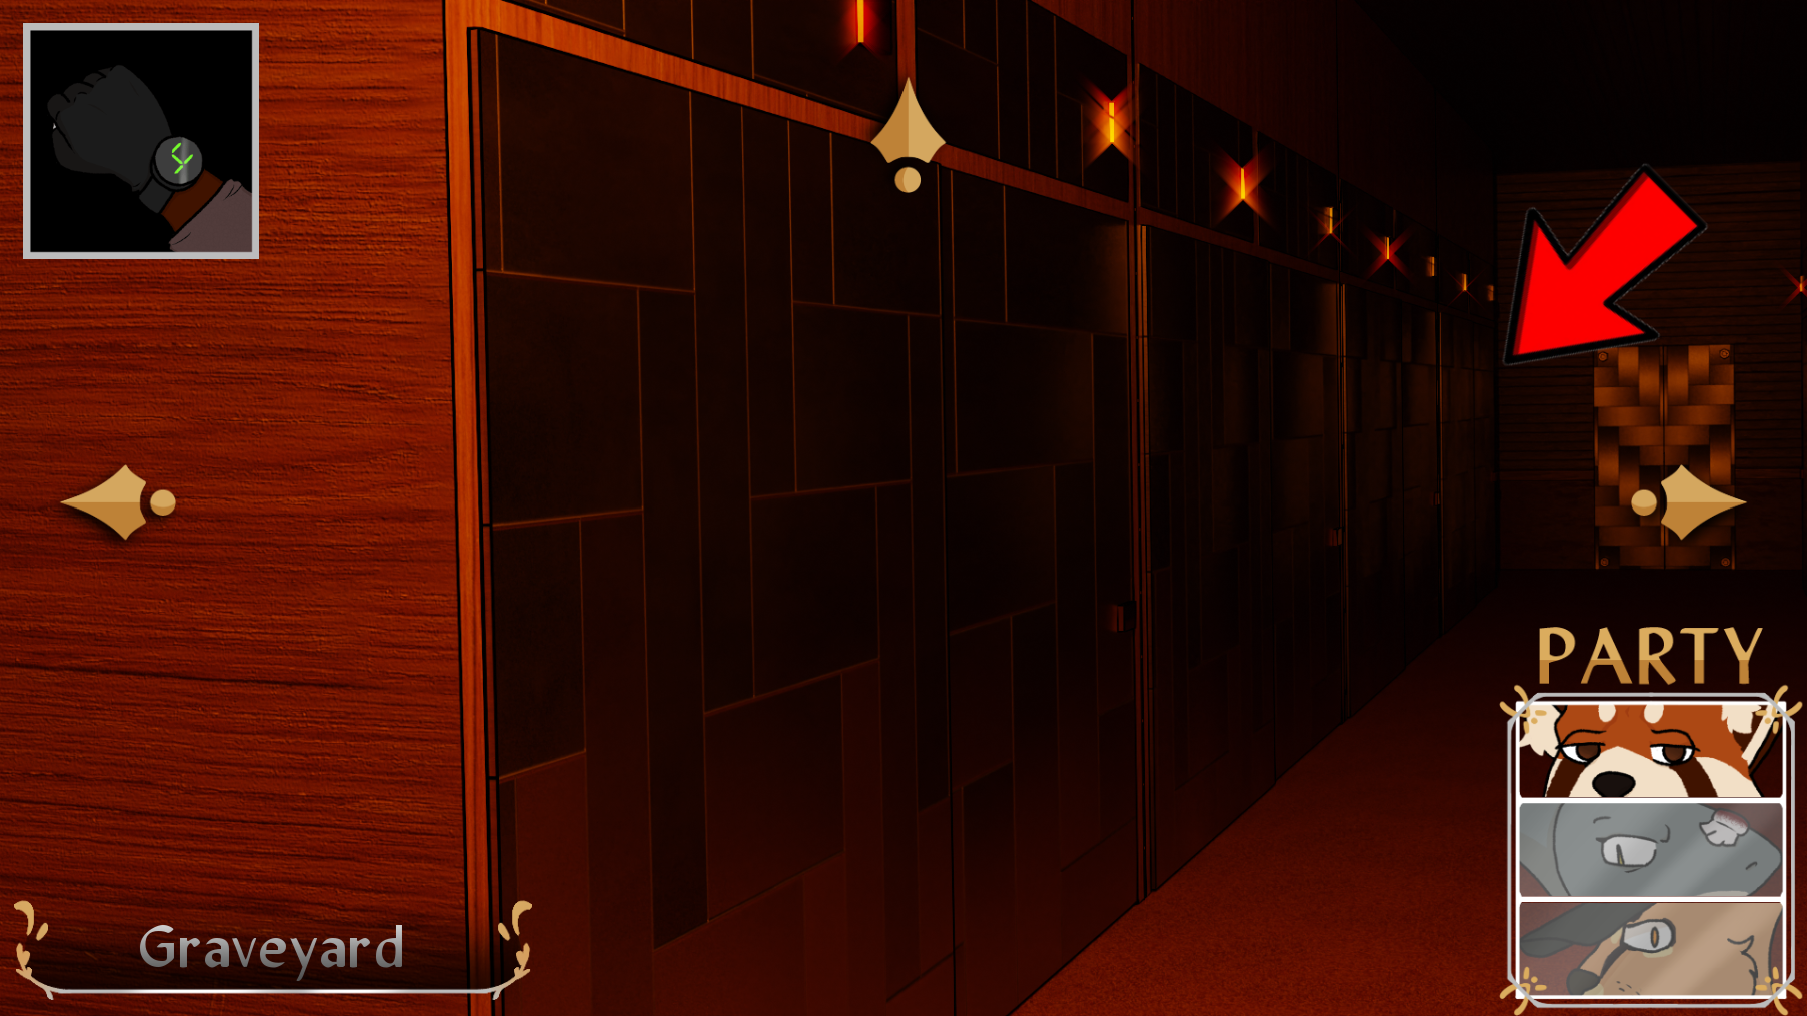
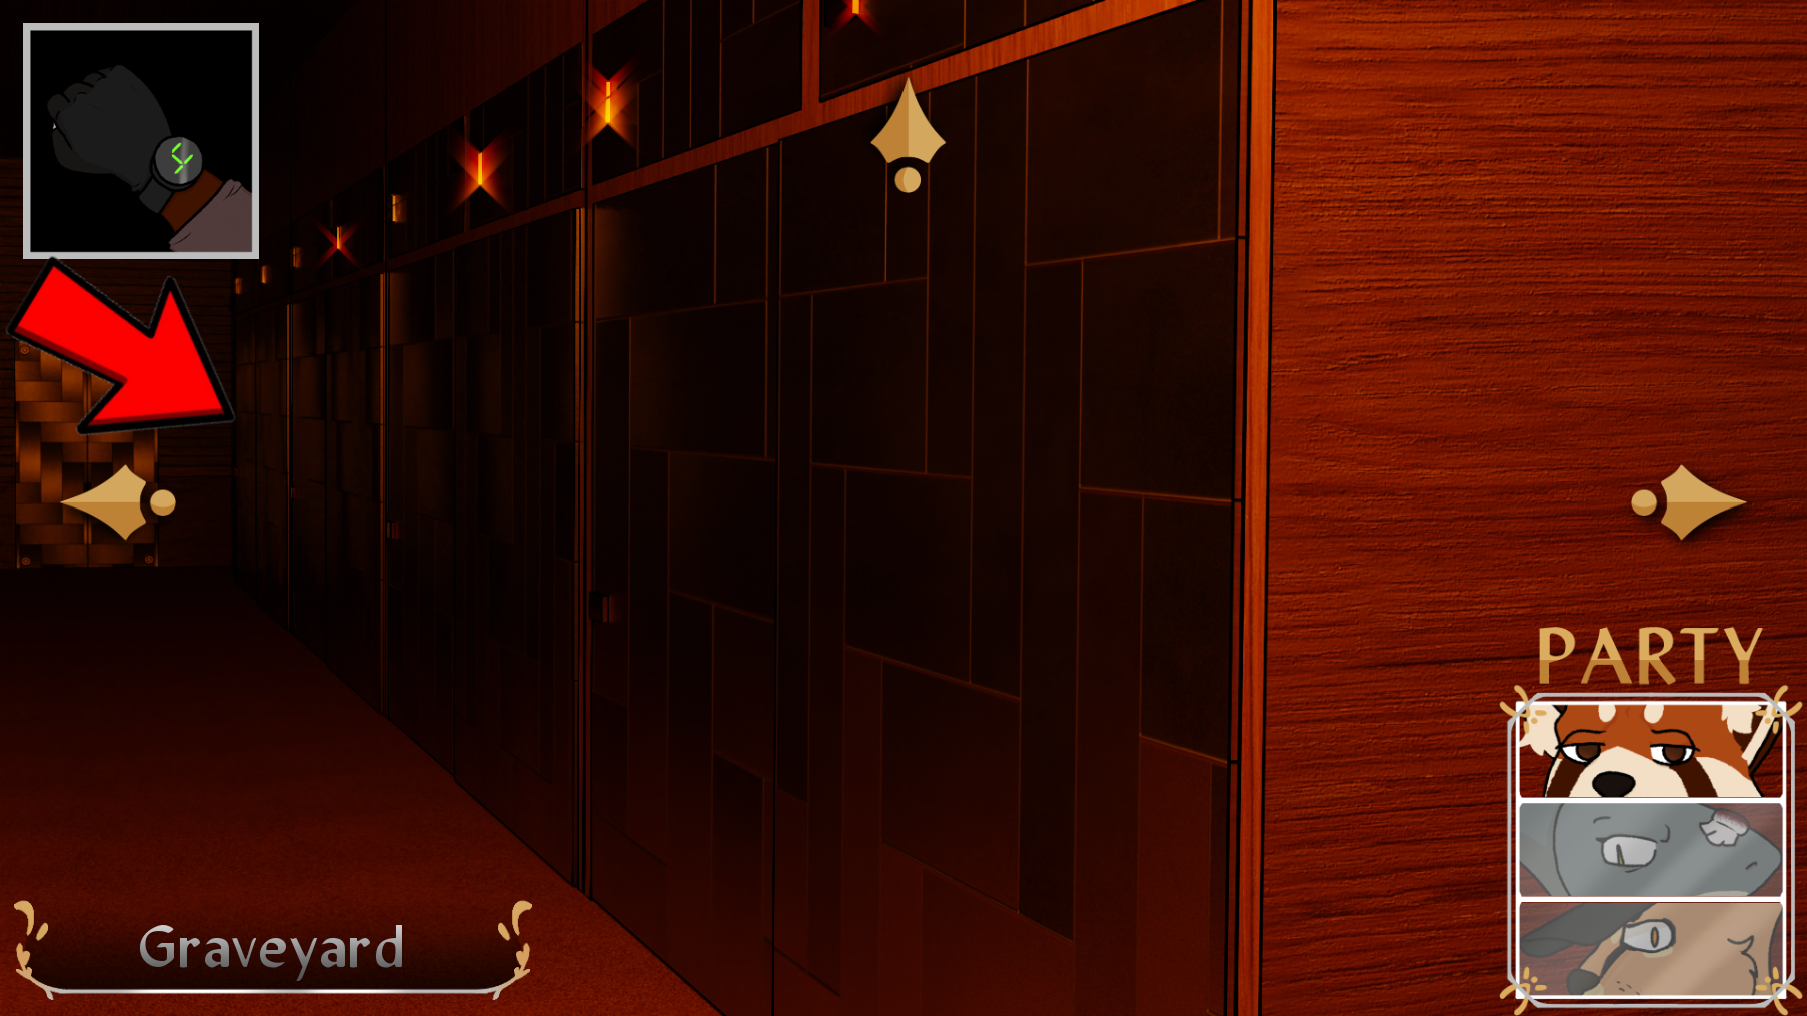
With that morbid task completed, the final puzzle opens up. Backtrack from this screen by pressing the down arrow, the next screen with the down arrow, the one after that with the right arrow, and finally another right arrow click to reach the southeast closet.
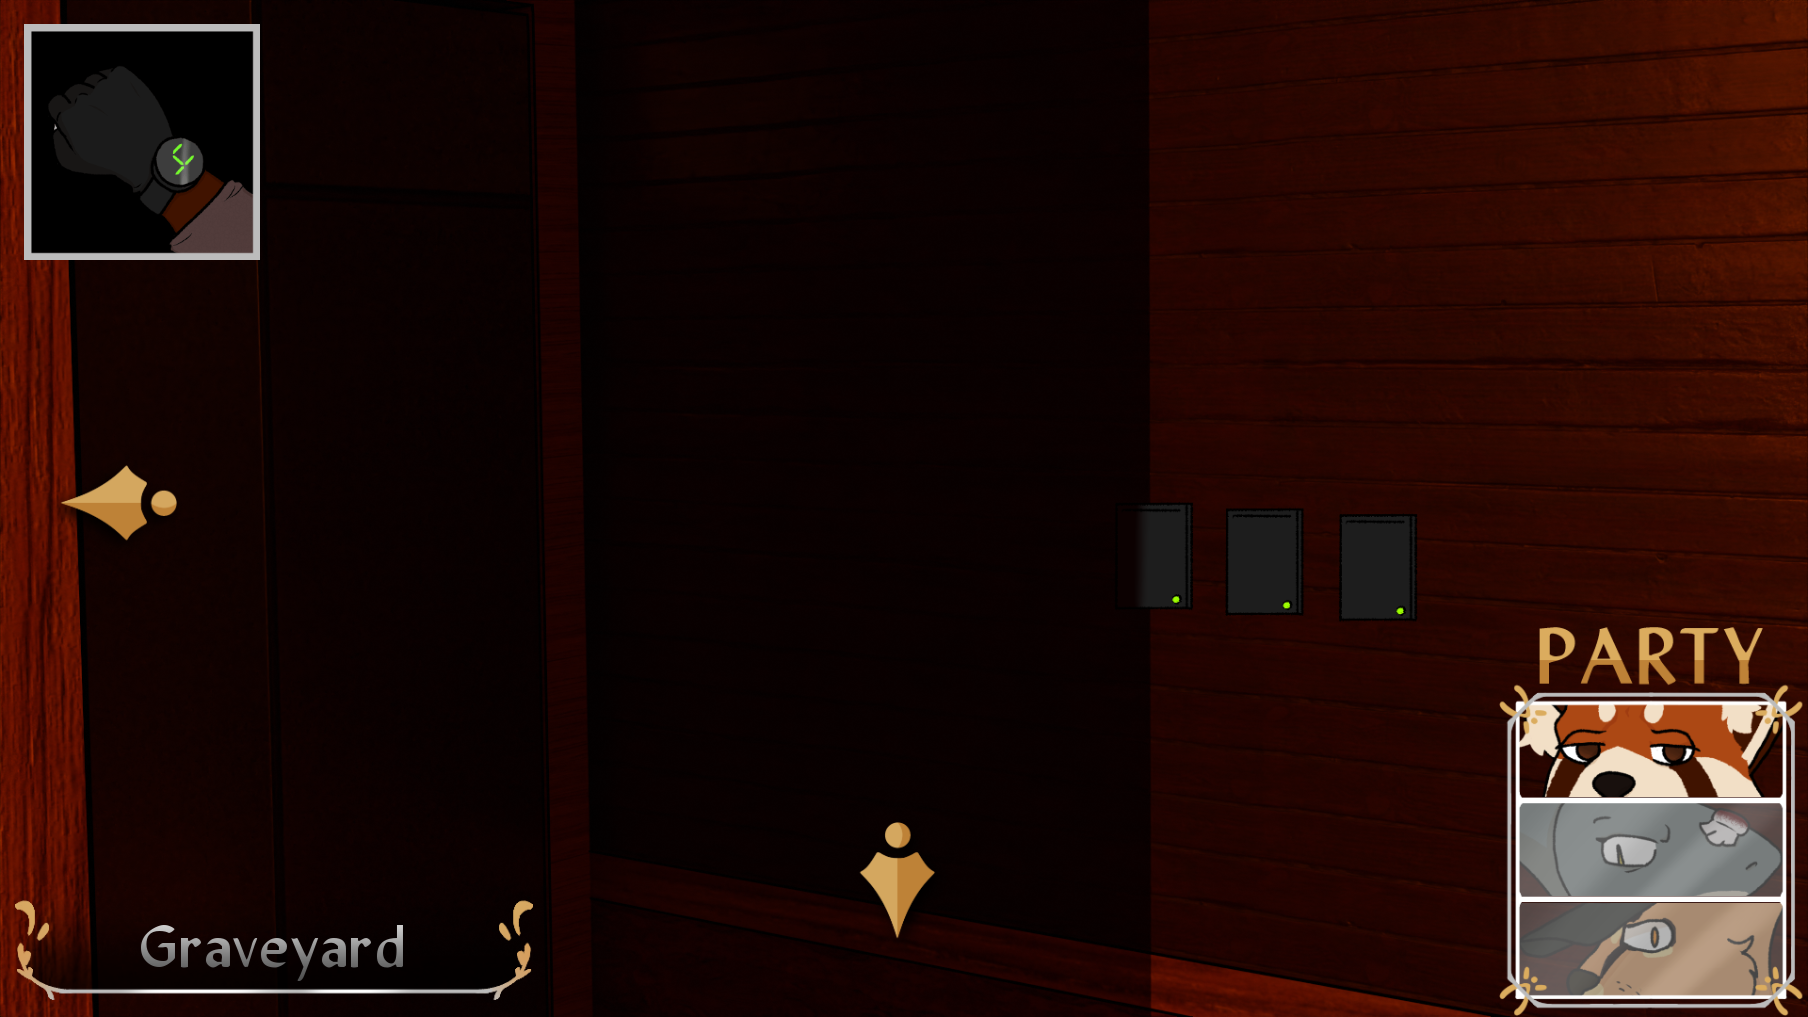


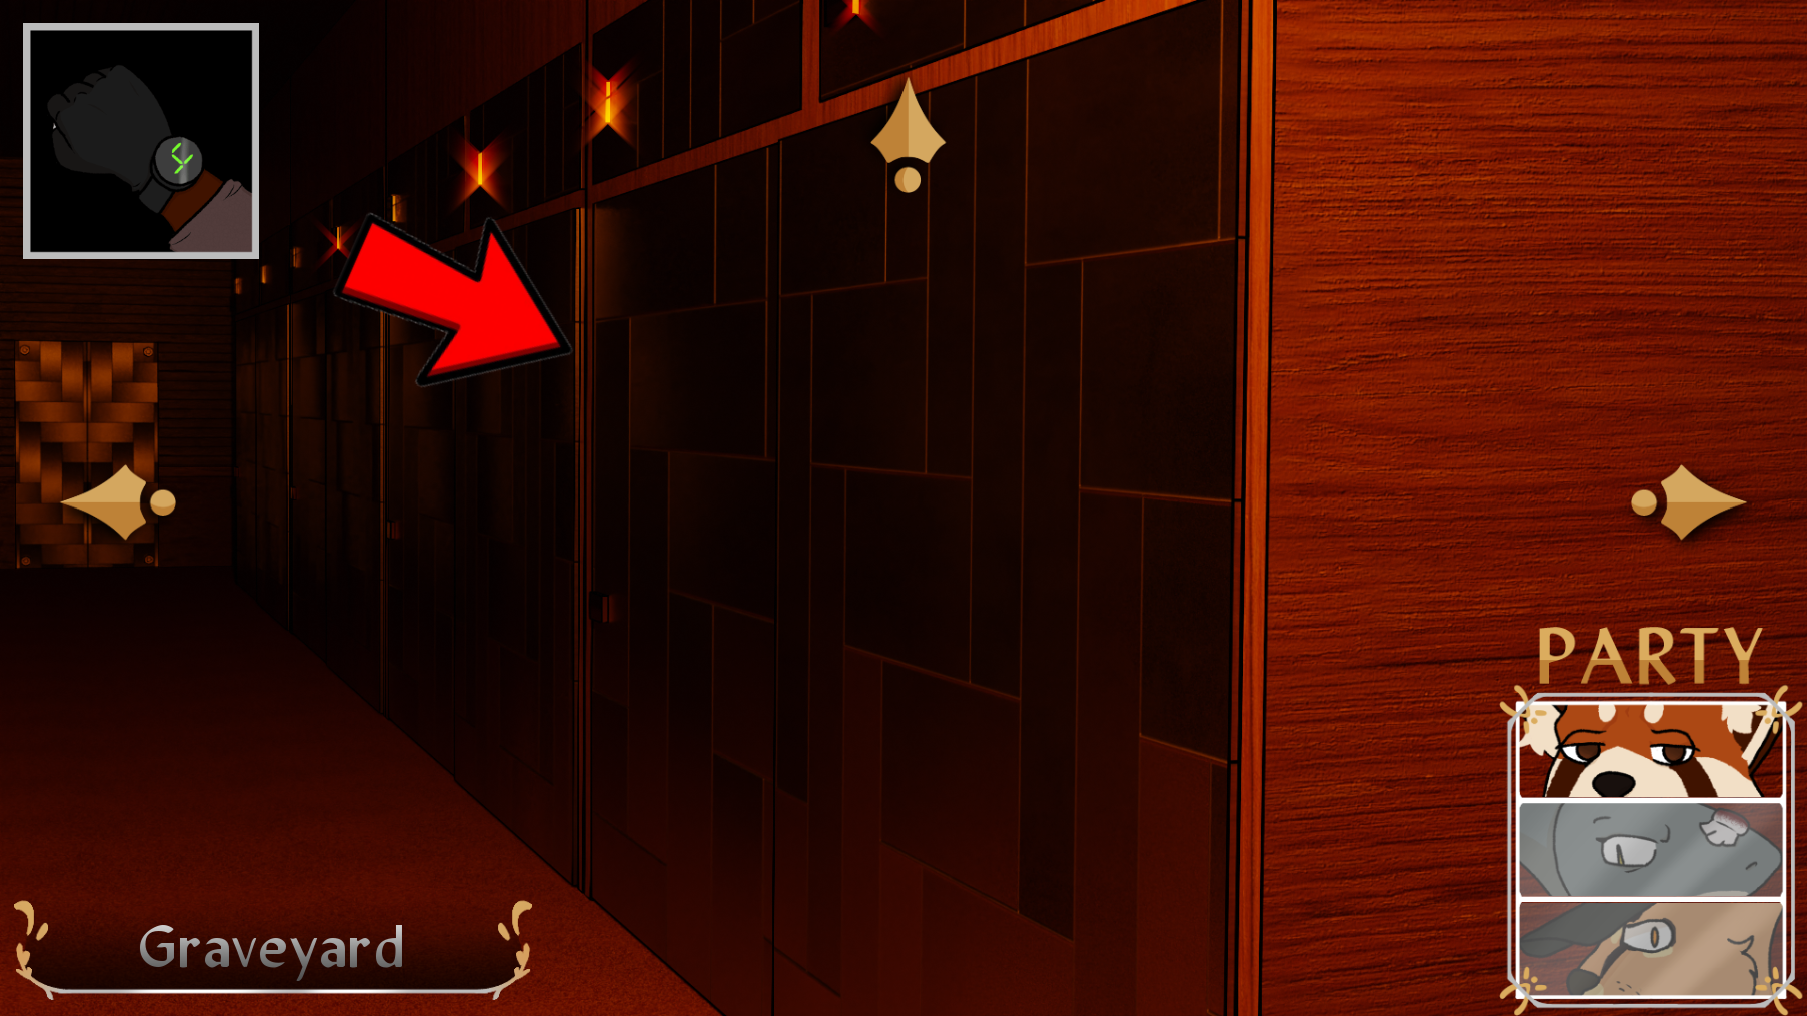
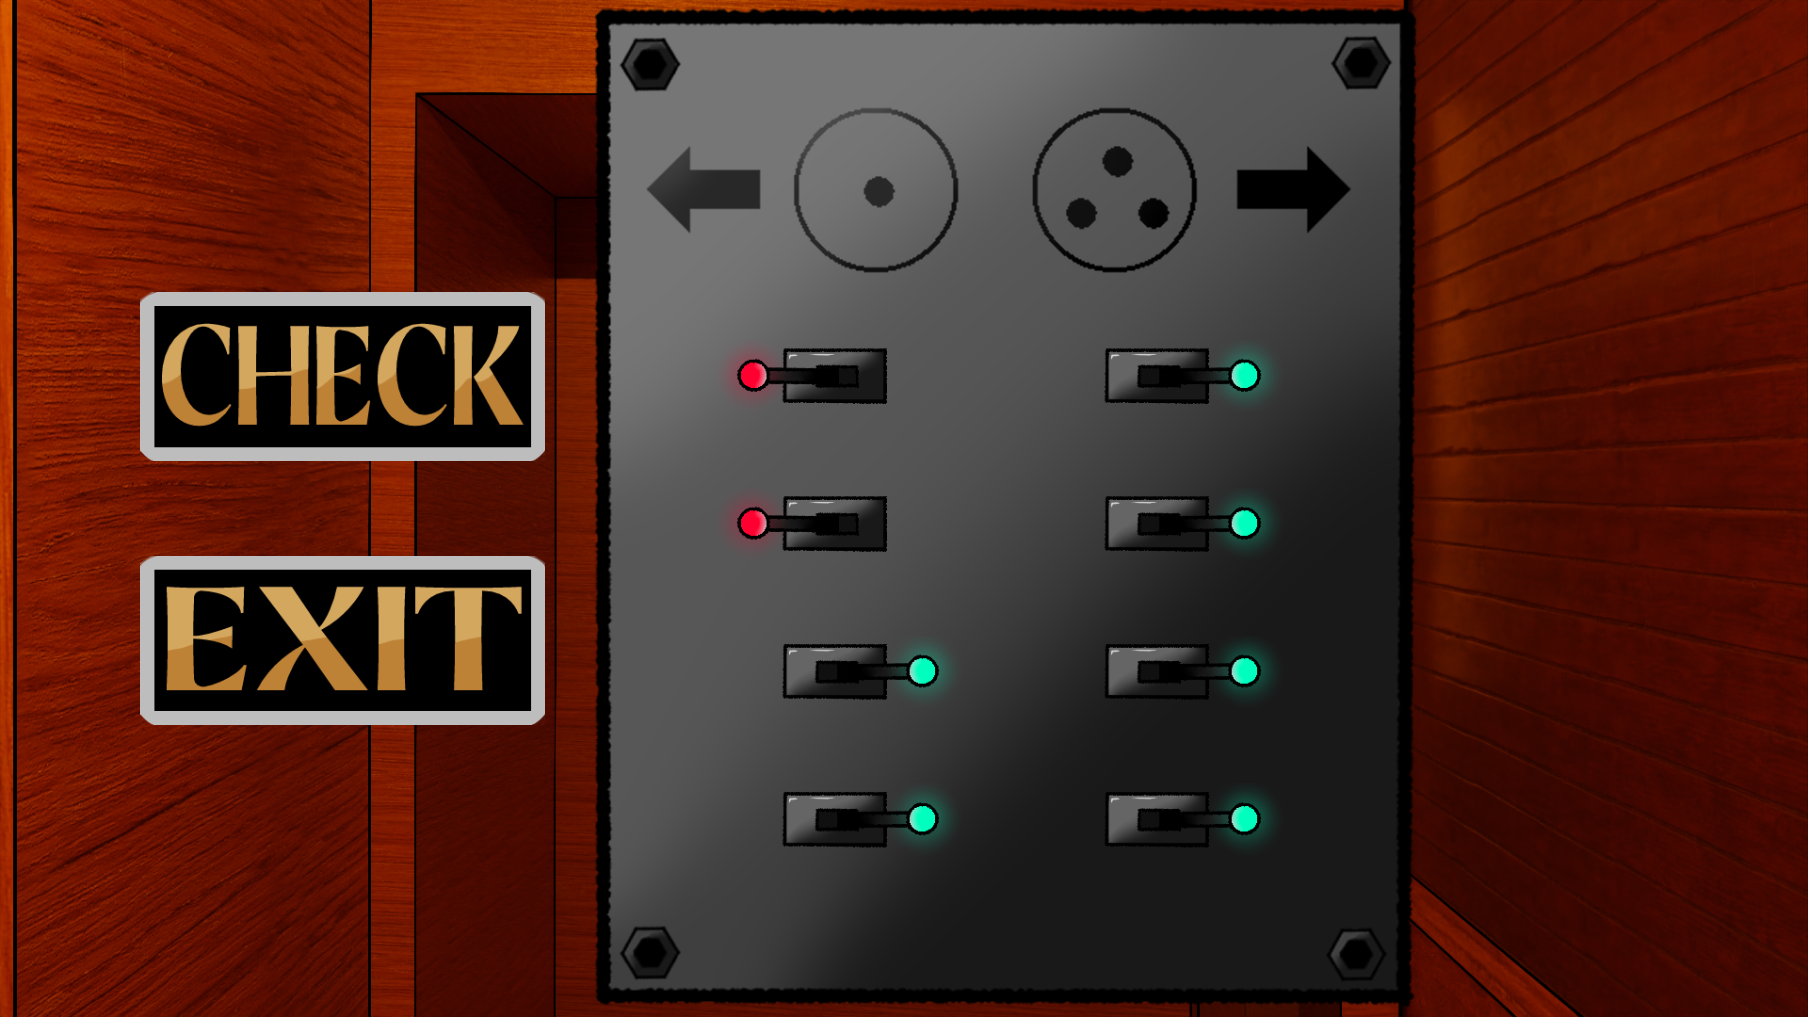
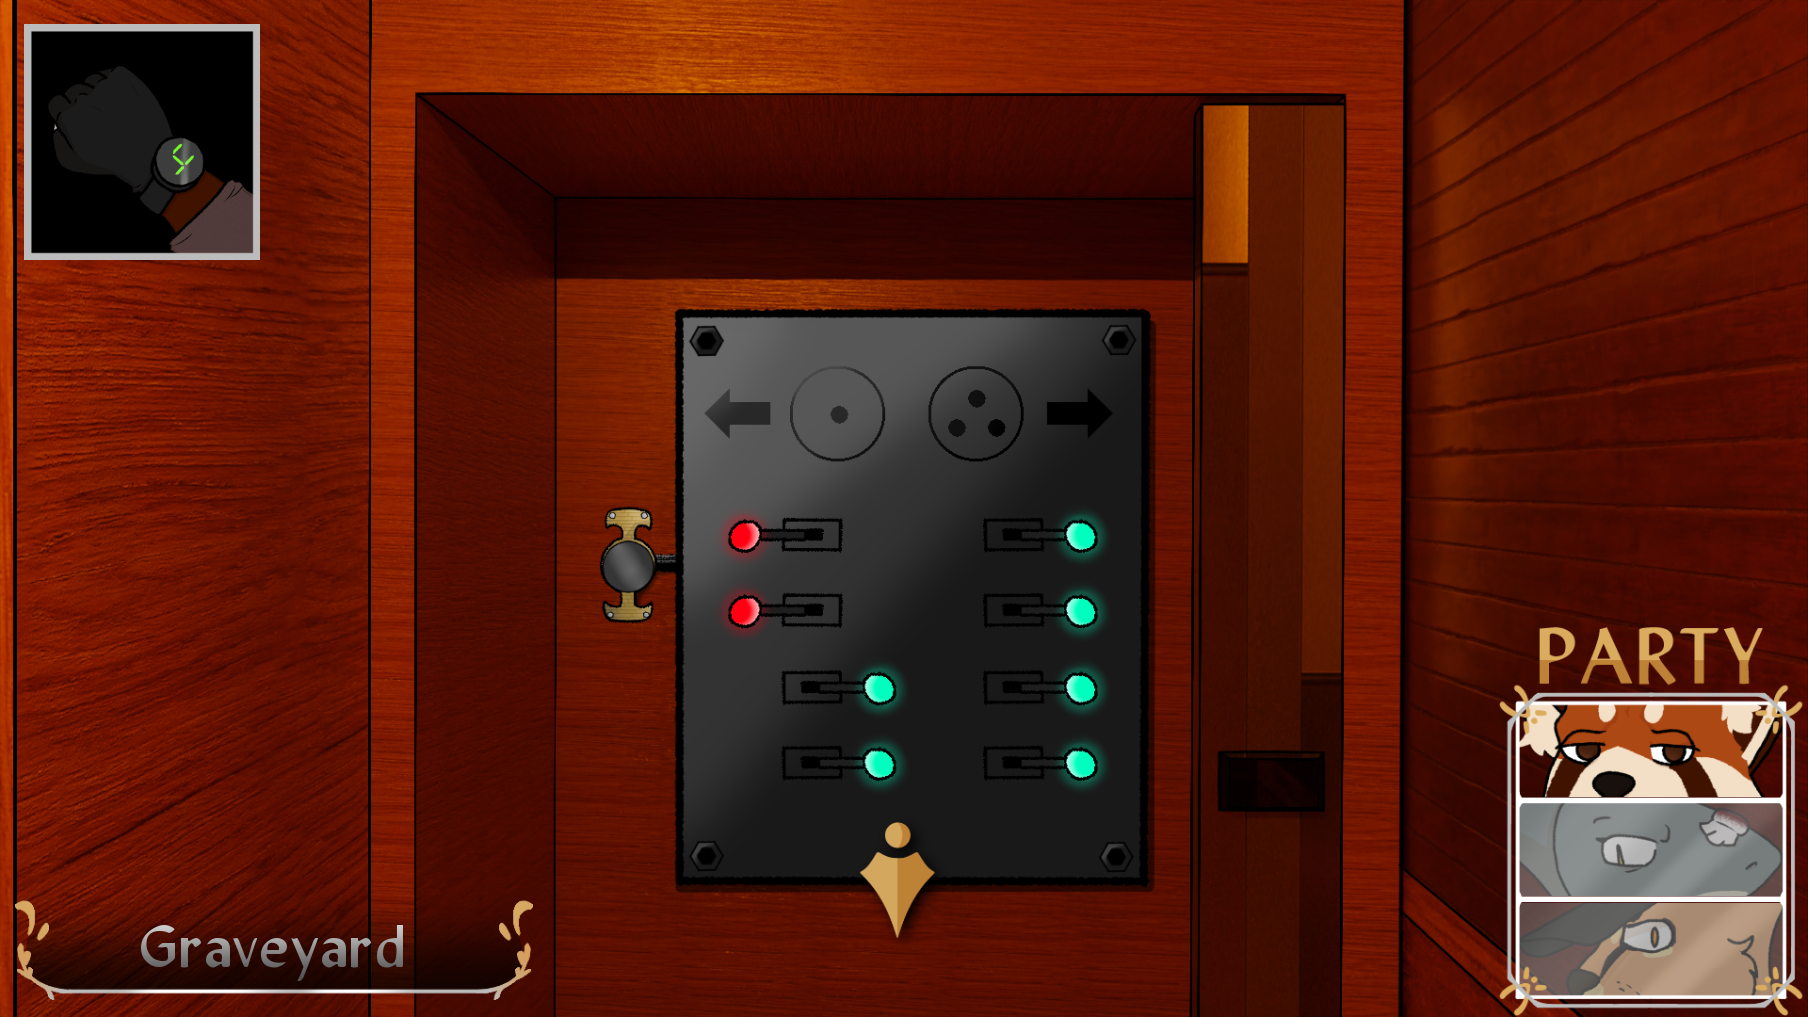
It's the gold authenticator! ... Buuuuut we can't use it yet. We've got one more puzzle to solve! Click the panel in the middle of the screen to open the final minigame of the room.
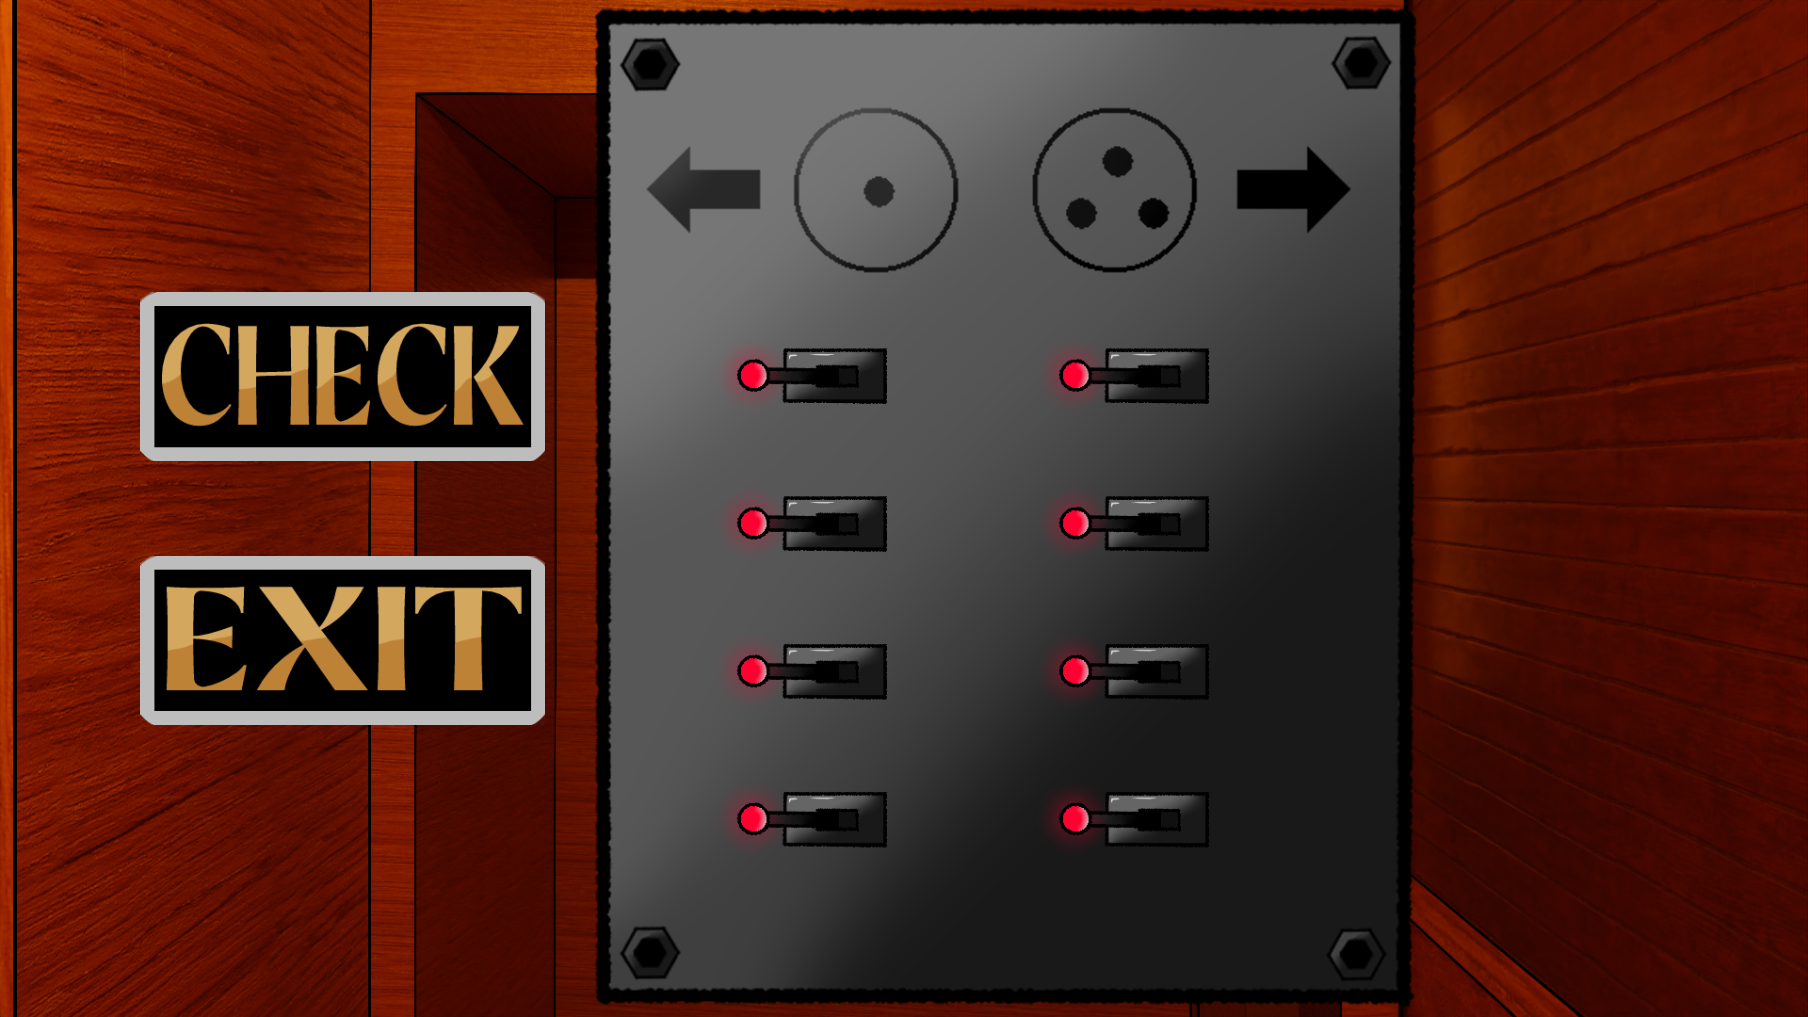
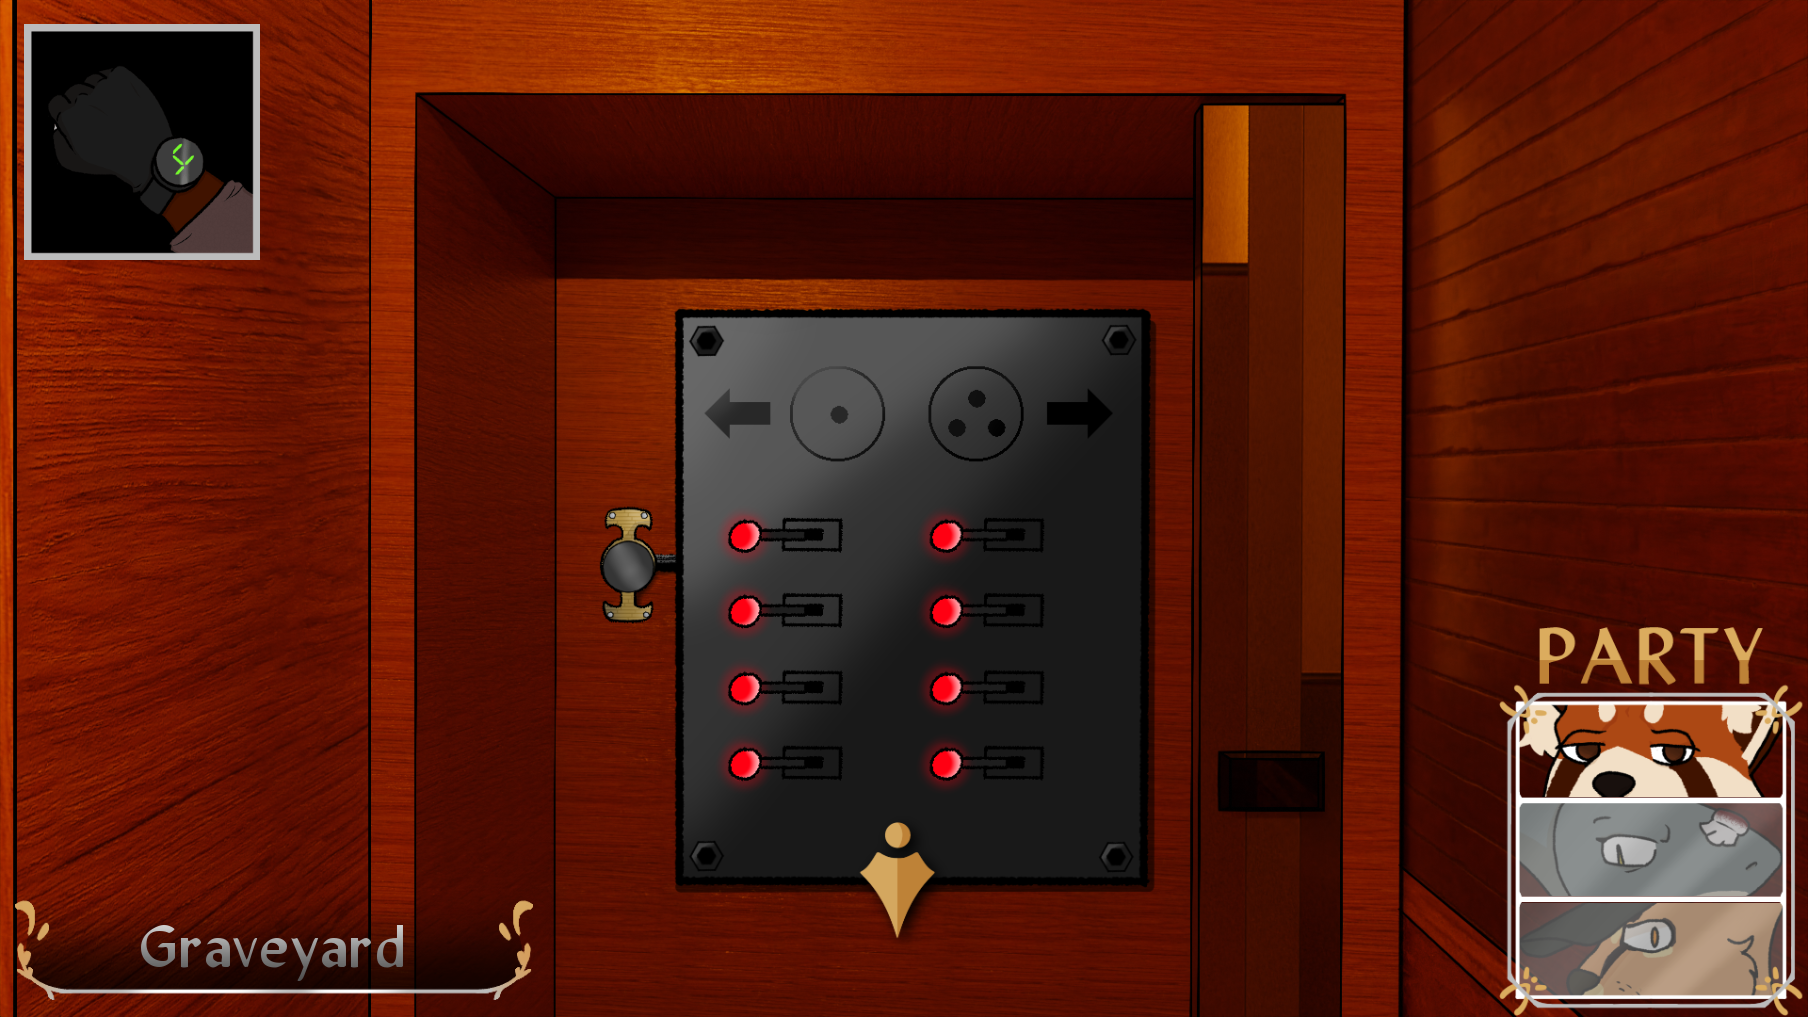
We've got eight switches, each of which have two settings; left and right. What kind of hints have we found that'll help us solve this one? Well, if we back out of the minigame, Eight will mention two things that stood out to her.
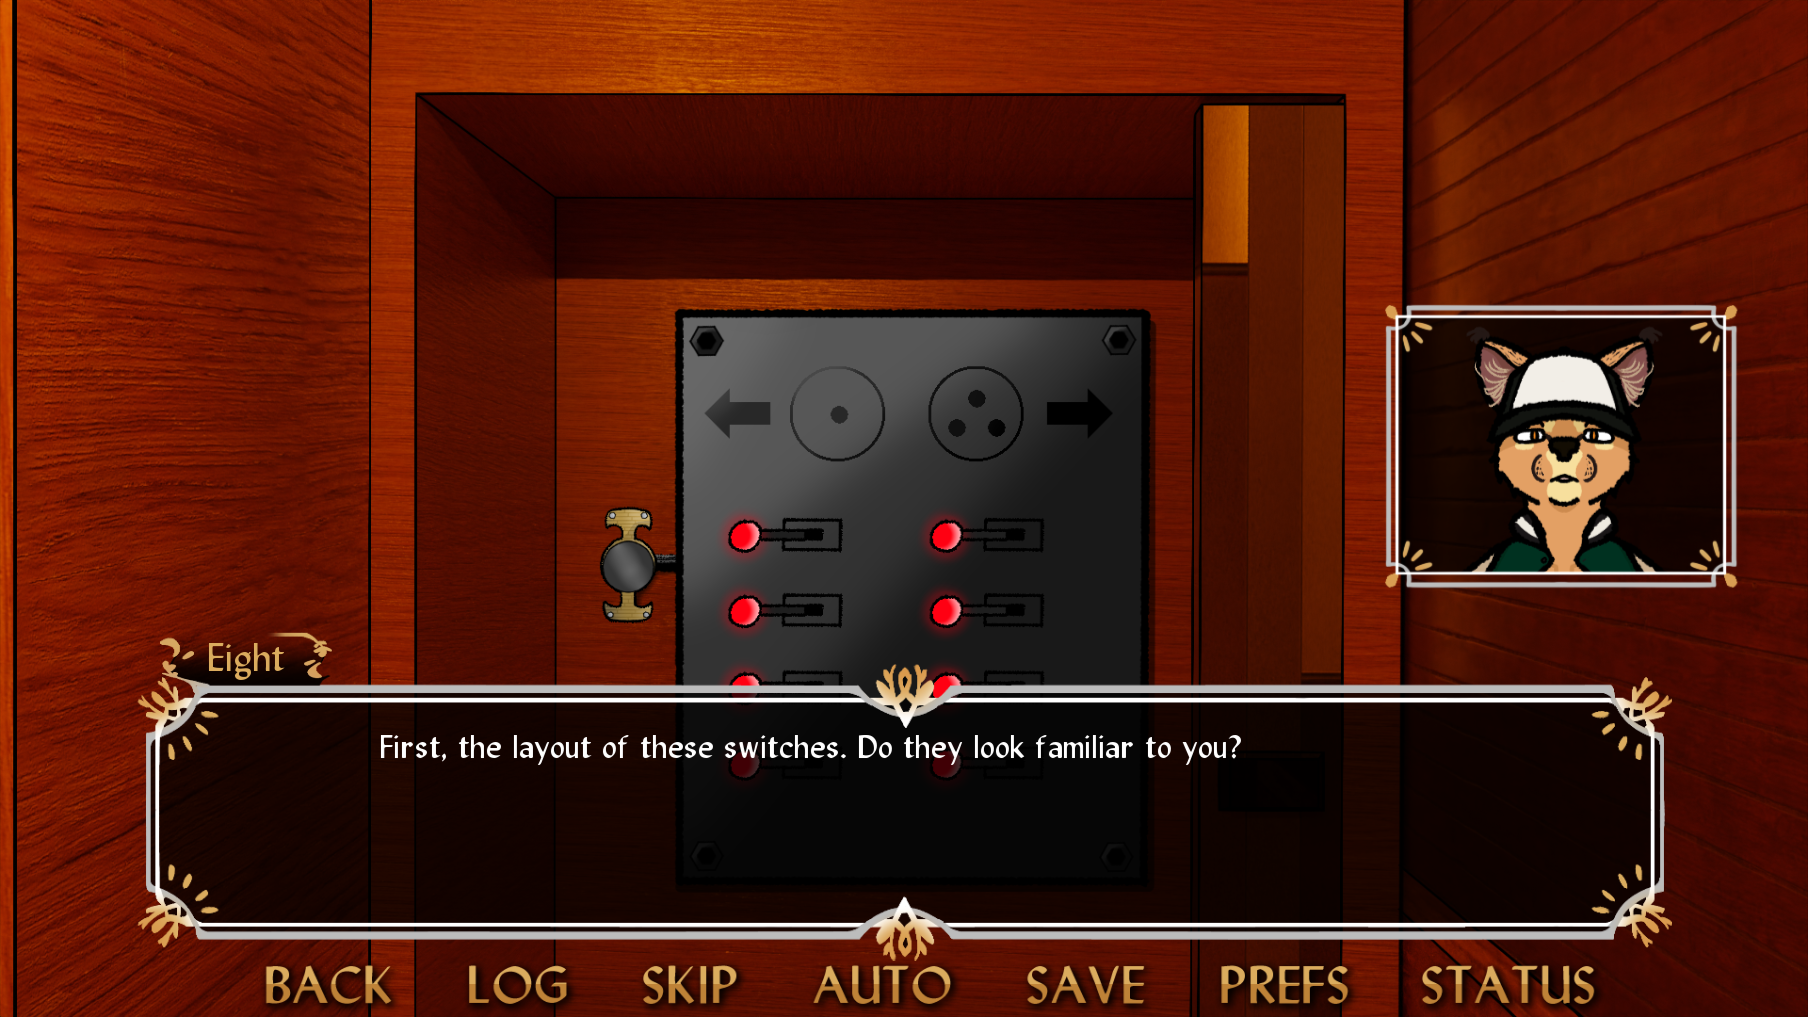

If you've been exploring the room, the layout of the switches should indeed look familiar! They're arranged the same way as each of the dorms; four on the left and four on the right.
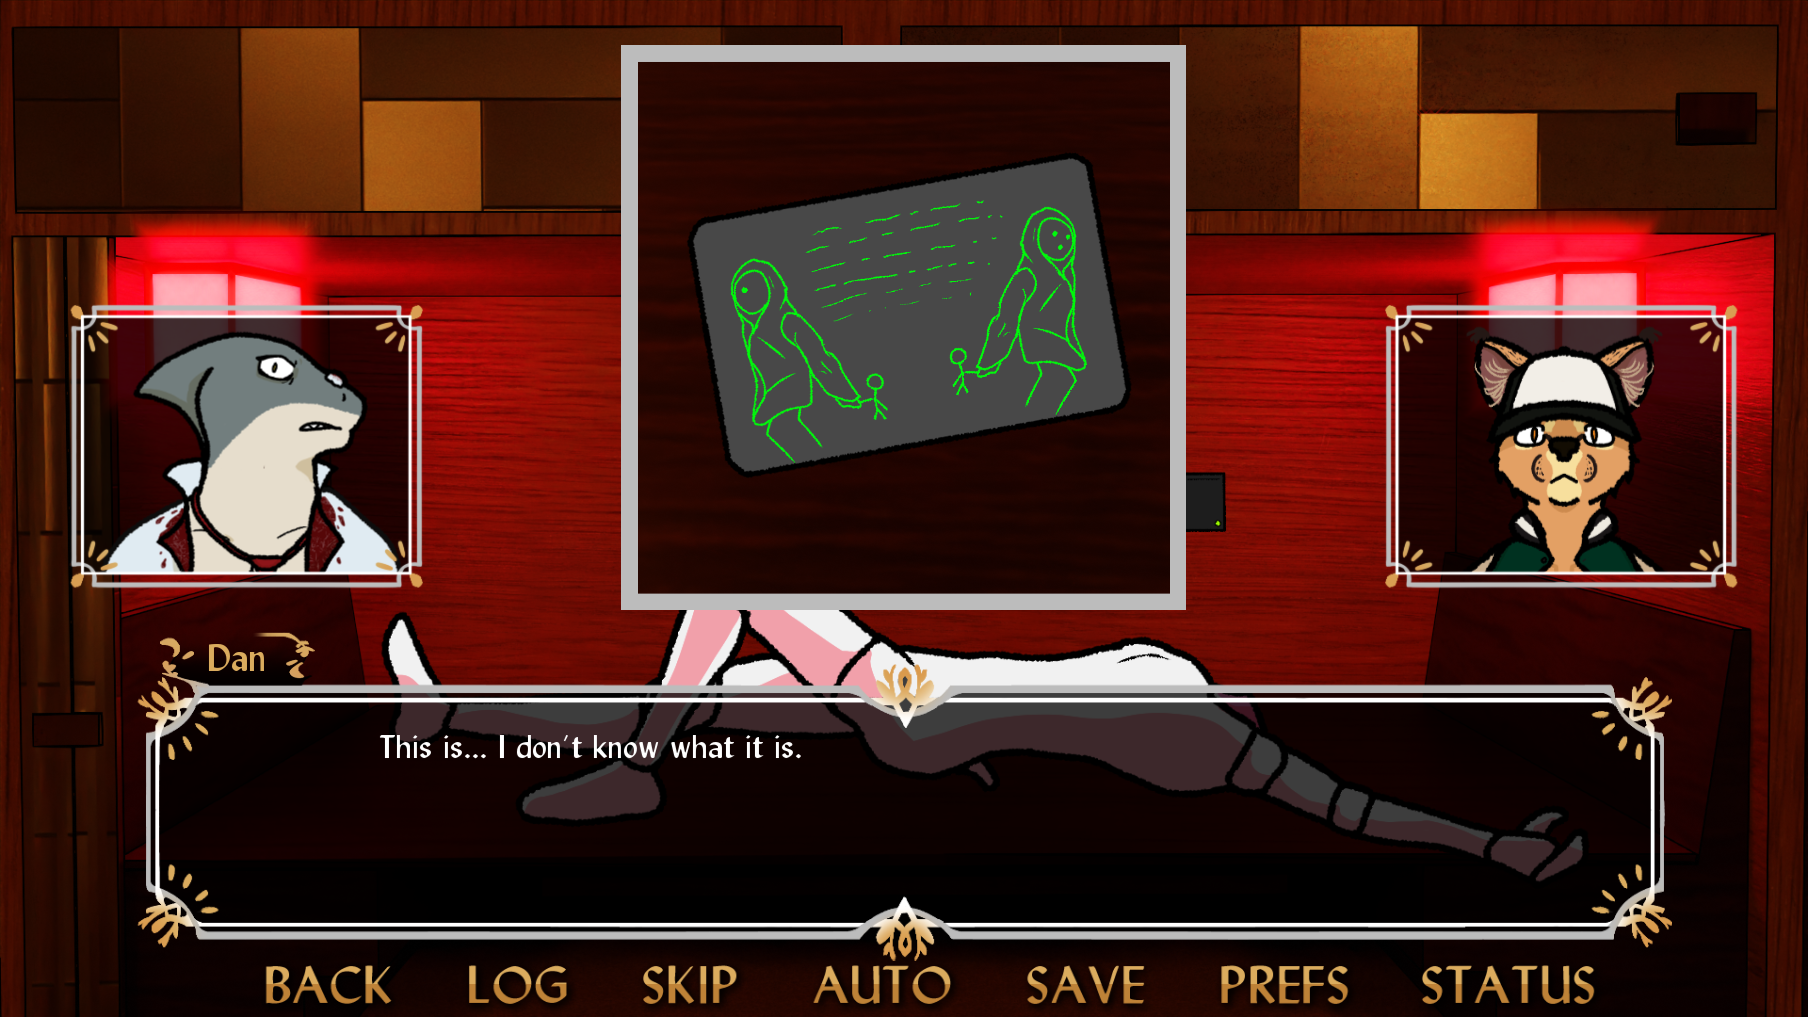
How can we correlate that to the switches, though? Well, if you explored each of the dorms, you'd have noticed that there was a mannequin in each of them. Mannequins set up to look like murder victims no less! Some even appear to have committed suicide. Murder... Suicide... Where have we heard that before? that's right, the description on the five card!
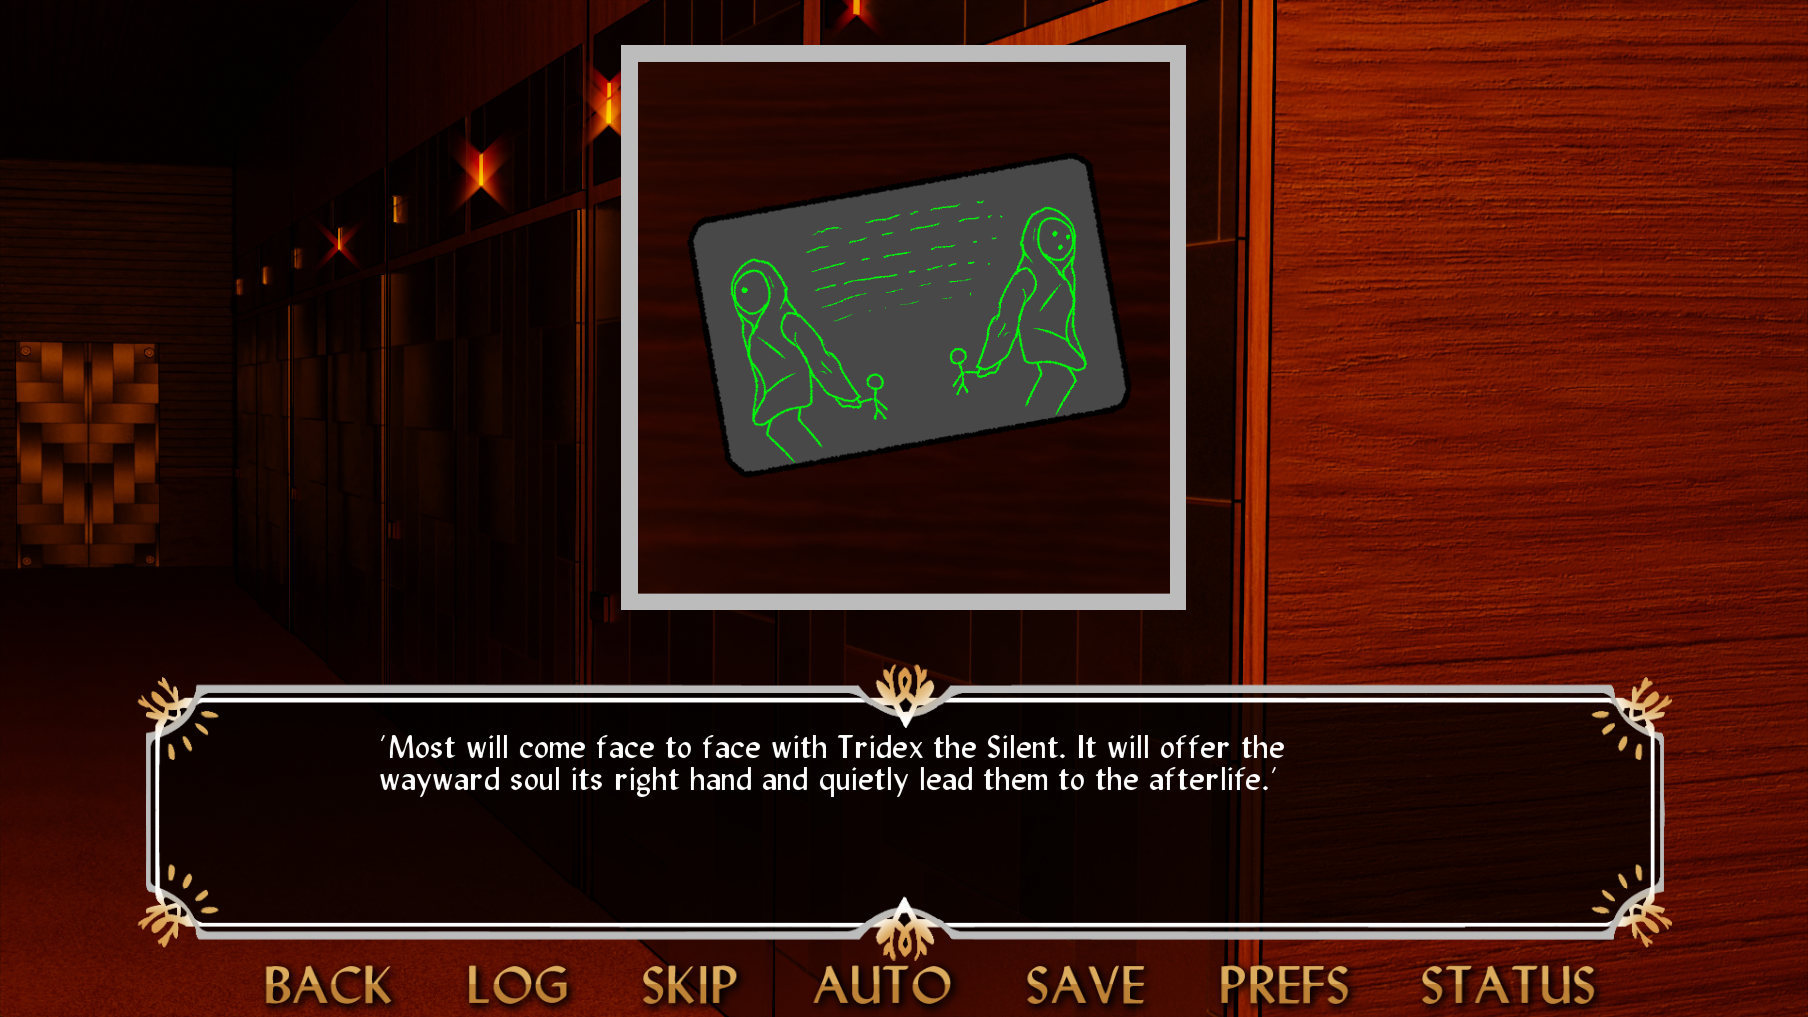
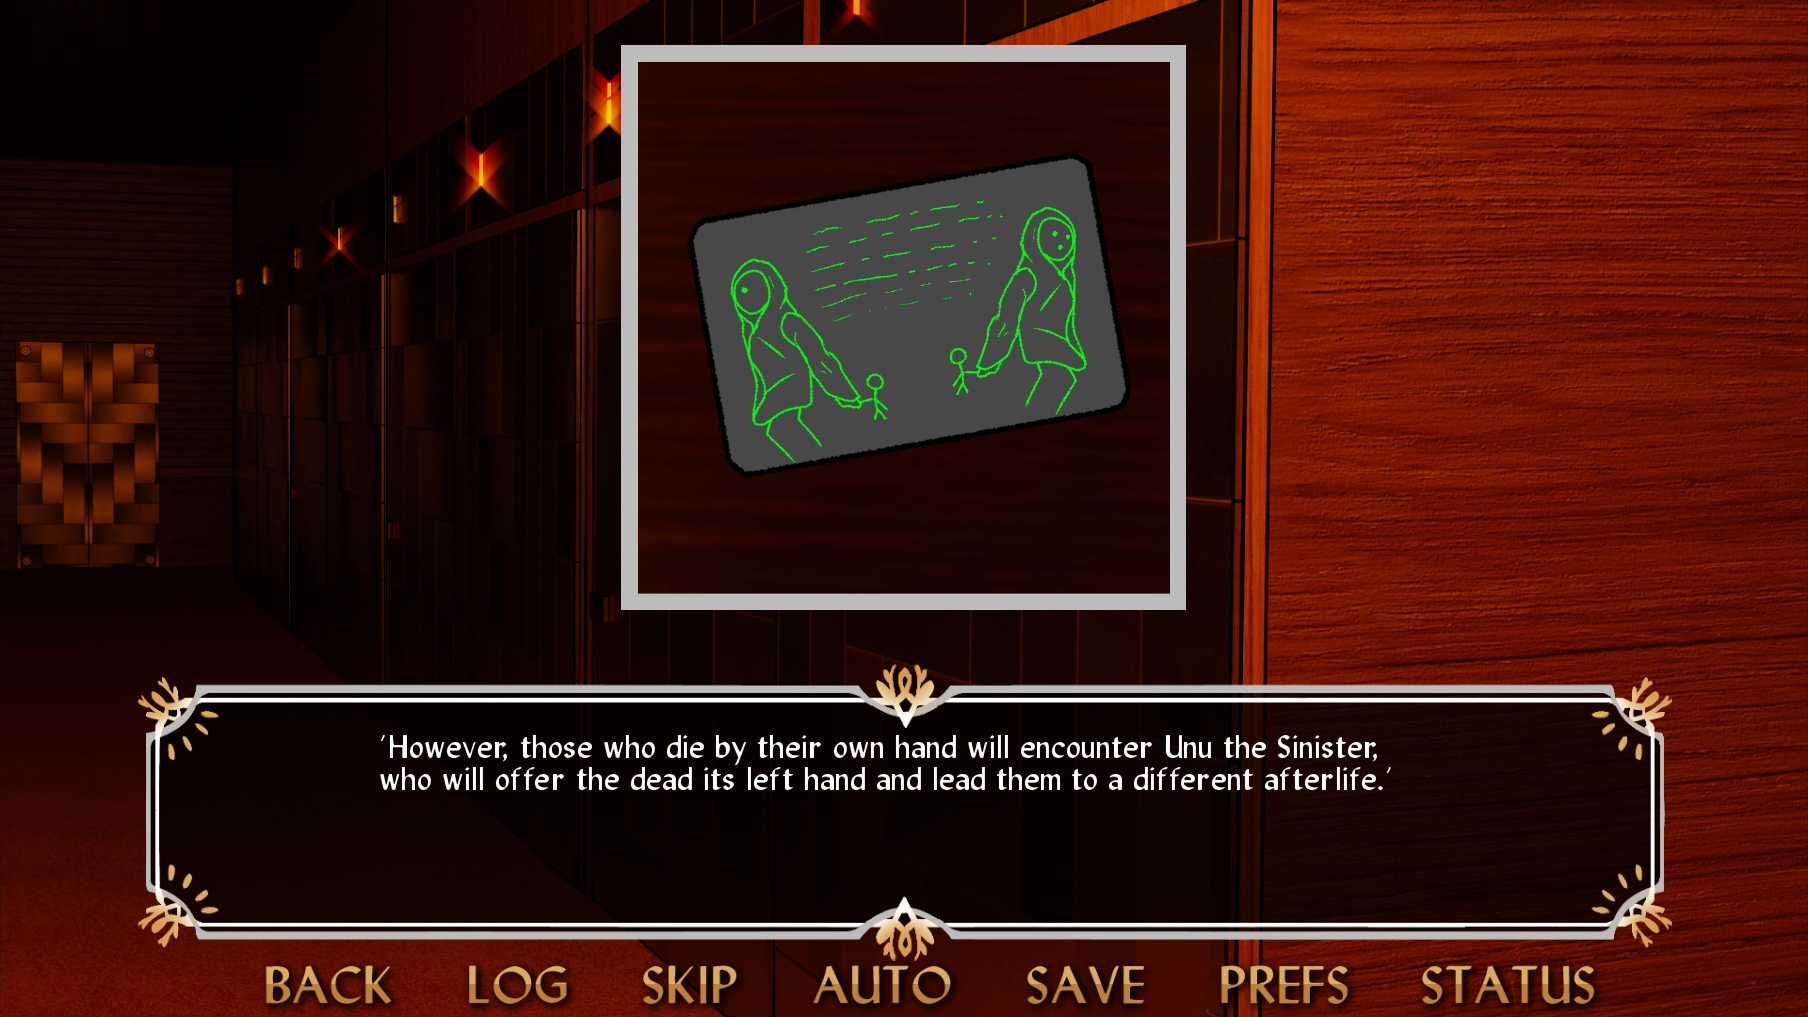
The symbols on the masks the two death gods wear look familiar as well, because they match the engraving on the switch panel! Each switch either needs to be left for a suicide, or right for a murder.

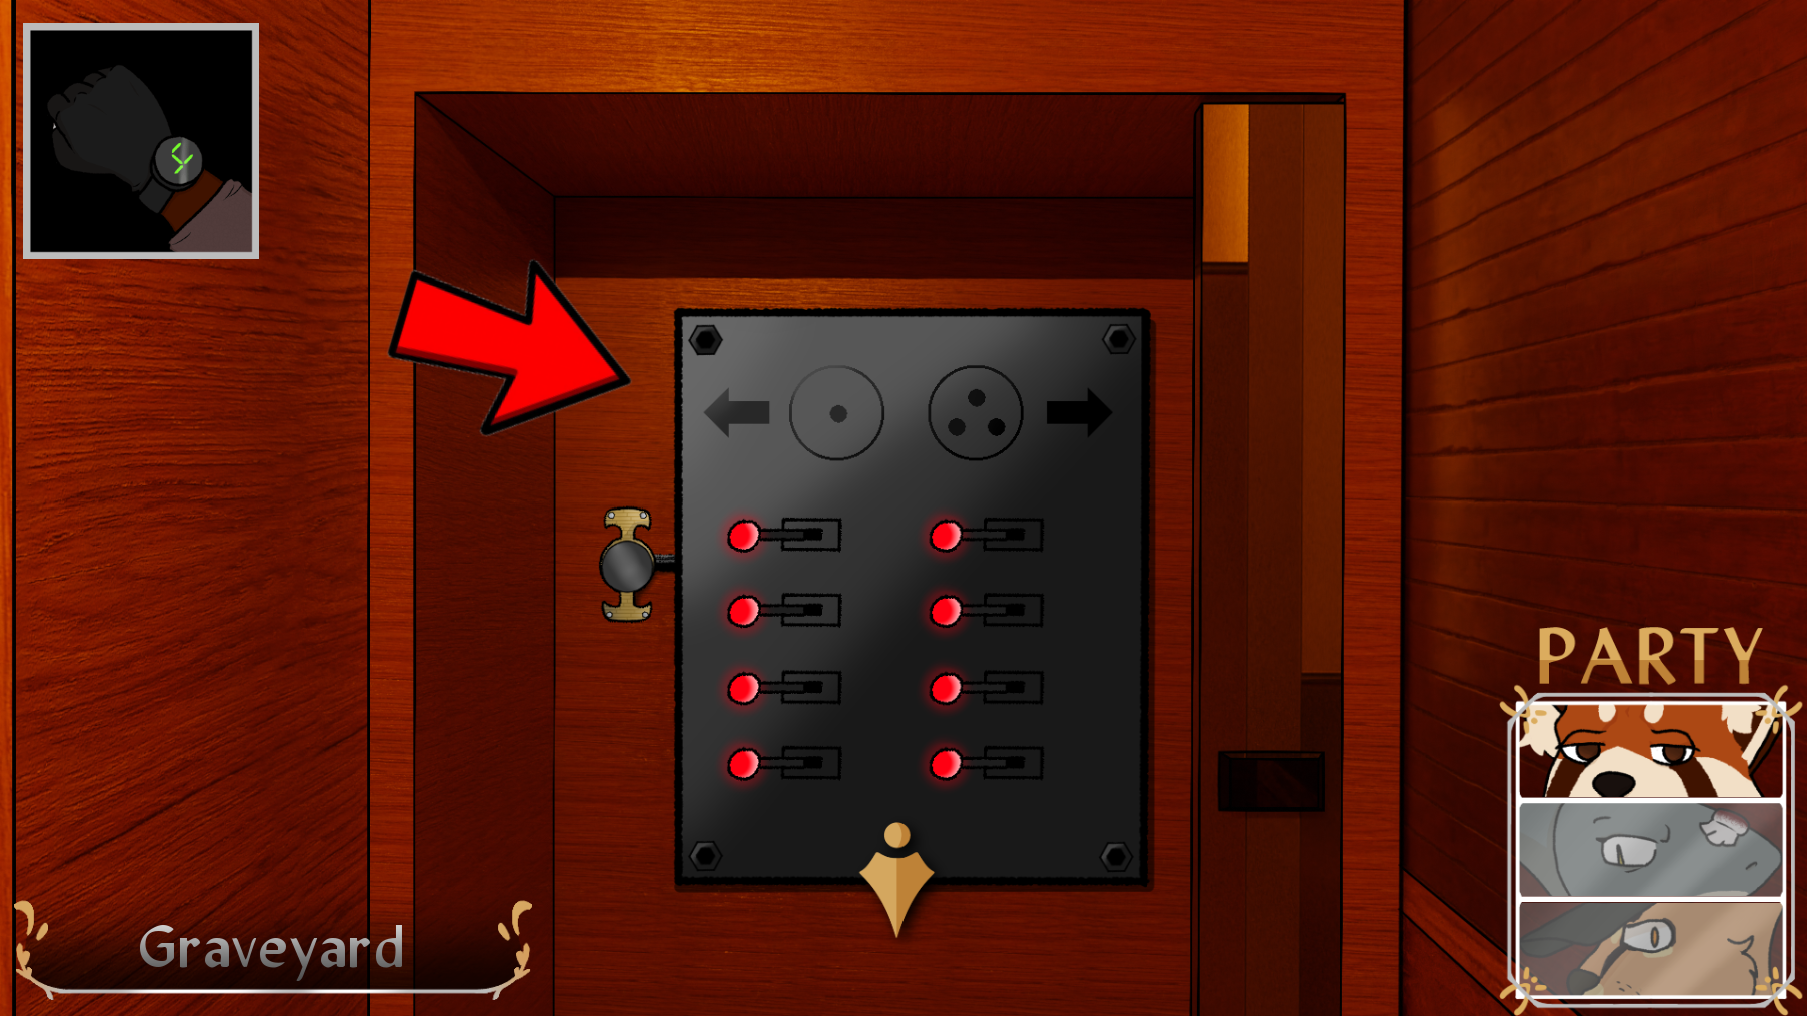
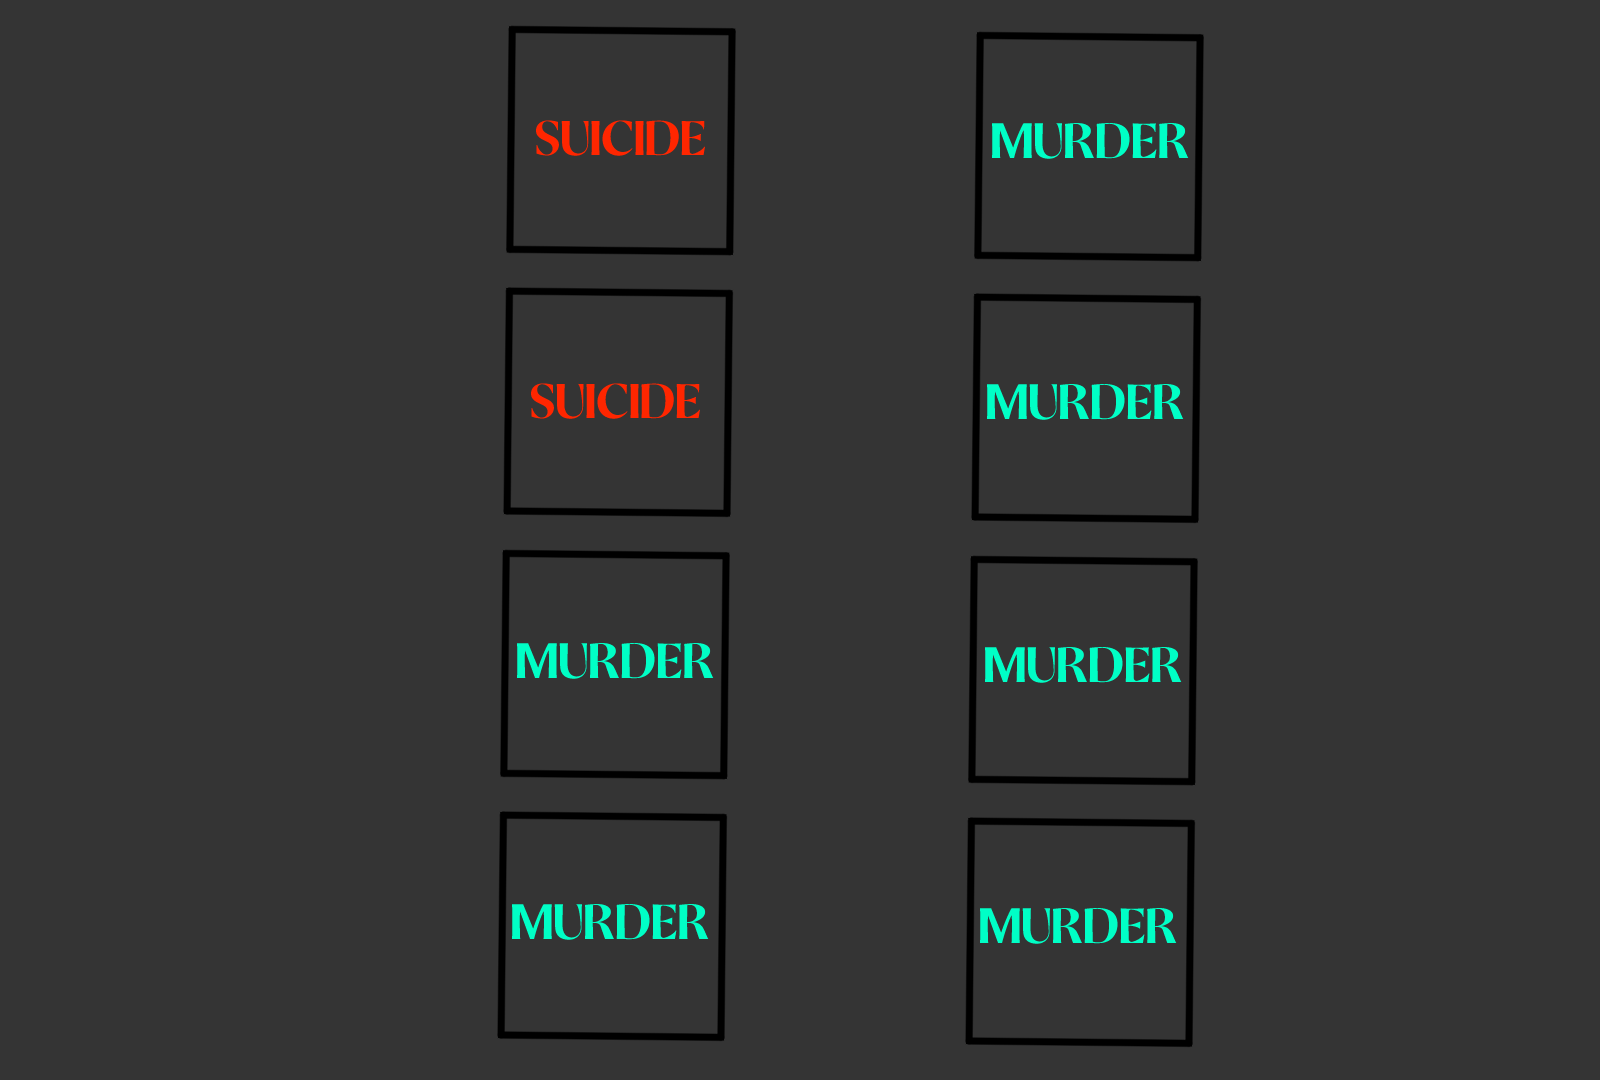
So now we just need to determine which of these mannequins committed suicide, and which died of other means. Let's go through each of them here.
First, the bottom left room. This mannequin was stabbed in the back, so it'll be a safe guess it was murdered.
Next, the dorm second from the left on the left side. This mannequin was hit on the back of the head by a blunt object, so it can be assumed it was murdered as well.
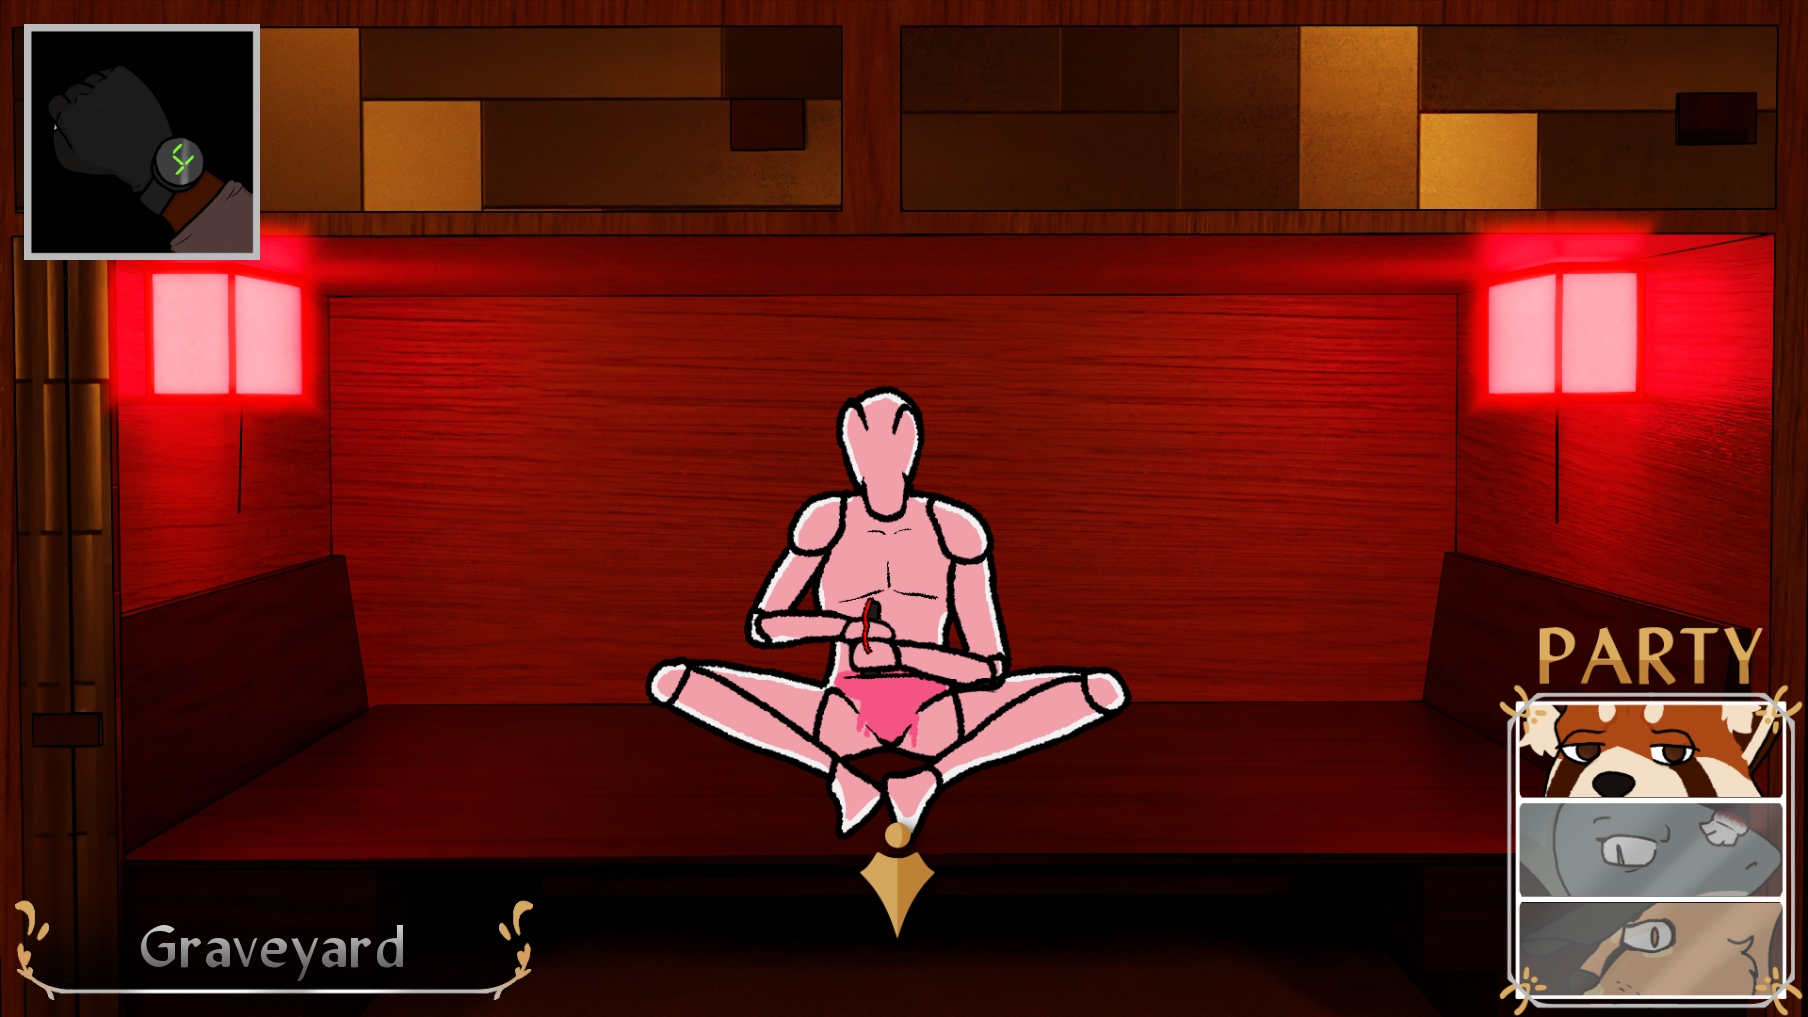
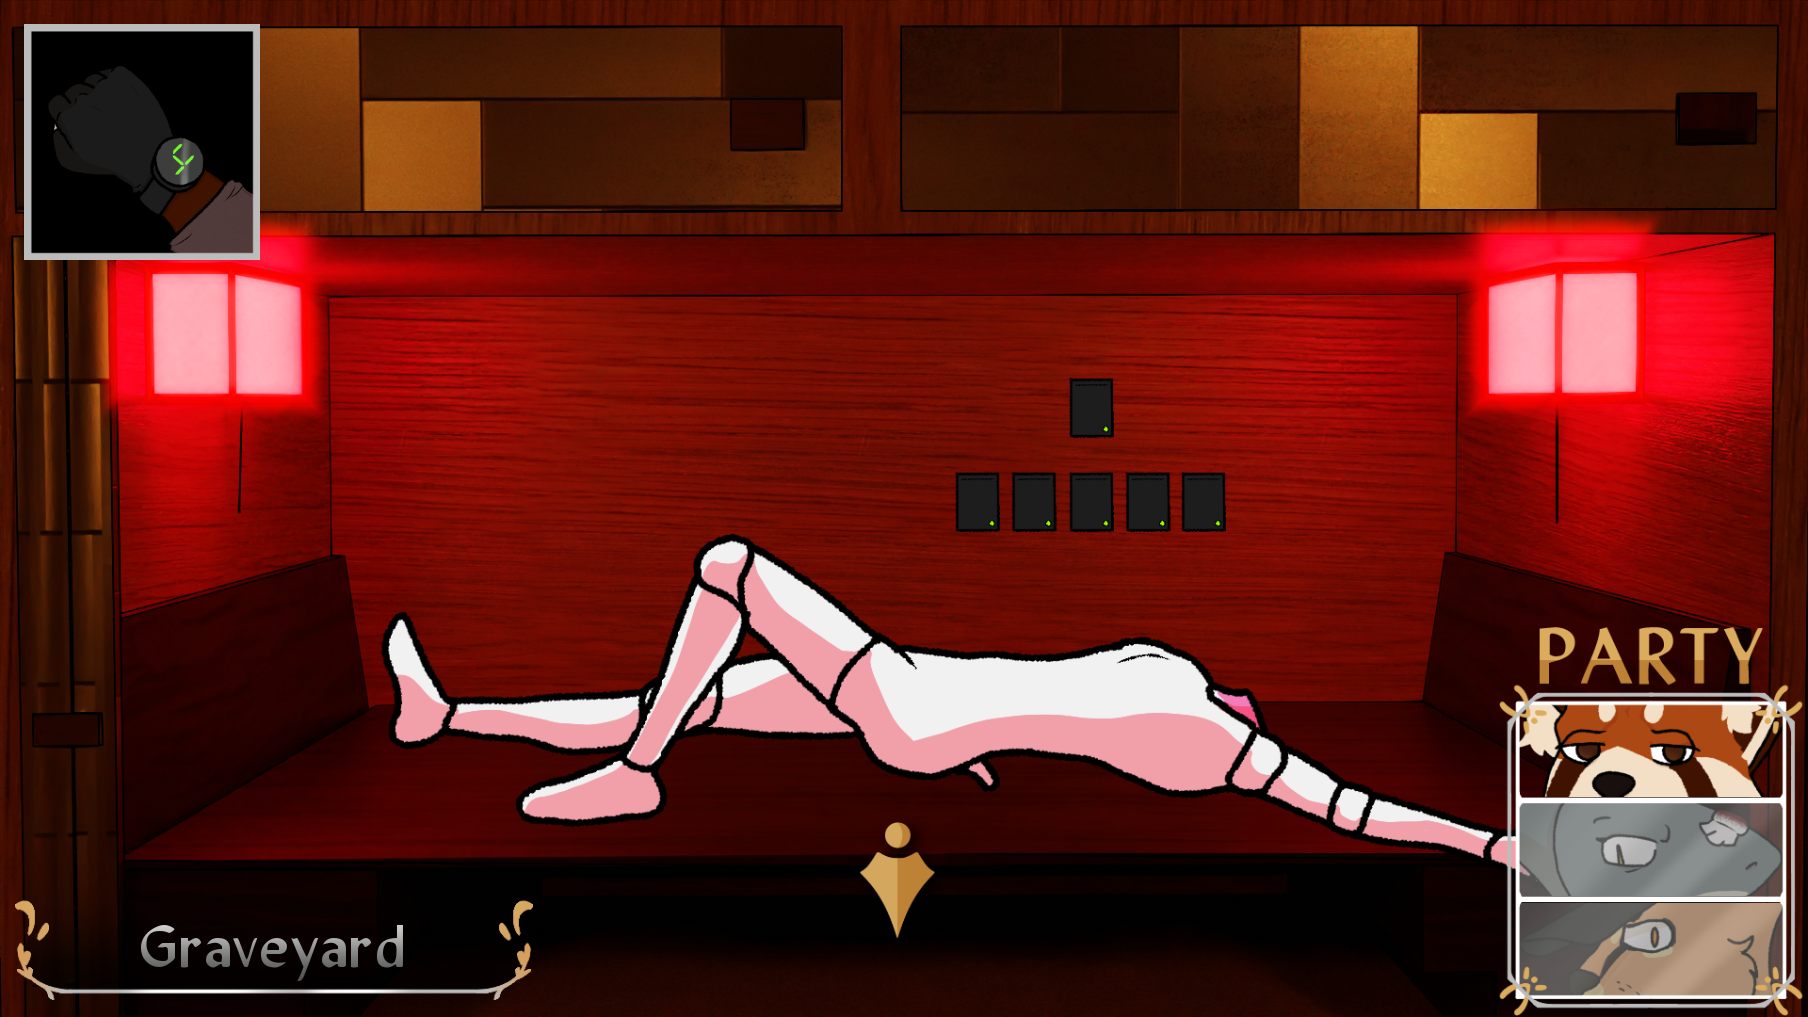
Next, the door third from the left. This mannequin died from a self-inflicted stomach wound. This one is certainly a suicide.
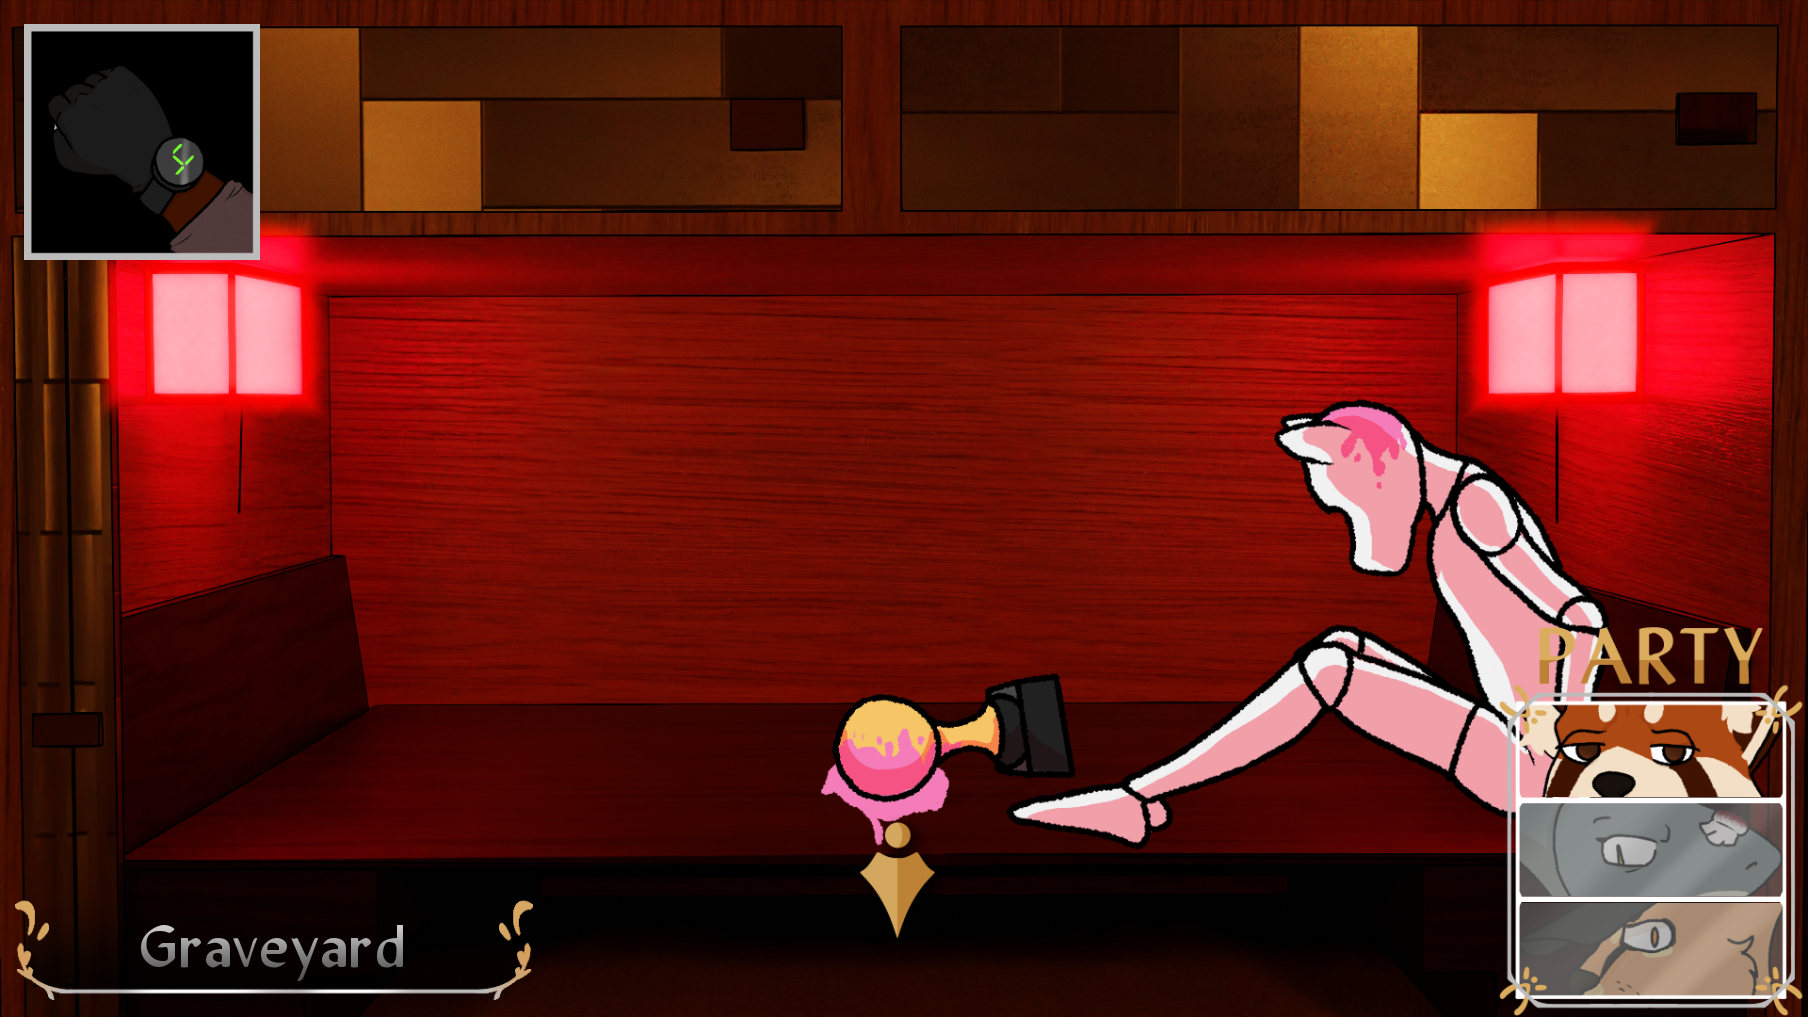
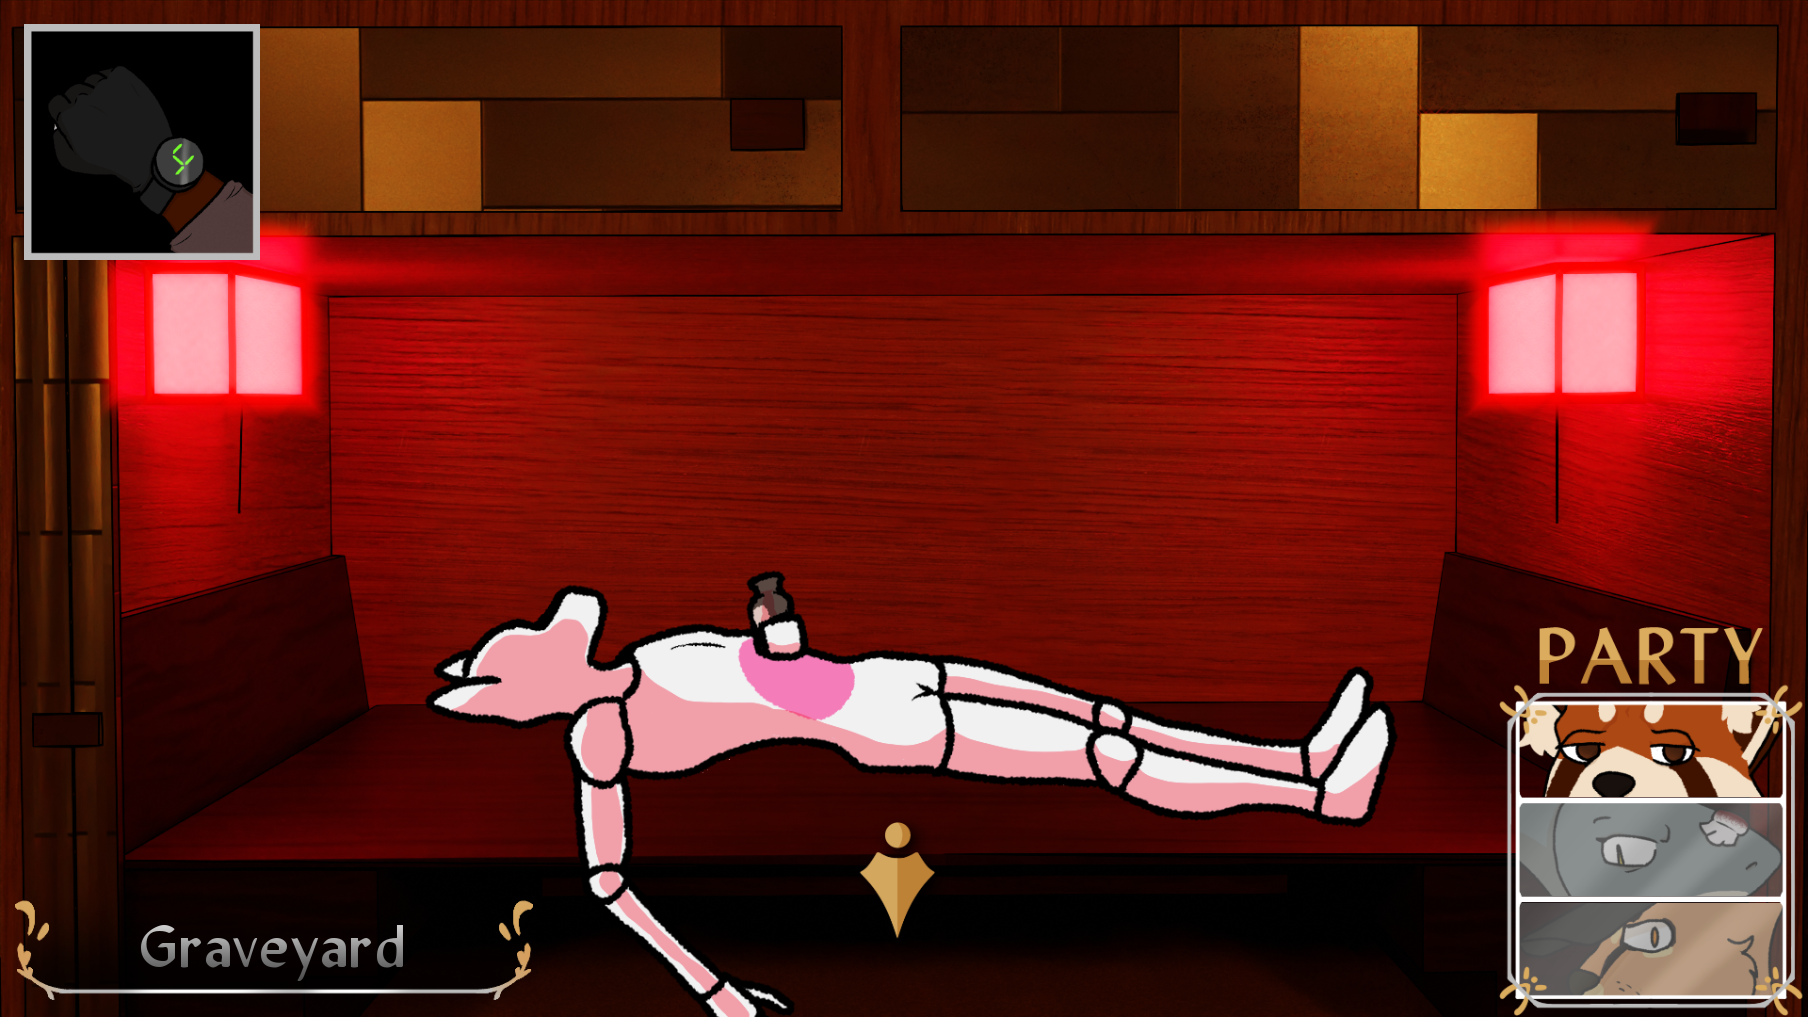
Next up, the door furthest from the left. This mannequin died of stomach injuries as well, and is clutching a mysterious bottle. This one most likely ingested poison, so it can be ruled a suicide.
Now on the other side of the hallway, the first door from the right. This mannequin has been beheaded, and therefore most likely murdered.
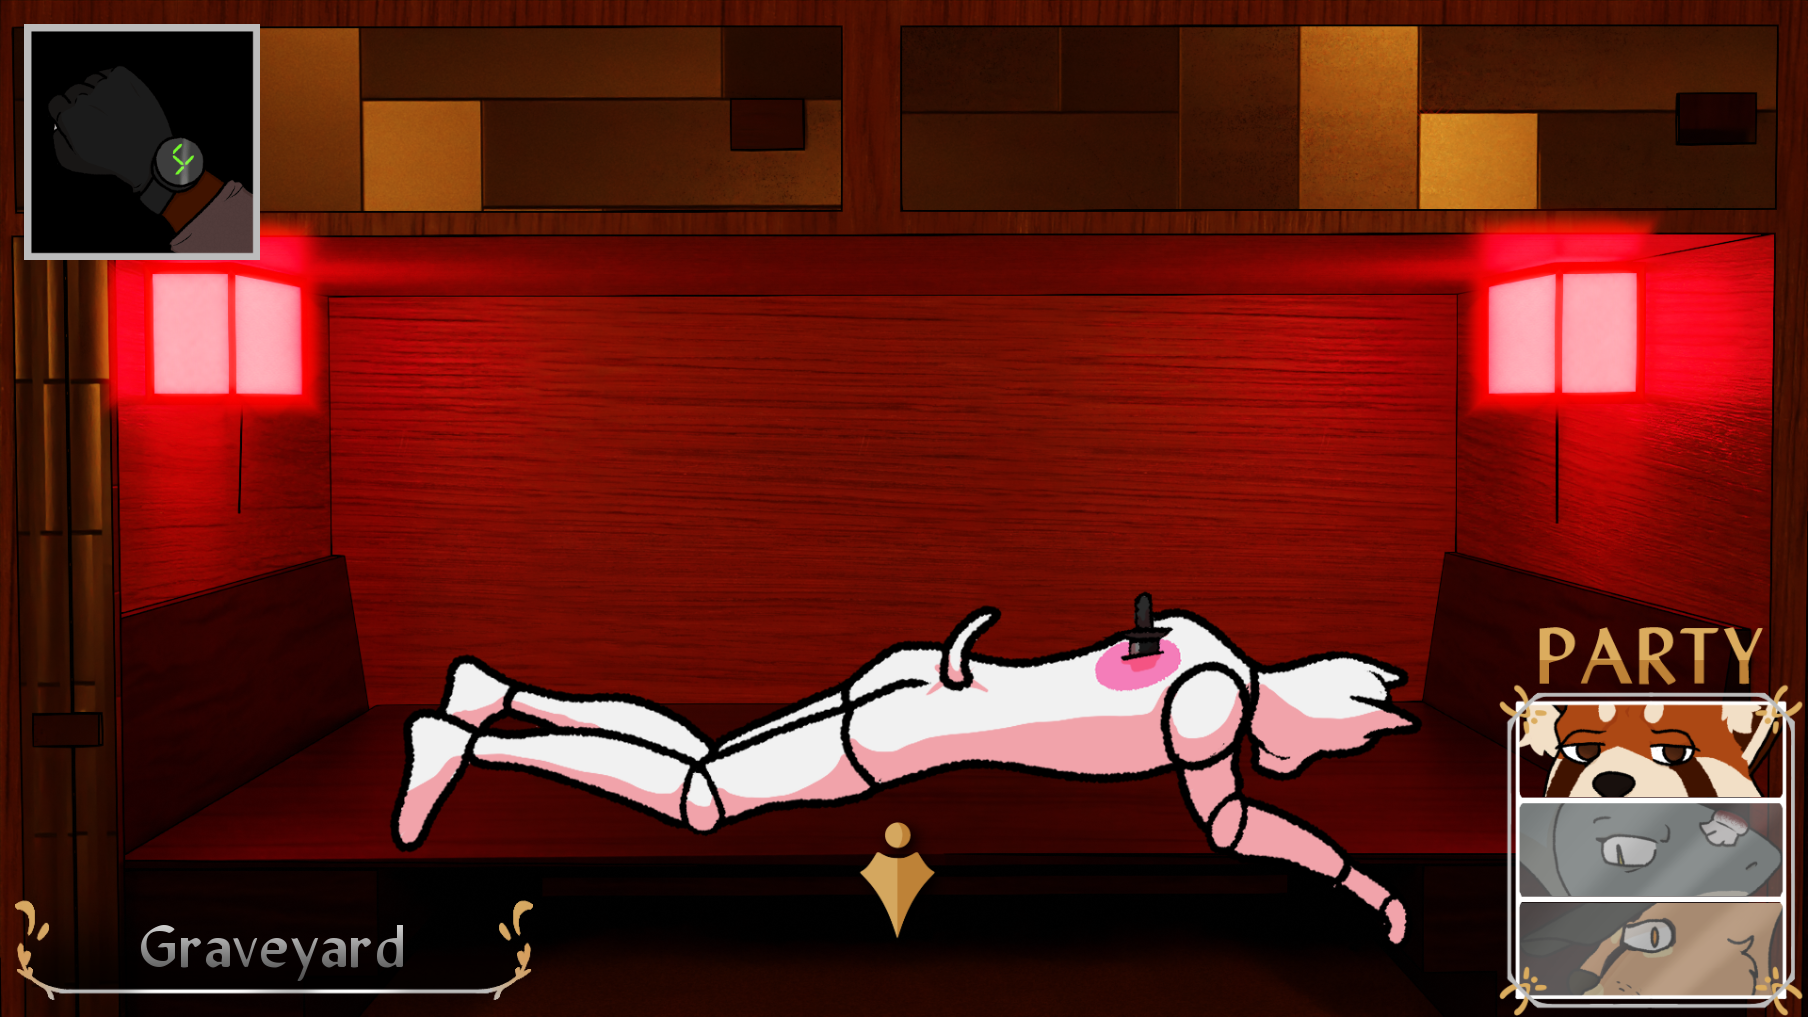
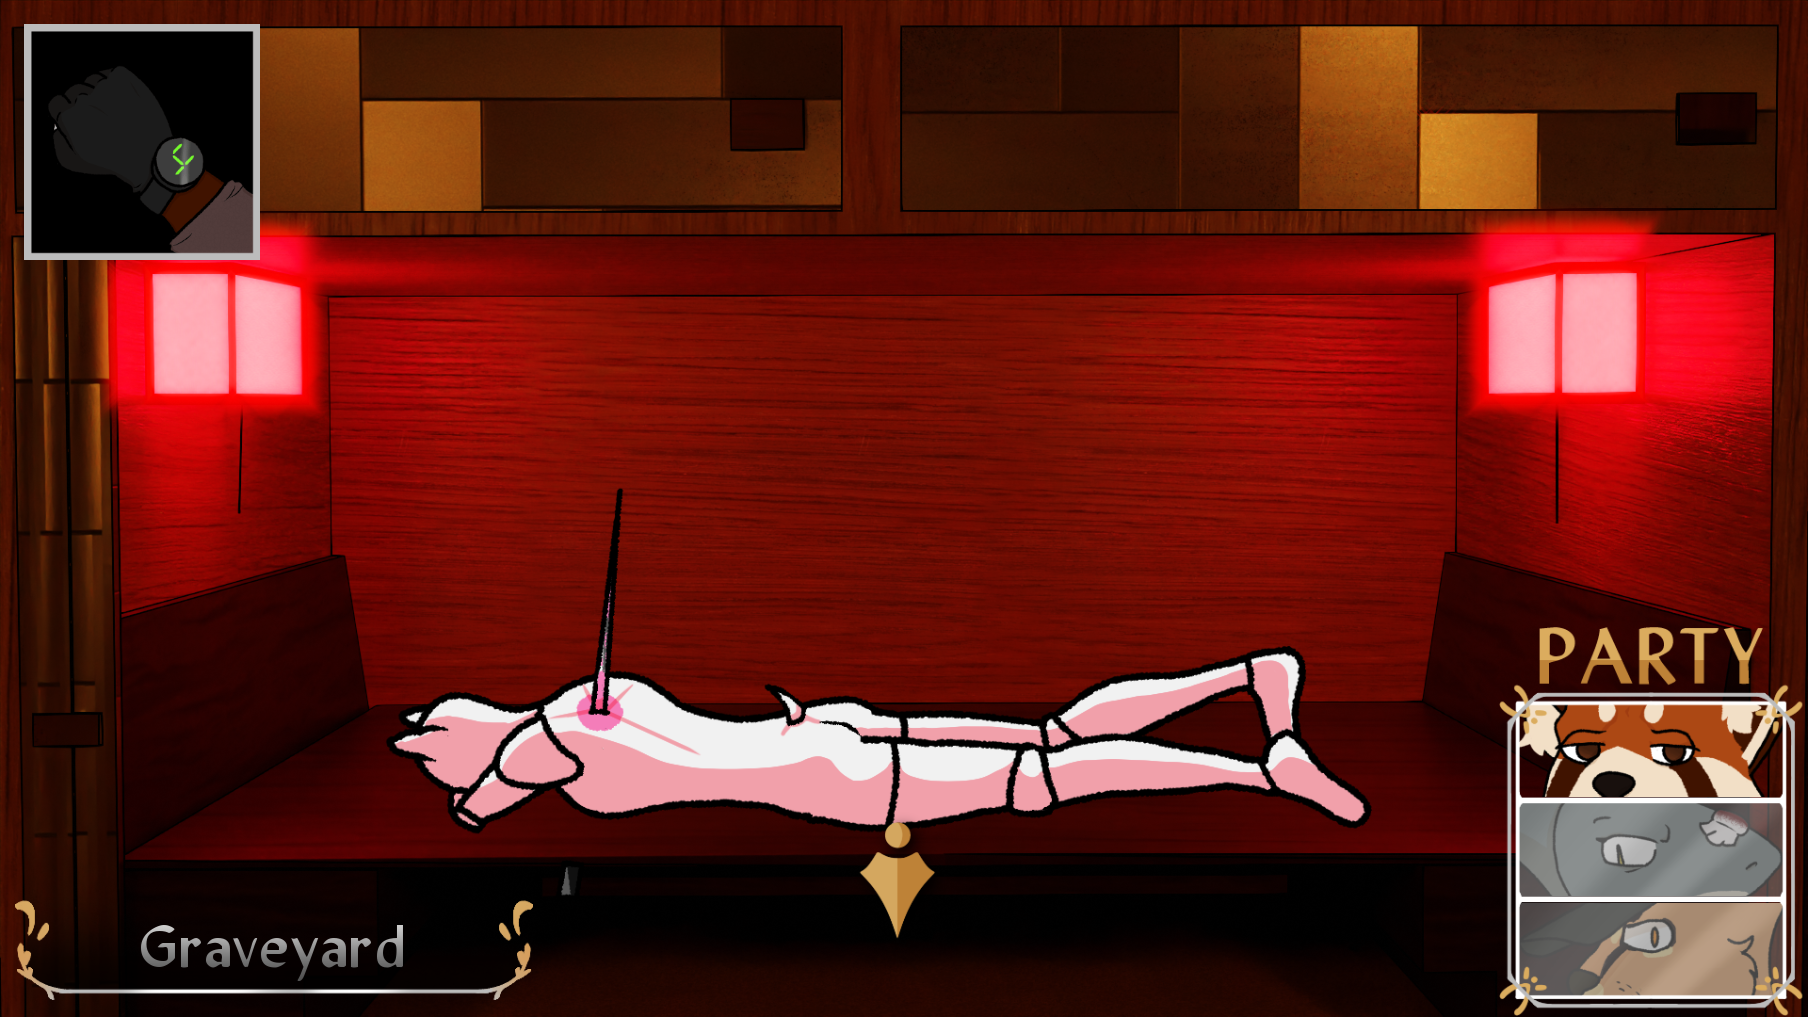
Next up, the door second from the right. This person was stabbed through the table with a metal rod, likely by a very sussy individual. Murder.
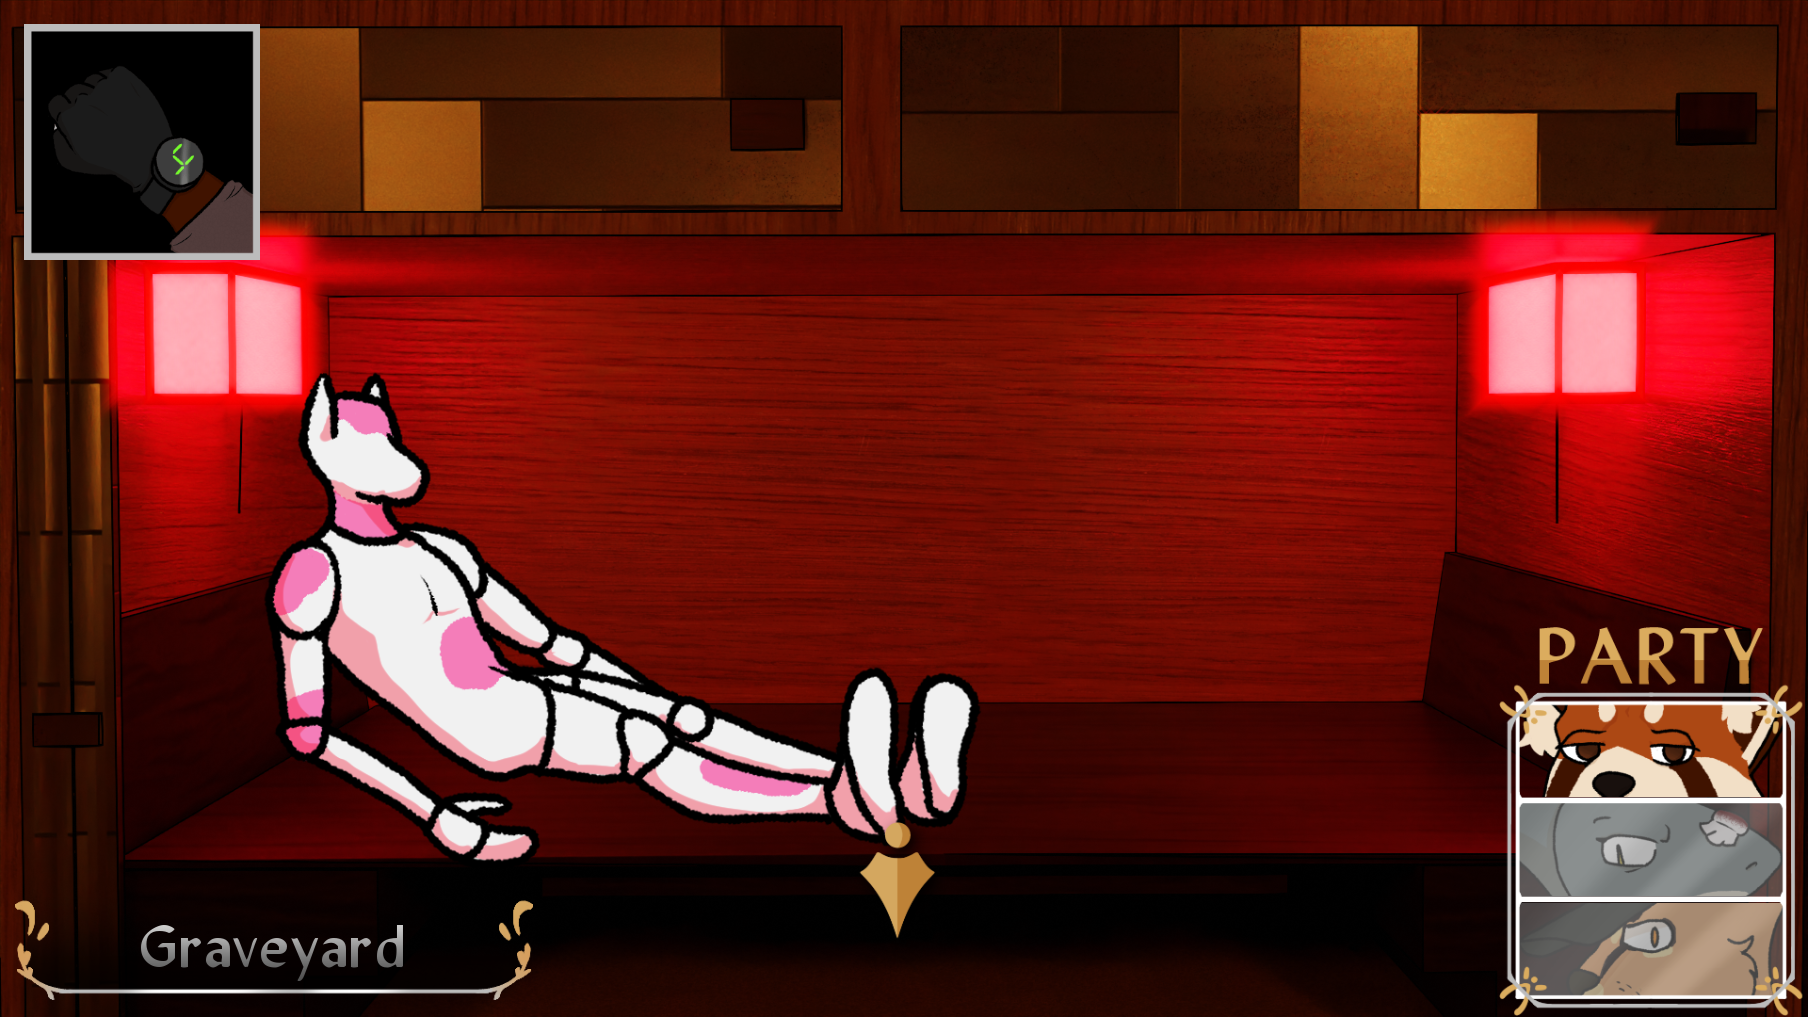
Next, the door third from the right. This one has a noose around its neck, so it's a suicide, right..? Not quite, the wounds on the body suggests they were beaten and attacked before death. This one is a murder.

Finally, the door furthest from the right. This mannequin has been completely dismembered. if this were a suicide, it would certainly be an insane one, so let's say it's a murder.
Now, we can use that information to solve the switch puzzle. The five card tells us suicide is left, and murder is right. Using the layout of the rooms, we can transfer that information over to the switches! Once you have this layout, hit the 'check' button and watch the cutscene.
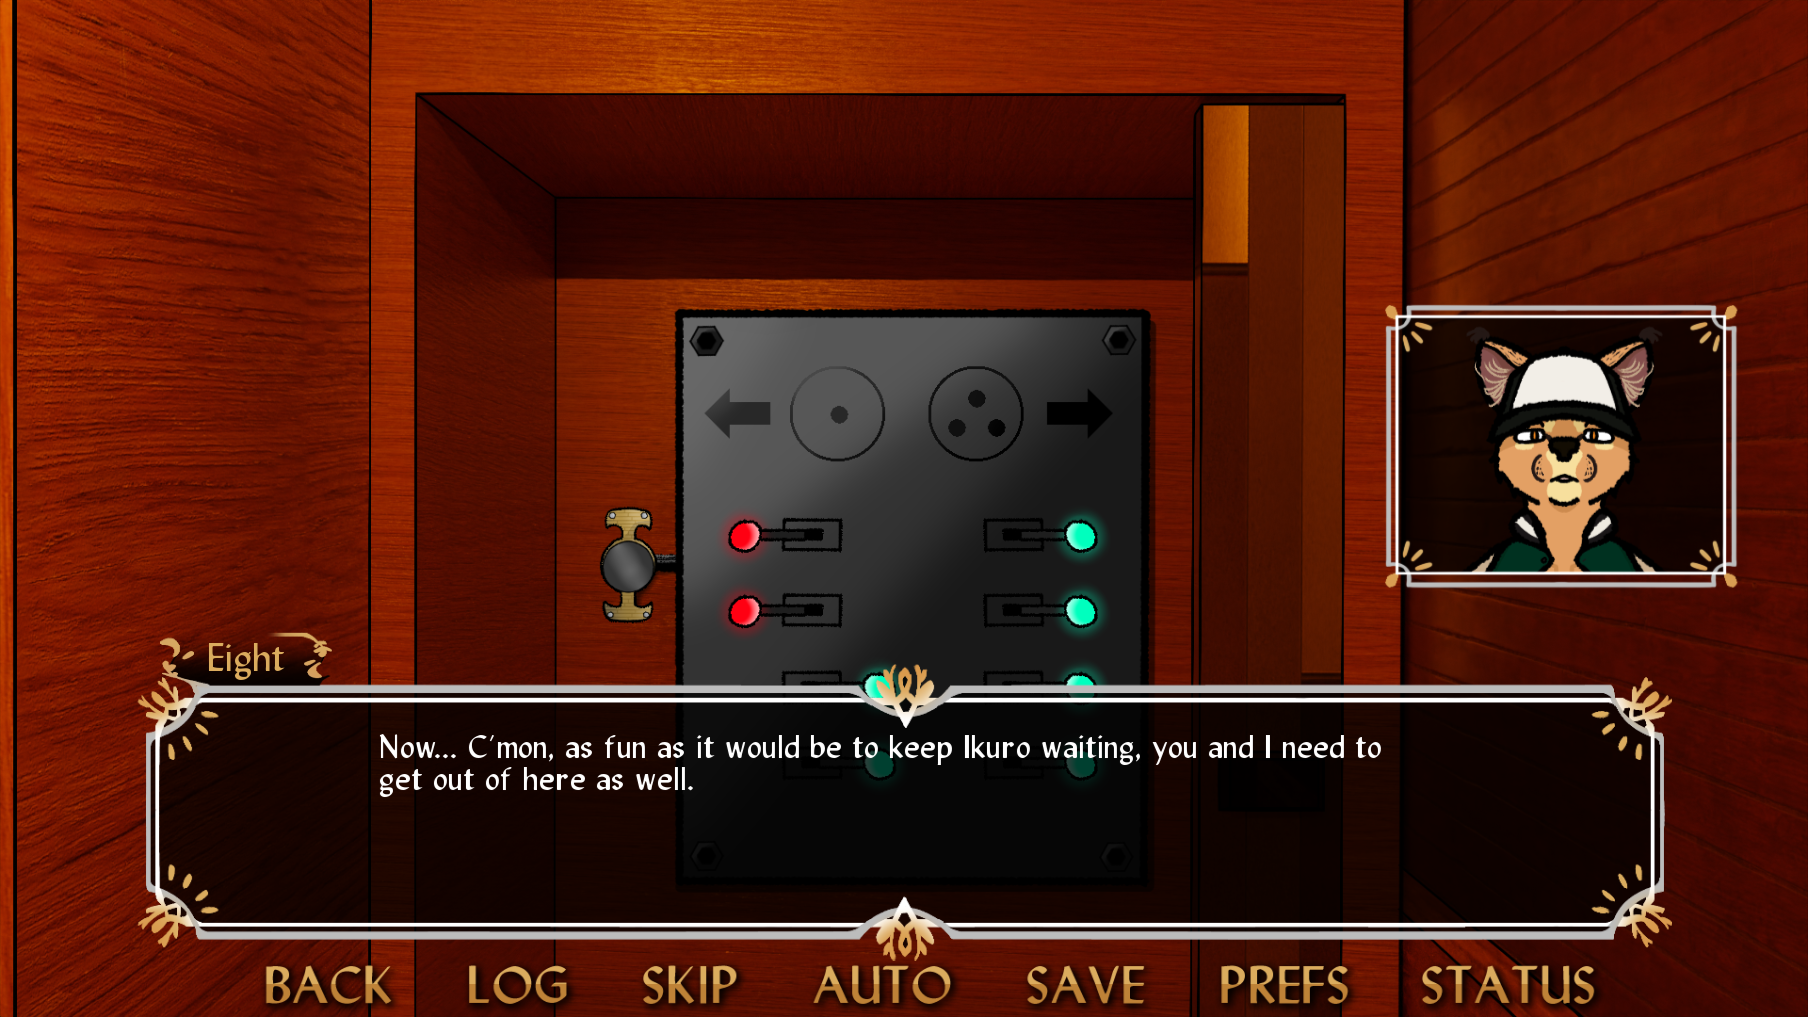
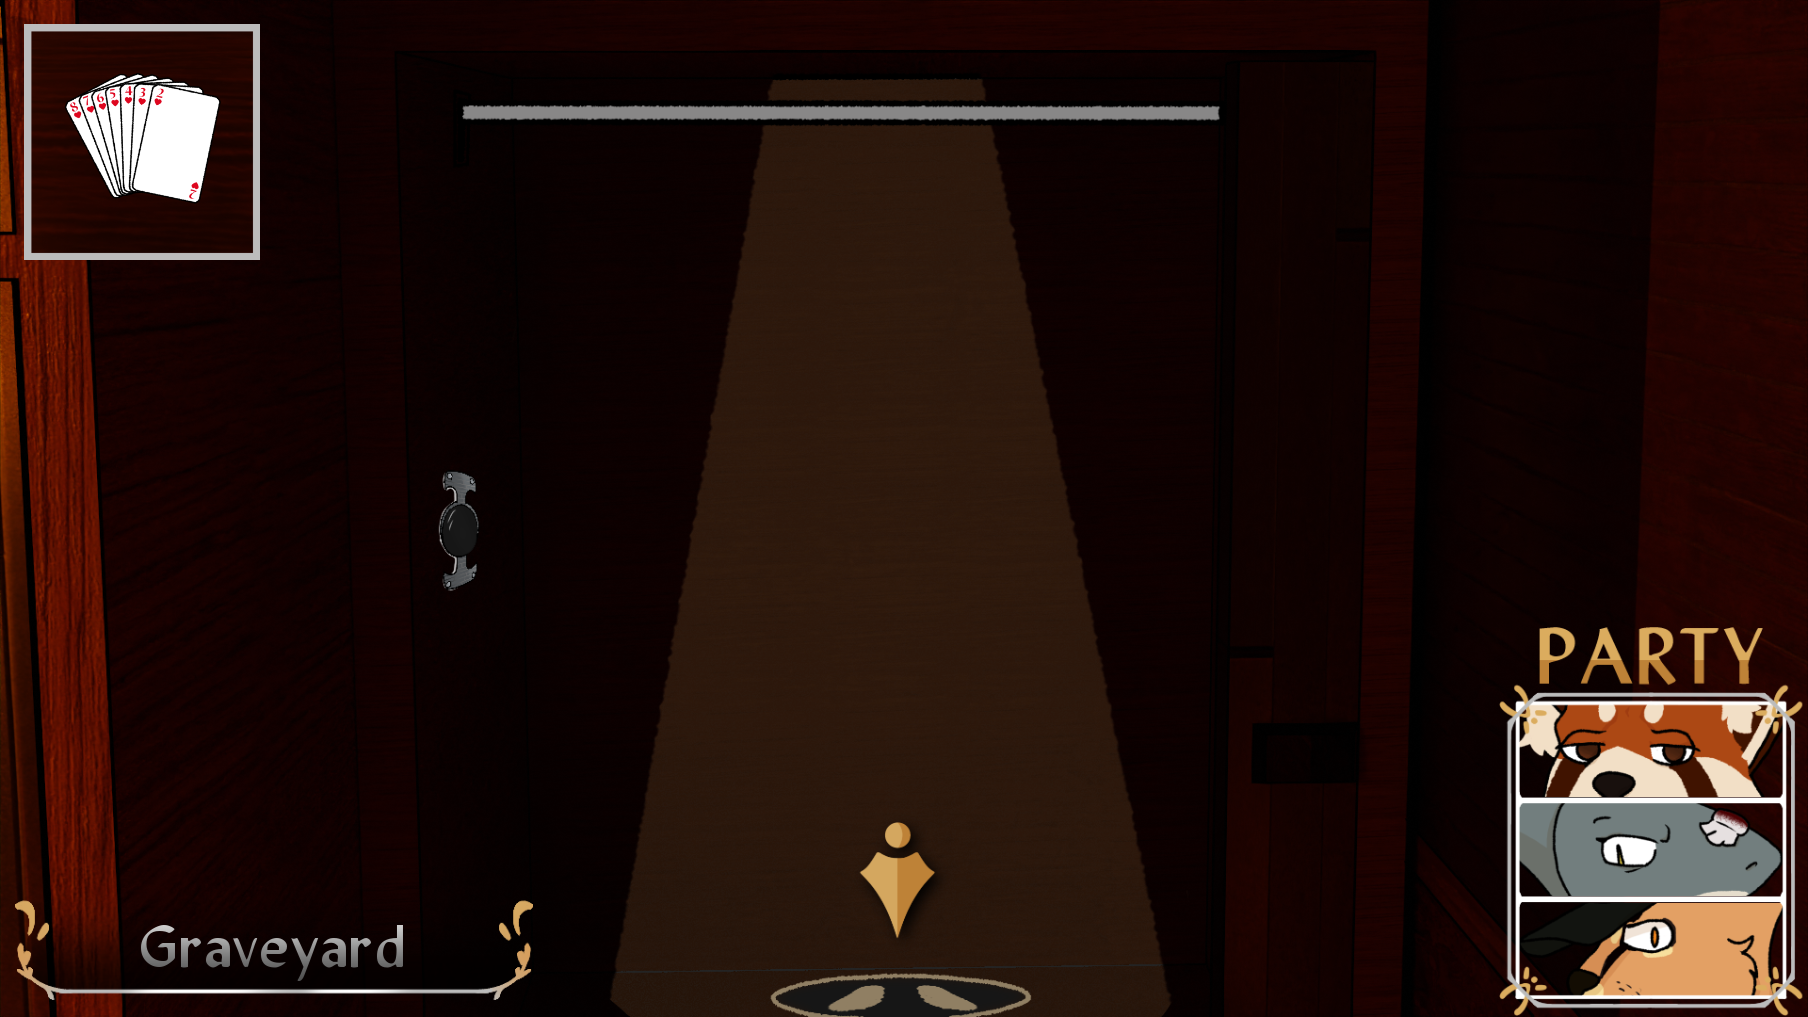
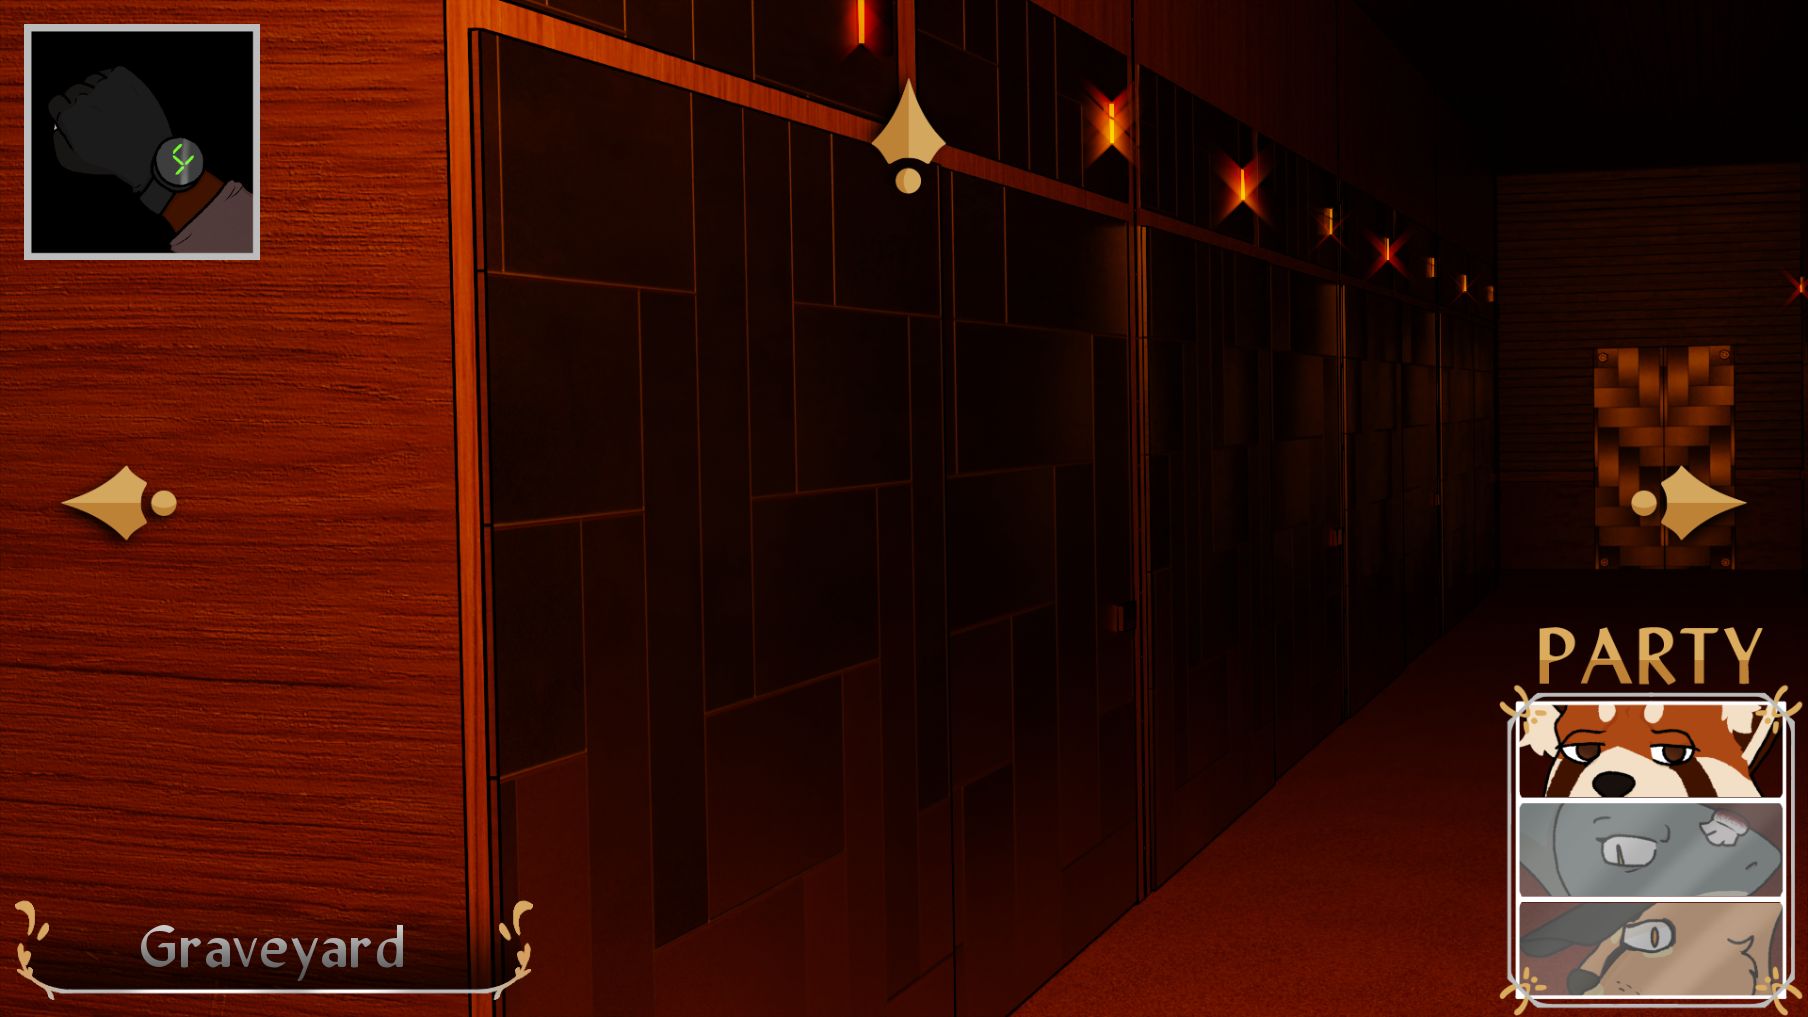
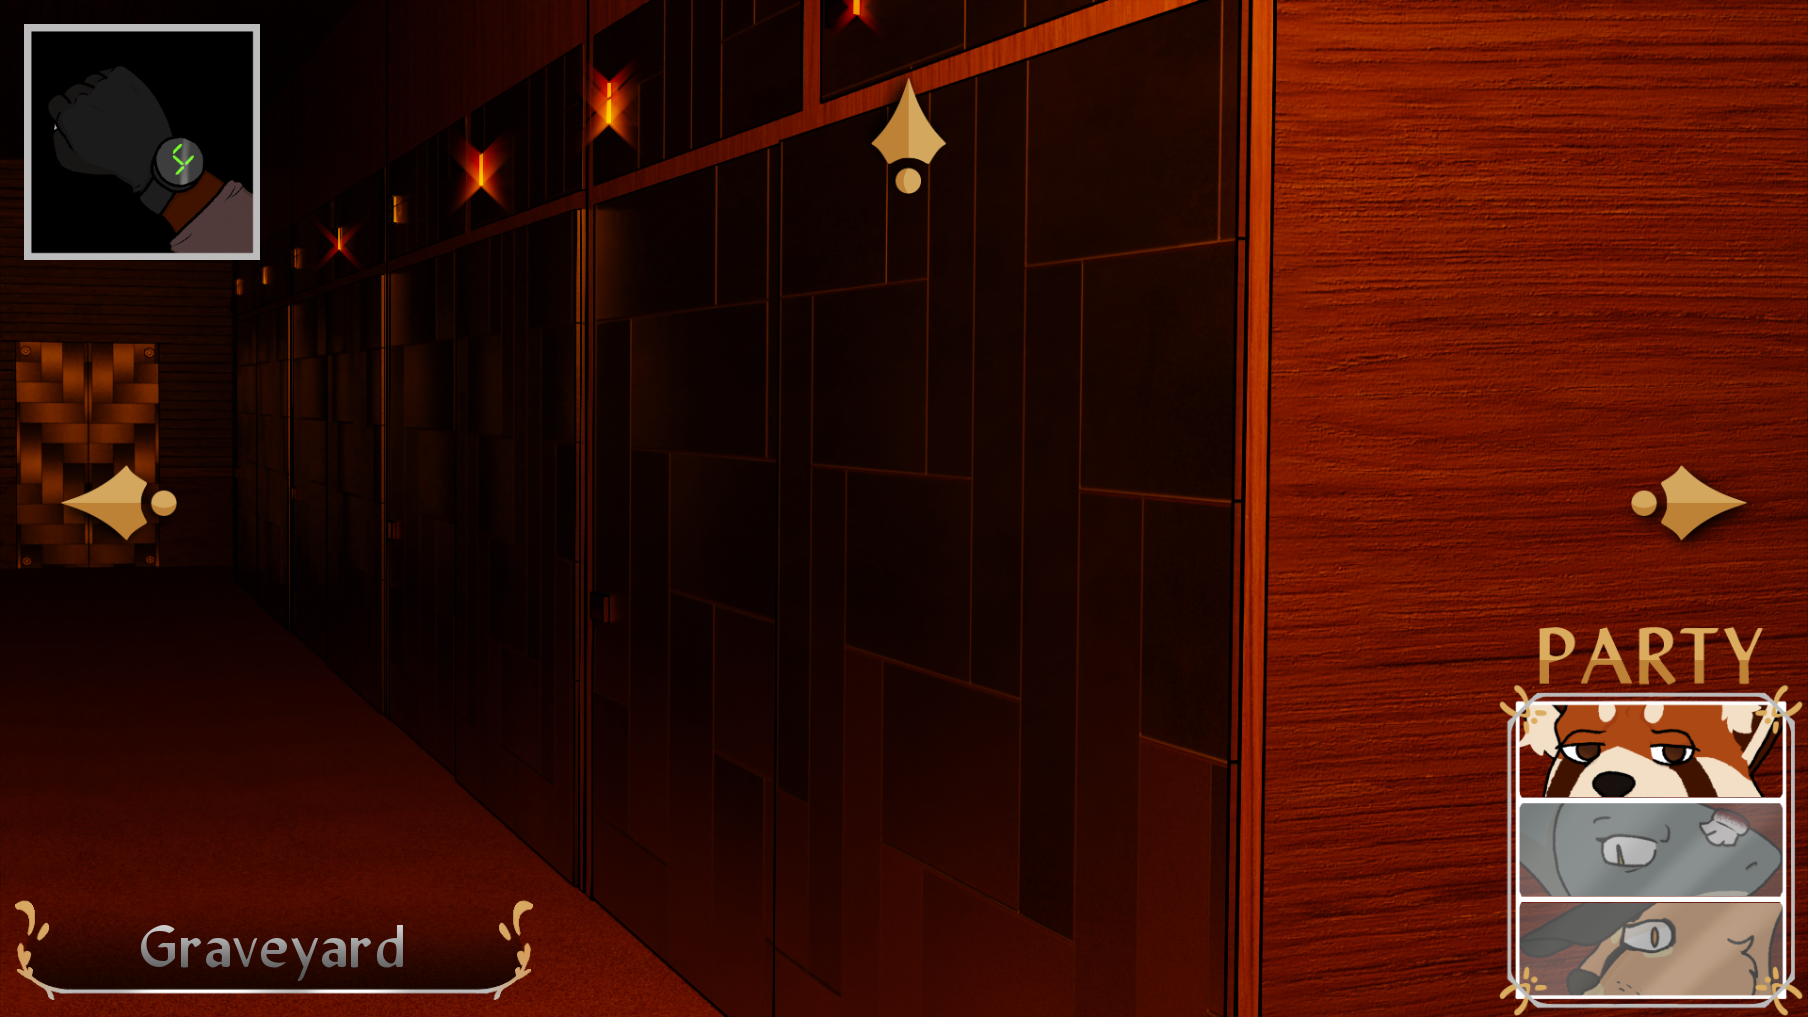
All we have left to do is check the northern door. Exit this screen by pressing the down arrow, then press the up arrow to go down the hallway, and click the door on the left.
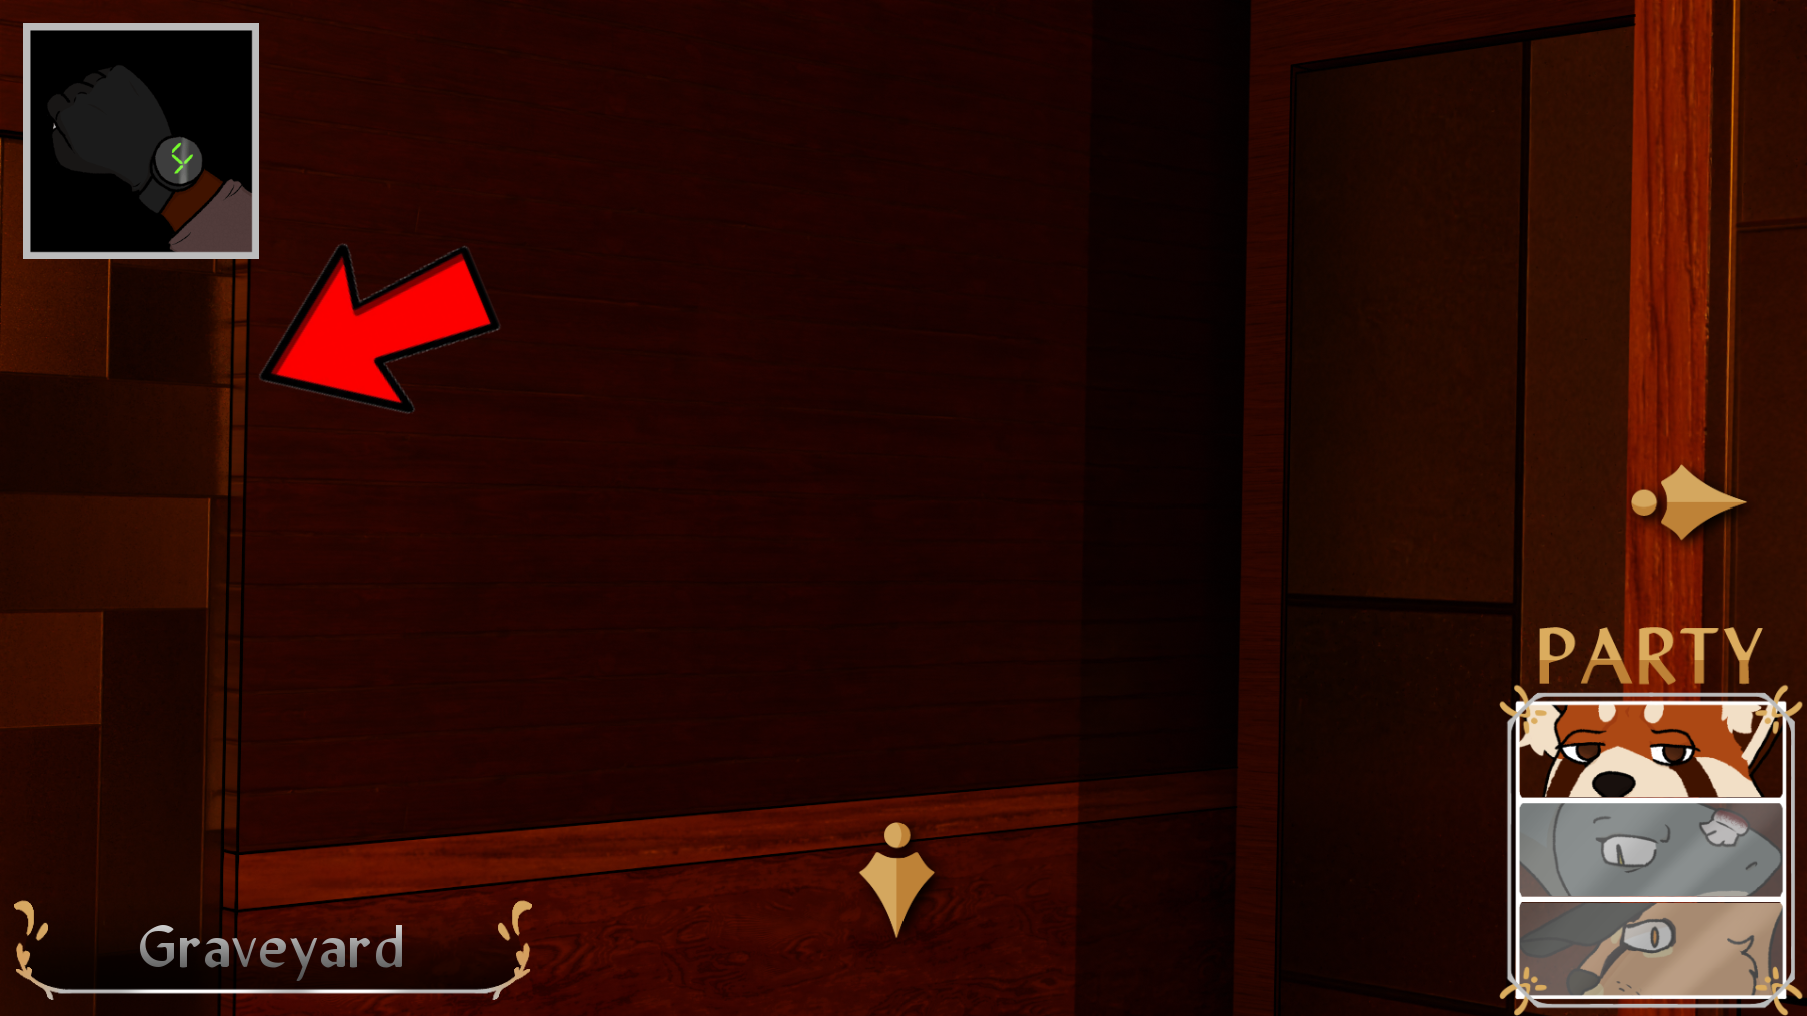
Upon clicking the door, a short cutscene will play and you'll escape the Graveyard. Another investigation complete!
Comments
Log in with itch.io to leave a comment.
Oh thank the furry gods for this!!
harmo I need more help, I inspected the laser and it cut Dan's hand off (but it instantly cauterized it dw)
That's not a bug, it's a feature!